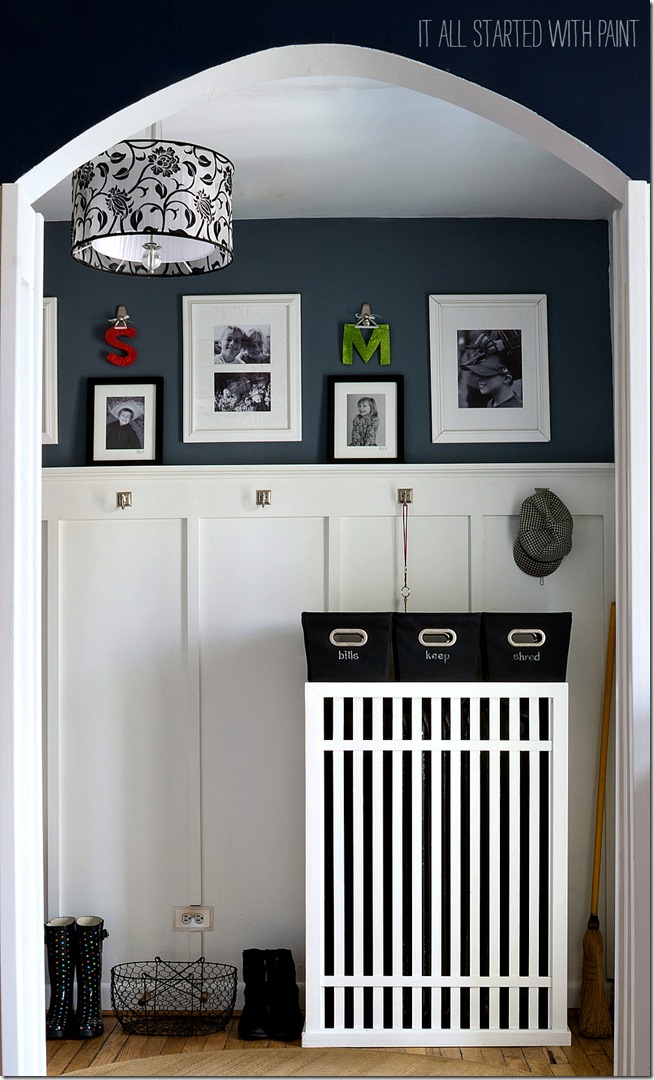
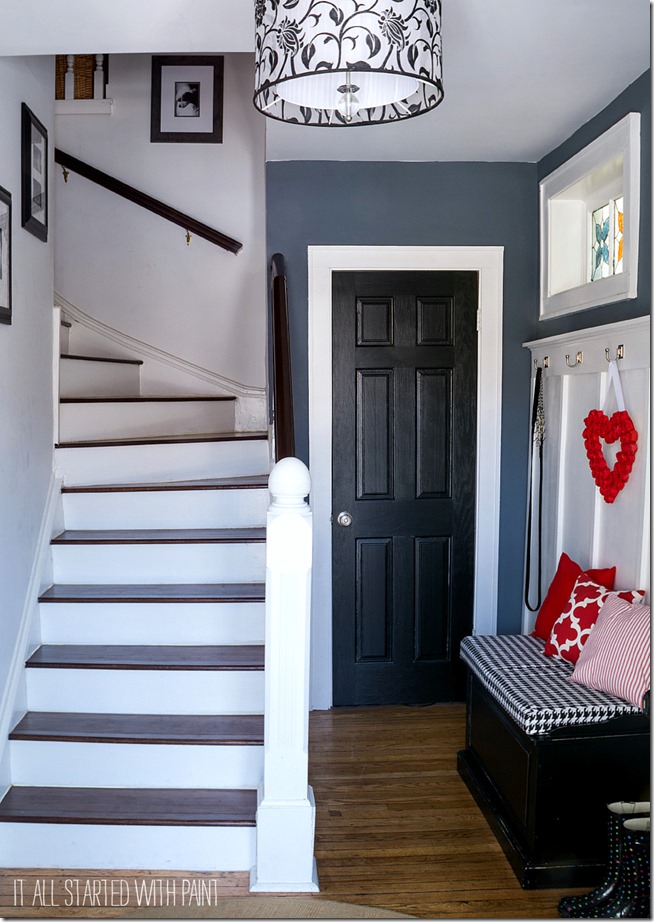
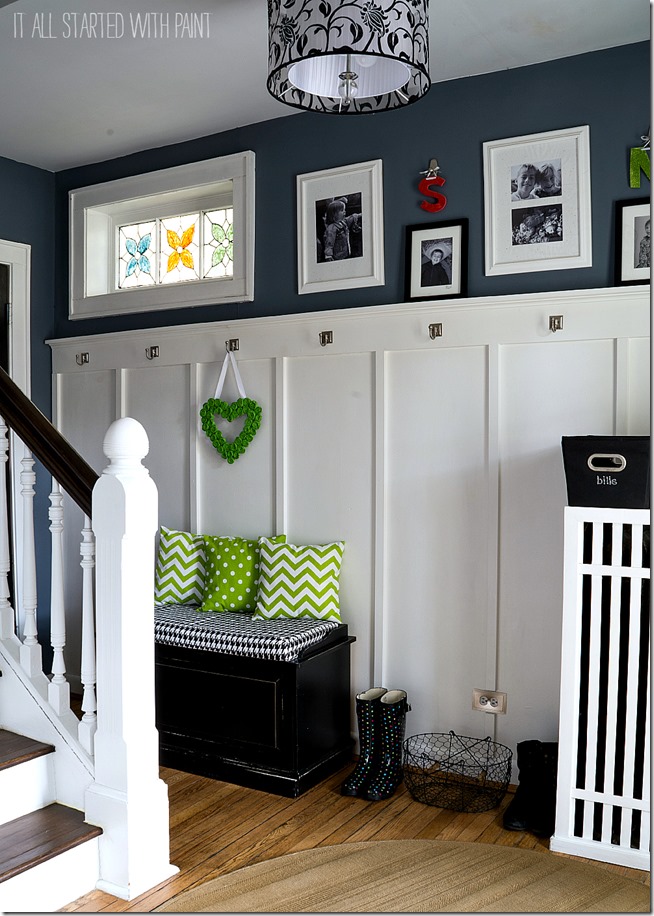
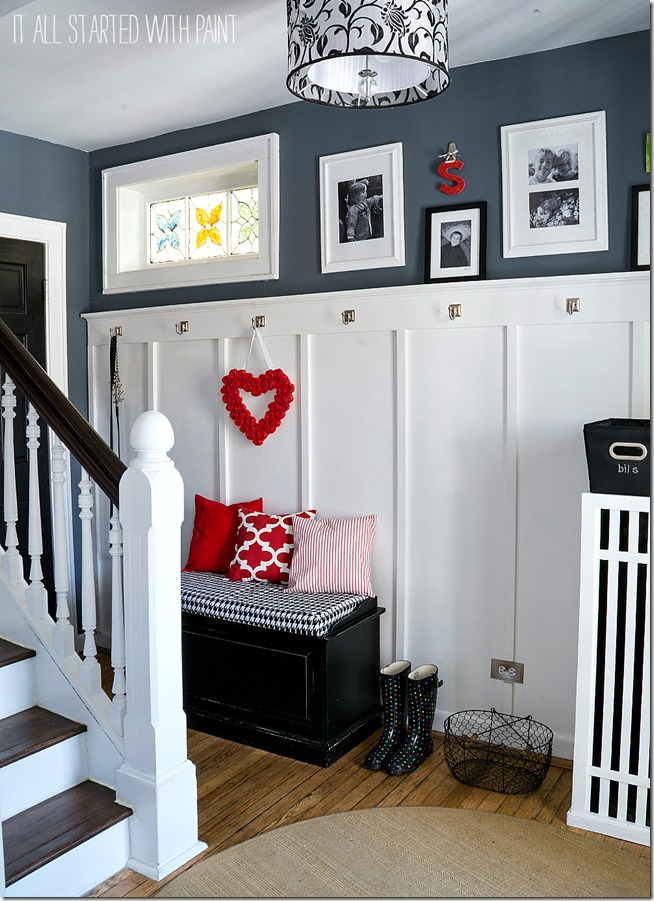
Remember my entry and how I told you it held dirty little secrets? And you all were all like, yeah, right, Linda. It looks just fine to me.
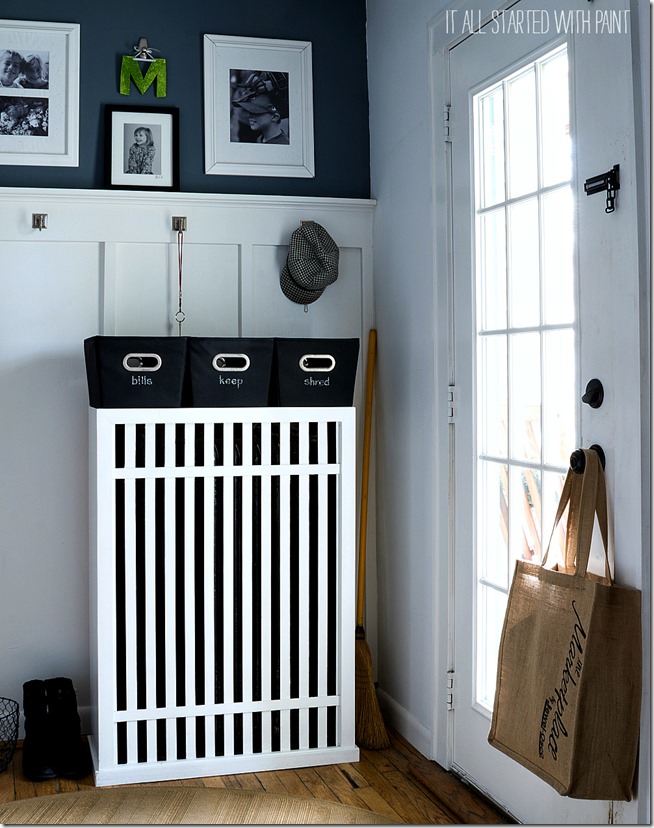
You pointed out how the closet door and storage bench could close fully. And how papers weren’t spilling forth from my mail sort bins. And, fair enough, what I showed you looked perfectly fine. Clean, even.
An acceptable entry to greet guests with my head held high.
On the surface, that is.
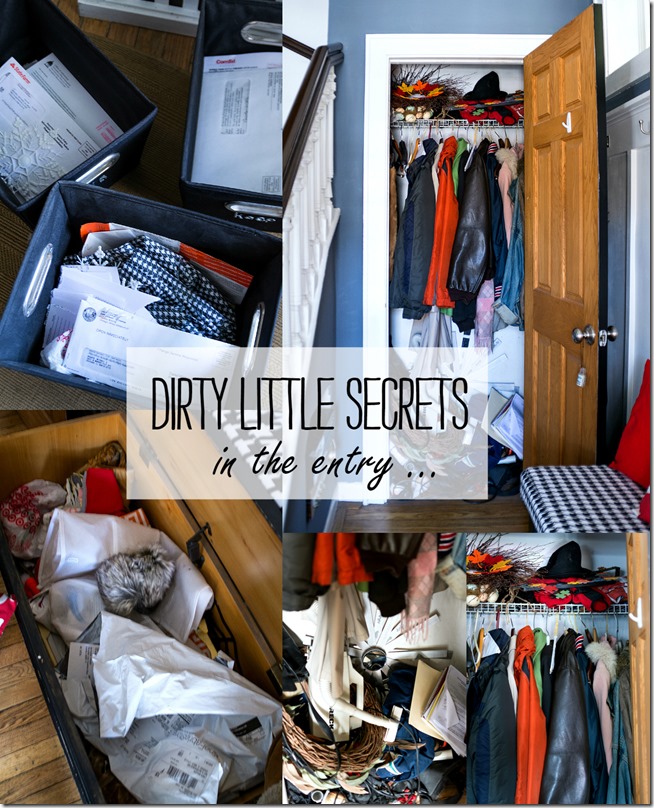
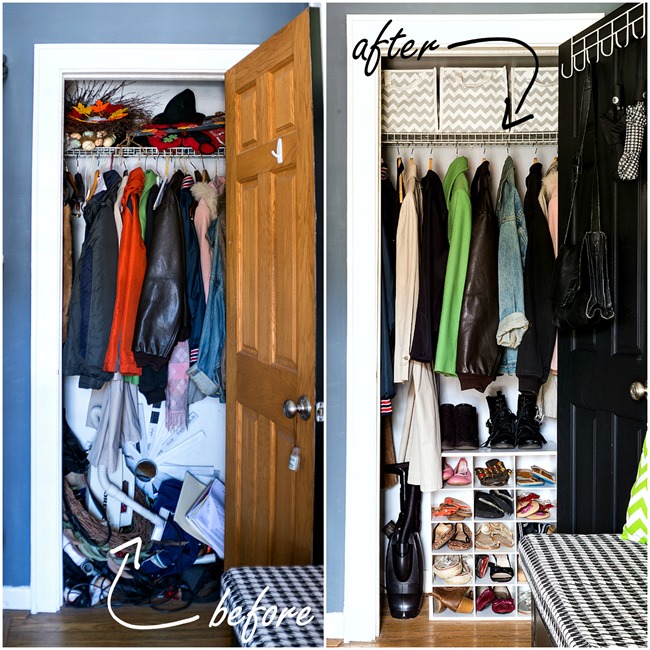
But do you know what I see when I look behind closed doors and closed storage benches in inside of storage bins in the entry? I see this …
Ack!
Well, that’s what I saw before tackling my 7-day deep clean last week. My view has changed considerably since then …
changed for the better, that is.
For the much, much better.
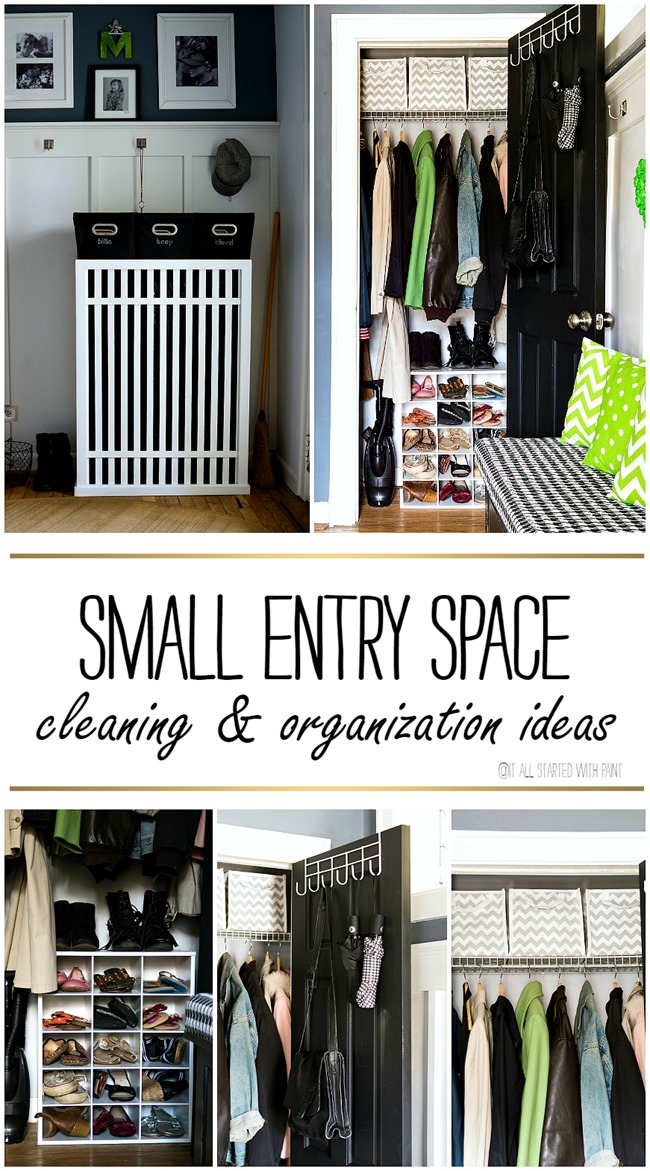
I’m going to share some cleaning and organizing ideas for small spaces here. With a caveat. I am in no way the most organized of the organized. Nor am I the cleanest of the clean. I fall short on both counts. All I can do is share what worked for me.
1. Start with a surface clean. I find it much easier to clear out the space first. And run the vacuum. This leaves you with plenty of room to spread out. And a clean surface to put your items.
2. Don’t try to do it all in one day. You’ll just set yourself up for failure. Disappointment. And burnout. Instead, break it out into tasks and tackle one or two each day. You’ll end each day with a serious feeling of accomplishment … and motivation … to dig in again on day two. And three. And four. And more …
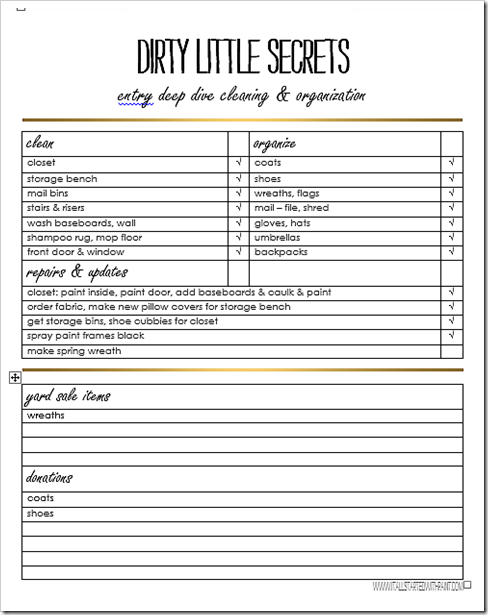
I made a checklist to keep me on track. And I created a clean template PDF file for you to you too. To download for free, click here …
3. Set a start and end time. And stick to it. As best you can. Admittedly, I fudged on this one. I wanted to start each day at 9:00 AM. But it seemed I couldn’t get my act in gear until 9:30 Or 9:45. Or 10:00. And some days I spent more time than others.
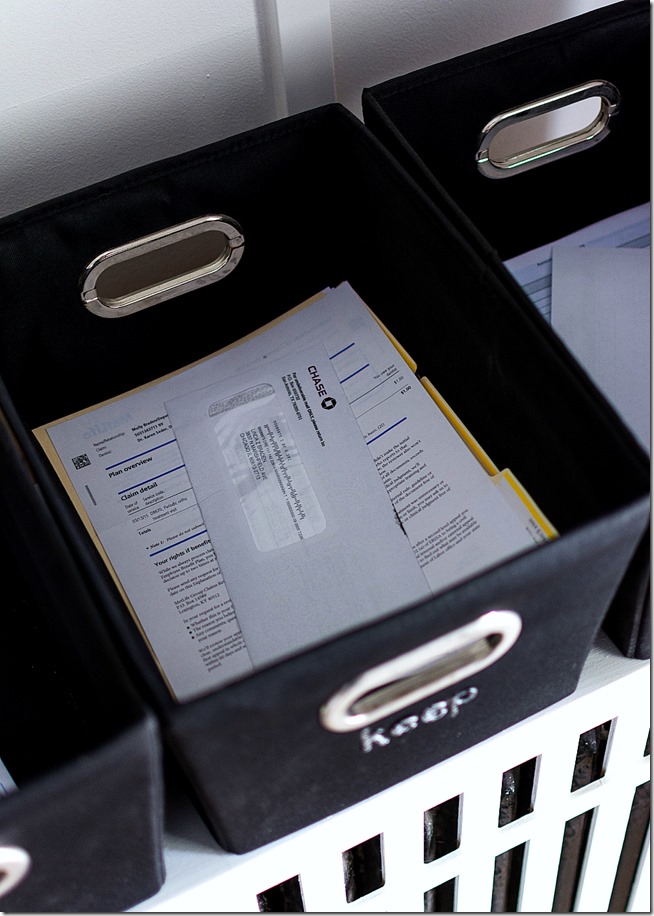
Like the day I underestimated the time it would take to go through he mail sort bins.
Each piece of mail needed to be opened. And examined. And for the “keep” bin I needed to set up a filing system.
4. Tackle the worst first.
The closet, by far, was the worst area in the space. But it was the best to purge. I was brutal when sorting through the junk and filled two garbage bags full. A few coats were donated to Salvation Army. And a handful of items made their way into my “yard sale bin” in the basement.
3. Don’t purchase storage bins and other organizational pieces until after you clean the space.
Otherwise, you’ll may end up purchasing items that don’t work it the space. And wasting money.
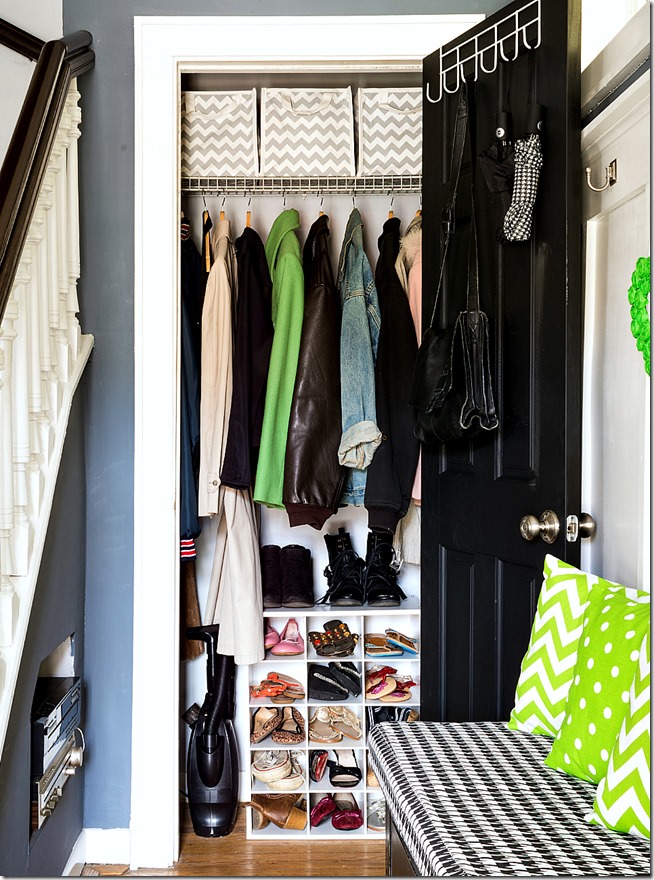
It wasn’t until I had my “keep” pile that I could figure out how it could all fit back into the closet. Neat and tidy.
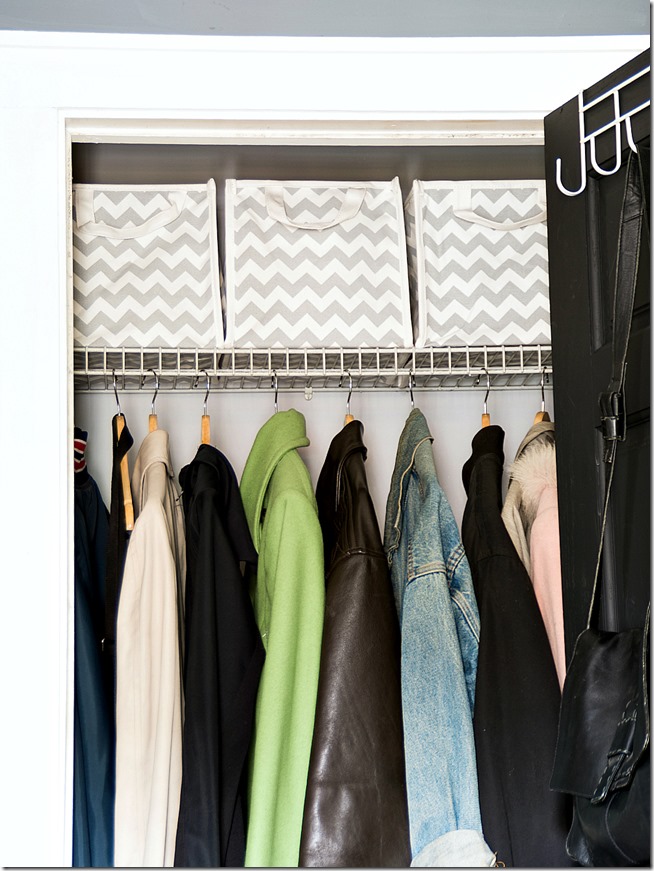
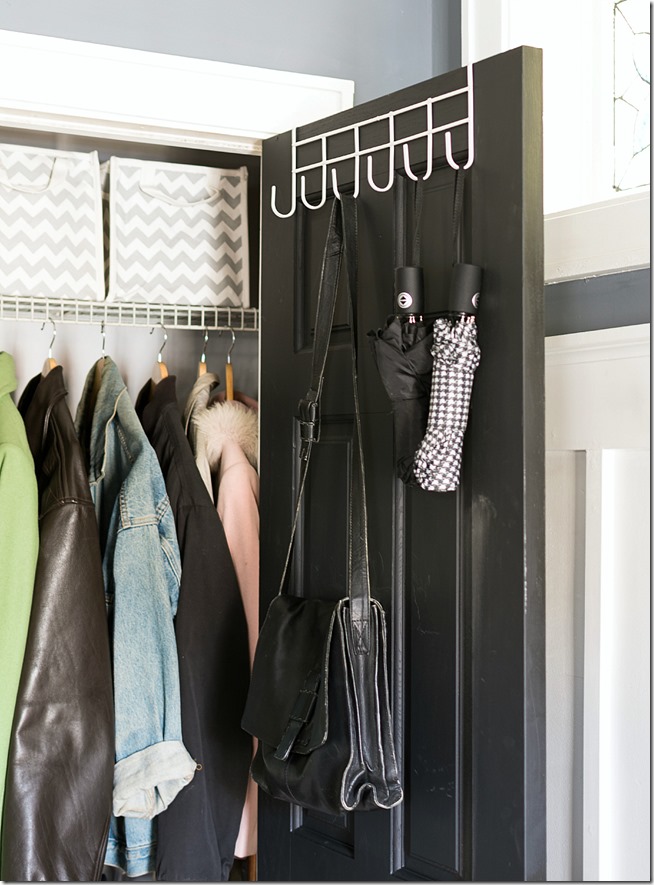
The cute gray and white chevron fabric bins from Pottery Barn (here) were a perfect top of the closet solution. They hold my flags and winter gloves and mittens and scarves and hats.
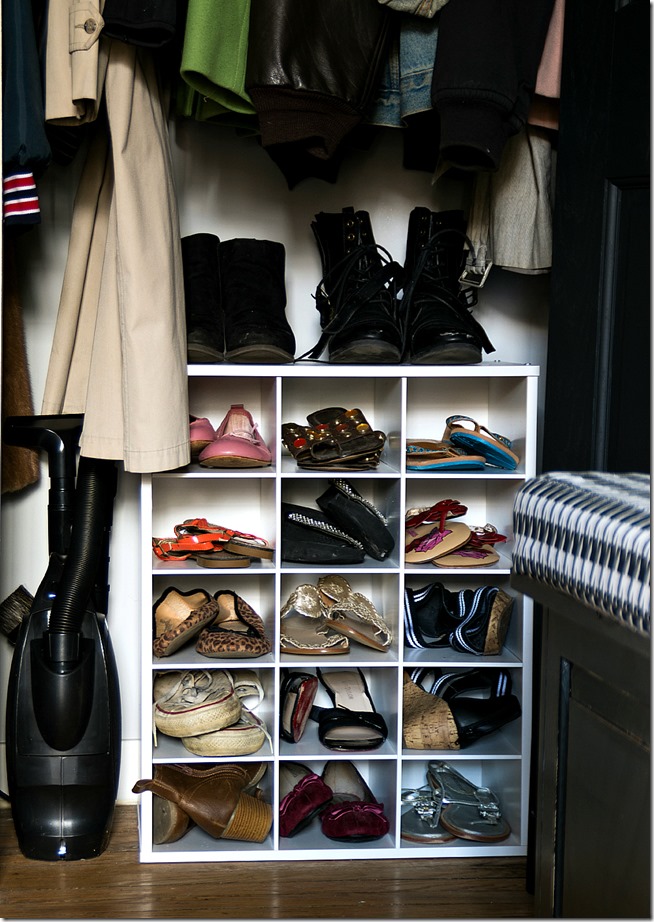
This Closetmaid stackable cube storage (here) was the perfect size to hold my shoes, while still leaving room for the mini vac.
And this over the door organizer rack (here) offers easy access to umbrellas and bags.
4. Don’t bite off more than you can chew.
This was a lesson learned. I veered from the original plan and decided to paint the interior of the closet. And the back of the closet door. And add much-needed baseboards. Sure, you can’t see it, but it makes me happy!
It feels so great to have a handle on this space. I know exactly what’s in here. And even have extra space (like in the storage bench) for even more stuff! 🙂
I’ll just take care not to over-stuff …
😉
Linda
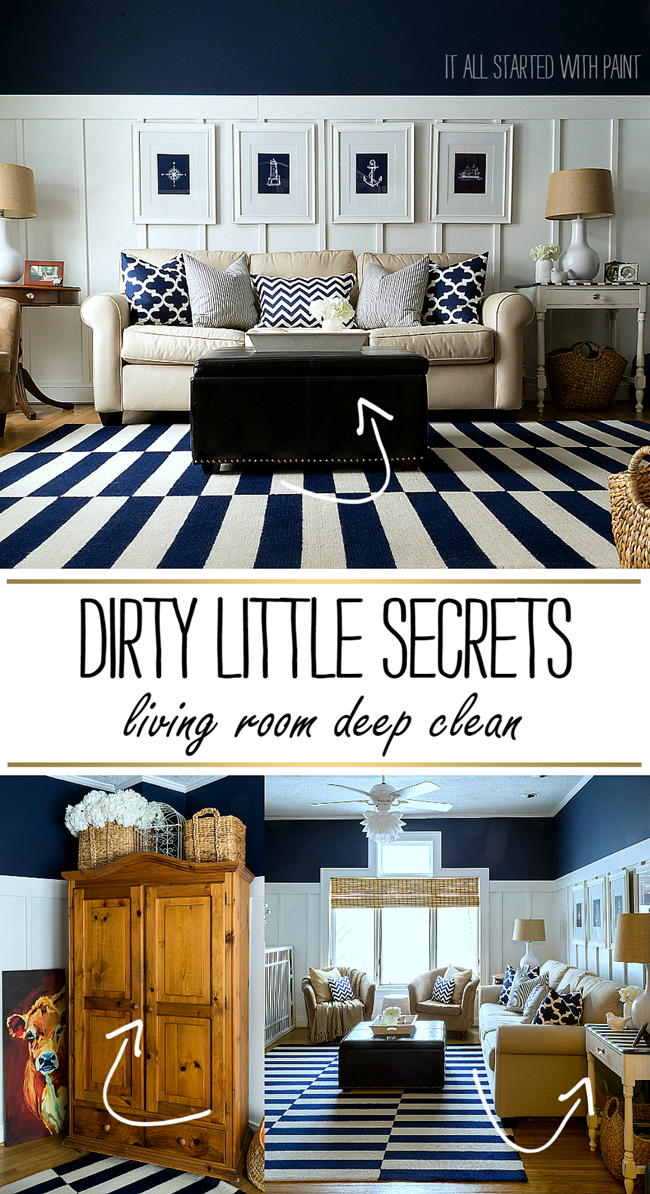
One dirty little secret down, nine more to go. Or is that ten? I’m not sure. What I do know is this week I’m moving on to the living room …
Be sure to check back next week for the sordid behind-closed-doors befores & afters!
Sharing: * Between Naps on the Porch * The DIY Showoff * Inspiration Monday *
thanks Linda, you have inspired me to tackle the coat closet which was on my to do list last year, and still looks frightfully similar to your before picture 🙂
You’re a cleaning stud! While that list thingy is totally against my nature it seems it might be something that would keep me on track.
LOL – list thingy! Like it’s a foreign object to you! 🙂
“Sure, you can’t see it, but it makes me happy!” I said these exact words to my husband last week when we were de-cluttering some kitchen cupboards. I do so love an organised cupboard.
Happy wife, happy life! 🙂
I can so relate to needing the “hidden” spaces neat and organized! Great feeling, for sure. Your entryway is so cute & I love the green wreath! What is is made of?
Thank you so much!!! The wreath is made from tissue paper rosettes. And I just cut a heart out of carboard for the backing. 🙂 Linda
Thank you–what an impact for something easy “free”! I love your style. I think I should invite you out to Wheaton for lunch & we can go spray paint shopping–you can fill your cart!!
I love your entryway! It’s so beautiful! And I really liked the way you organized it all. Those big chevron bins are a great way to hide stuff!
Thank you so much for your lovely comment! 🙂