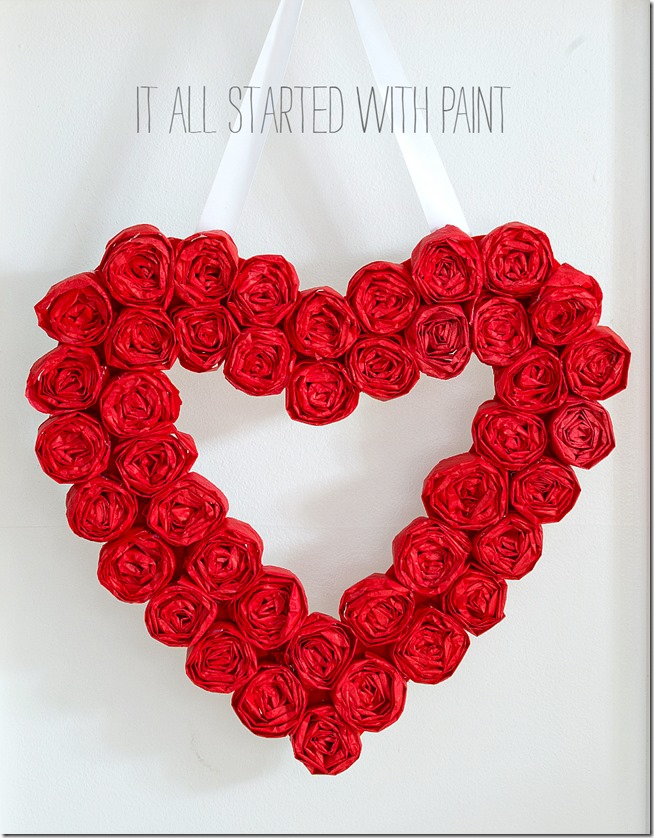
I know the holidays are over. The decorations are down and tucked away until next December.
And I know I should be looking forward … not talking about a holiday that we shouldn’t even start to think about for another eight months or so.
But as I was creating this Valentine wreath – a wreath that involved quite a bit of cutting and crinkling and rolling and hot glue gun gluing – I found myself with a lot of free time to think …
and my mind wandered back to Christmas time. And I recalled one day when I was at Target. The store was an explosion of Christmas. There was the designated Christmas section. But everything Christmas had found it’s way into just about every department. Sweaters and socks and wrapping paper and gift baskets in the grocer section. Not to mention giant ornaments and reindeer hanging from the ceiling.
And as I was walking down the aisle, I spotted a sad little Hanukkah end cap display. It wasn’t even give the full end cap. Just a few shelves. One sad little two-shelf Hanukkah end cap.
Somehow it didn’t feel right. Christmas was everywhere and Hanukkah was given just two shelves.
Or maybe Hanukkah has it right. No pressure. No stress. No crazy gift buying that involves taking out a second mortgage on your house. No boxes and boxes of décor and ornaments that are dragged up and down narrow basement stairs.
Oh, and no hauling a sappy, dead tree into your home. A tree that will continue to die and dry out, and leave you with a pile of needles that takes months to fully clean up …
At least Valentine’s Day is much easier. Décor wise, that is. But it certainly comes with it’s fair share of pressure … and fair share of commercialism.
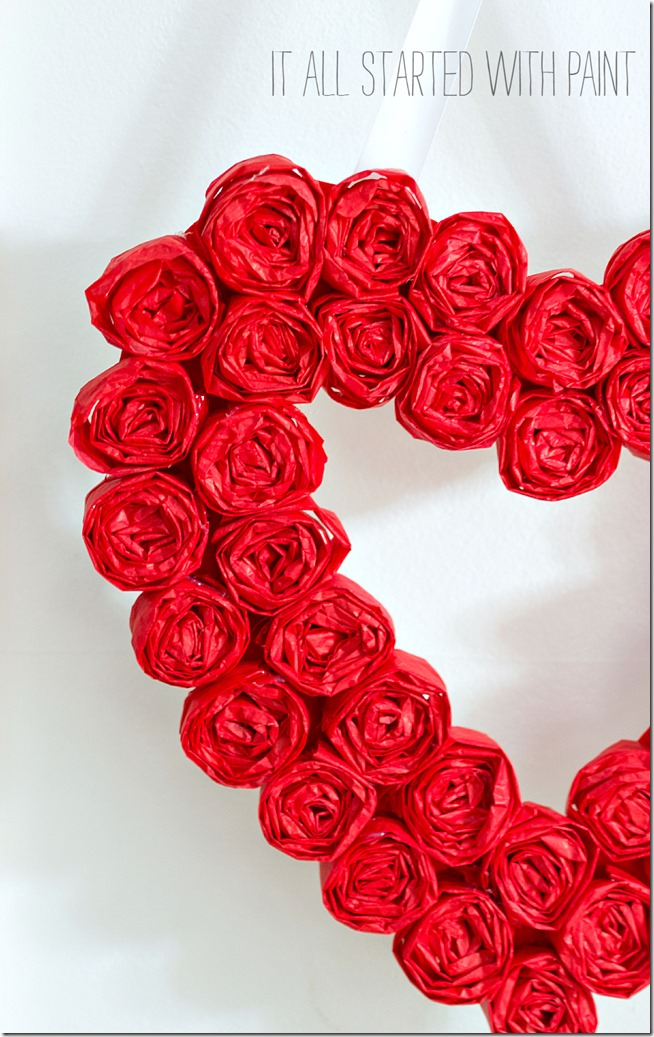
That’s why I plan on only cheap DIYs this Valentine season. Like this Valentine wreath I made from leftover red Christmas wrap tissue paper and some cardboard I had on hand.
Valentine Wreath: How To Make
Materials*
Cardboard
Red Paint
*some affiliate links included.
I started by cutting 3-4” strips of tissue paper along it’s longest length edge.

And then I crinkled them up.

I then folded them in half. Loosely.

And in half. Loosely.

I started to roll it up, adding dabs of hot glue at the beginning.
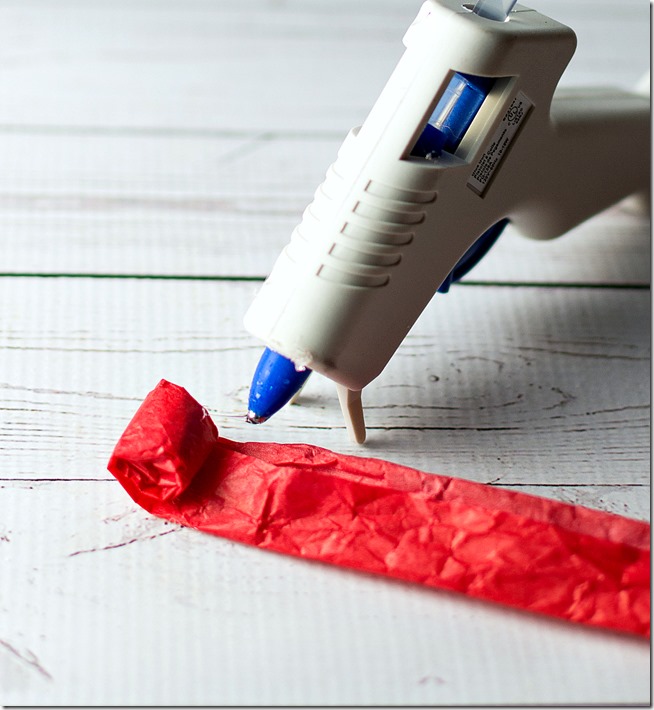
And then a dab here and there as I rolled.
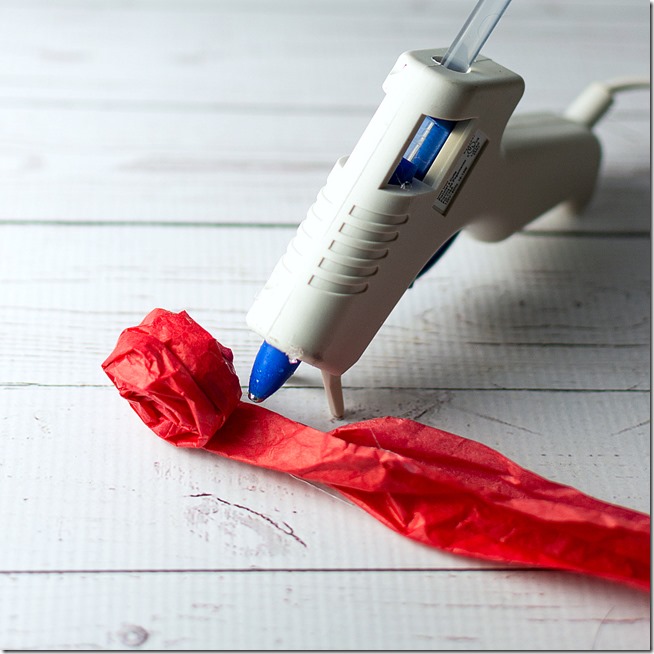
With a final dab of hot glue on the ends.
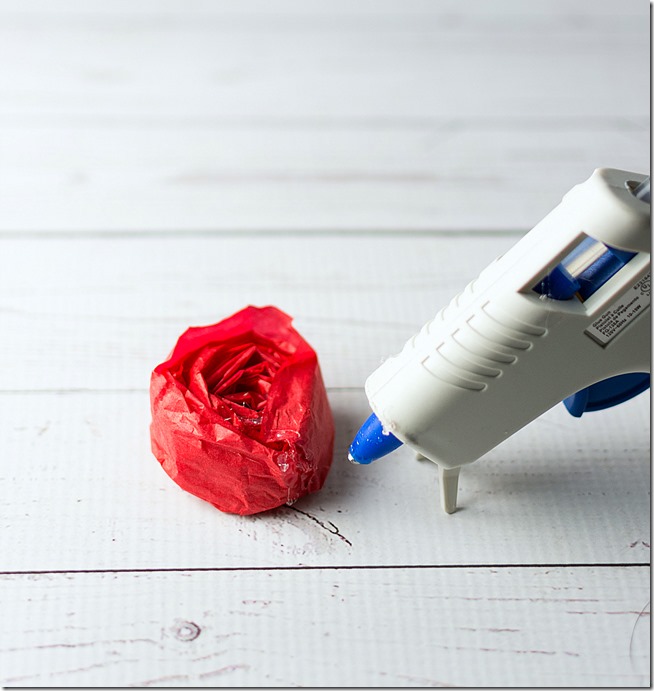
Voila. My tissue paper rosette.

Repeat 40 or so more times.
For the frame, I cut a heart shape out of newspaper and traced it onto a piece of cardstock cardboard.
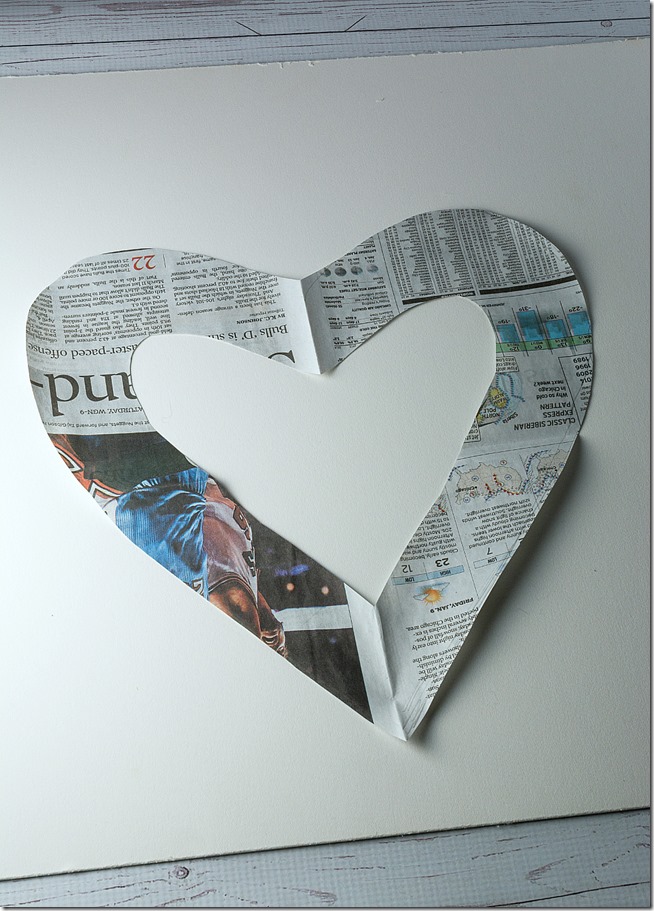
Then I painted it with some red craft paint.

Then I started gluing. Beginning at the center top.
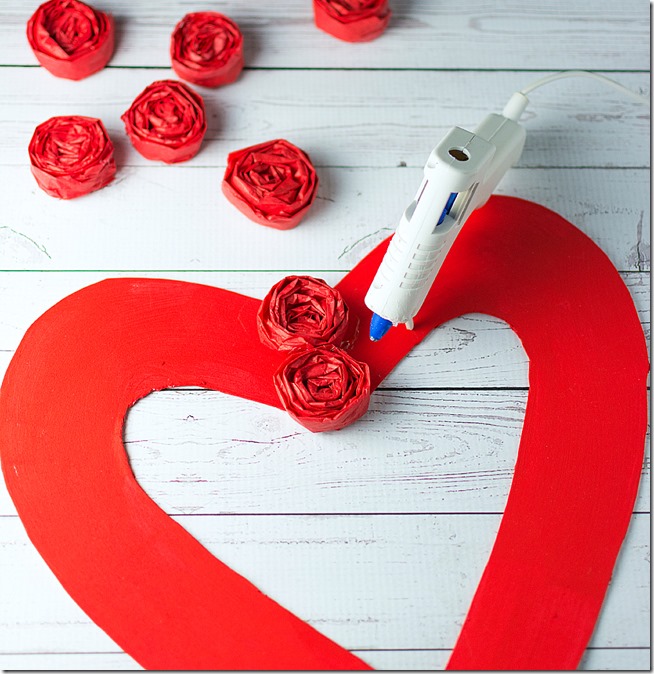
And working my way around both sides equally.
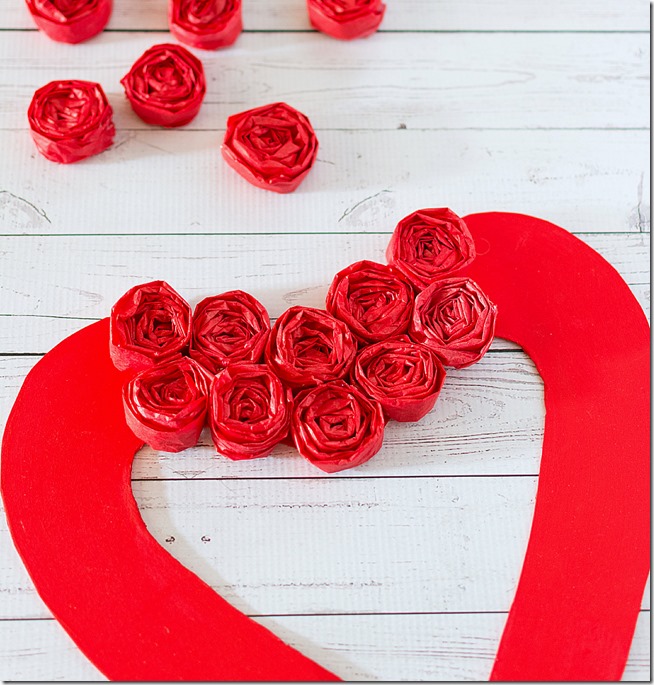
Voila. My free tissue paper rosette heart wreath.
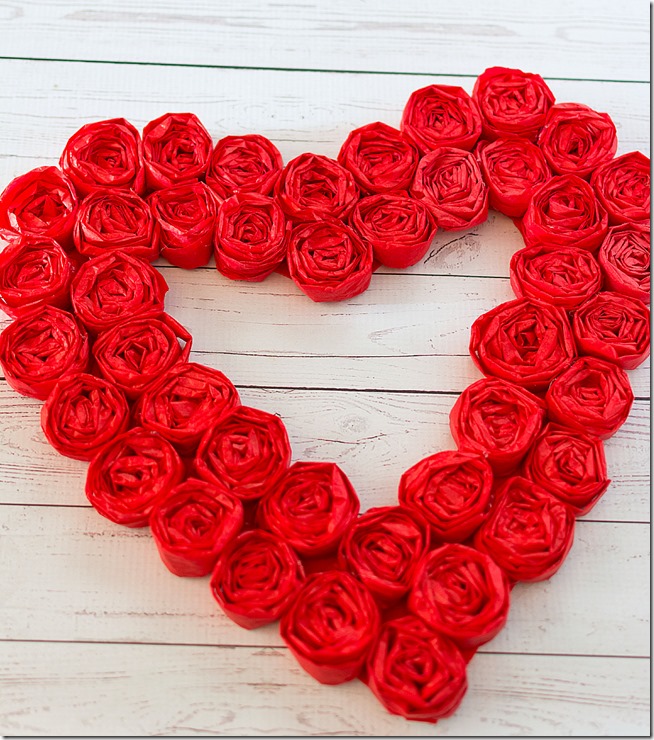
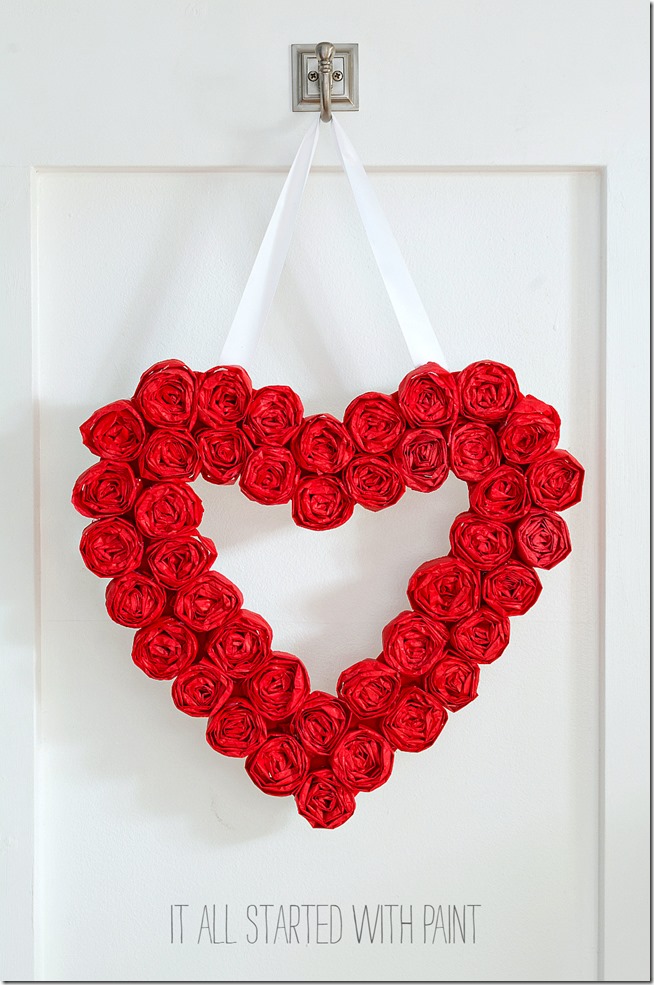
I added a ribbon and hung it in my entry.
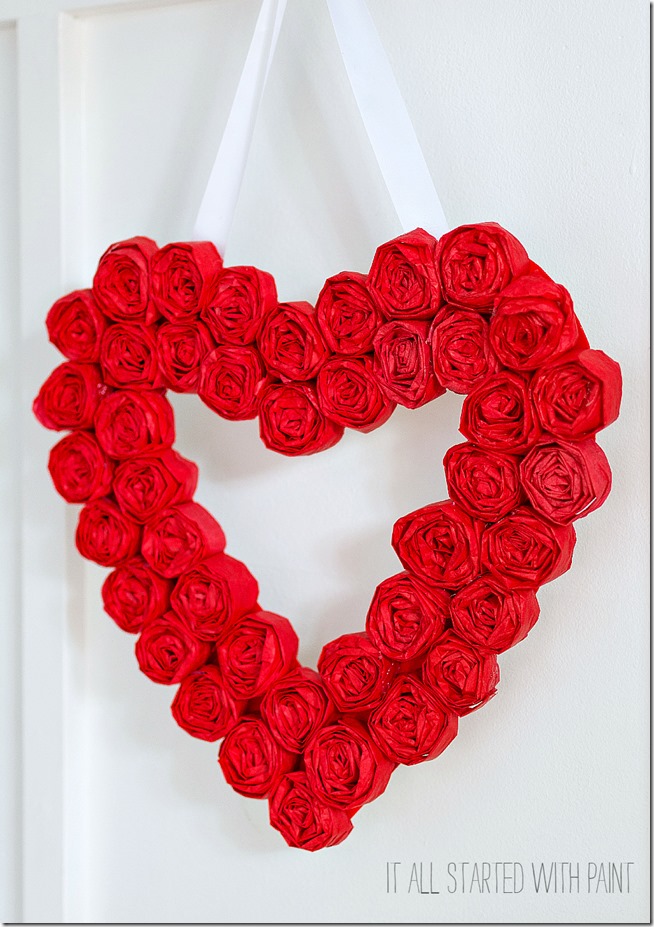
Because, you know, the entry was looking kind of bare after I took down the Christmas decorations.
🙂
Linda

P.S. If you’re looking for even more Valentine’s Day inspiration & crafts, check out these posts:



So pretty and so easy! Love it! Now I wish I hadn’t packed all that tissue away. I love Valentines decor because it’s the only time reds and pinks make an appearance in my decor.
Thank you Danni! I had some grand Christmas plans with tissue paper, and was scooping up red tissue left and right. But I never followed through on that project so am thrilled that I found a use for that tissue paper! 🙂 Linda
Very, very beautiful Linda!….you always come up with the most creative ideas and projects!…
Thank you Shirley! you are always too kind to me!!! Happy New Year! 🙂 Linda
So pretty! Love that it was so “low-cost”
That was my favorite part too! 🙂
This is darling! I may just try it!
Jane x
Thank you Jane! Just find a good TV show to watch first. It felt like I was crinkling, folding and rolling for hours! 🙂
Beautiful Linda!
Thank you Anne!
Love this!
In fact I had the day off of work today and decided to try one myself. It turned out super cute! Thanks for sharing!
xoxoxo
I’m so happy my tutorial worked! It really is cute, right? I keep checking mine out and am really happy with how it looks! Hope you are well and Happy New Year! 🙂
I love how simple yet pretty this looks-you also made it look easy to make-I might have to try it!
It was easy – but a bit time consuming. And thank you for your sweet comment! 🙂 Linda
I’m usually not a big wreath person – though there are definitely some I admire. This one though it so cute! So cute – that I might just try it myself. 🙂
Could you tell me about how big the heart cut from the cardstock was? Was that an 8.5 x 11″ sheet or bigger? I’ve got plenty of posterboard – so I could make a fairly good sized one – but obviously want it to be “to scale” with the rosettes.
Now I just have to find some cheap red tissue paper. I’m hoping Dollar Tree has it.
I’m so happy I inspired you to try this out!! To answer your question, my cardstock wreath form measures 14 x 14 at it’s widest/longest points. And I’m pretty sure you can find some red tissue paper at Dollar tree. Good luck! 🙂 Linda
Thanks! Putting red tissue paper on my shopping list! 🙂
I need a good “soft” project. I just took some aluminum flashing (the roofing stuff) that I had left over (turned some blegh laminate pressed particle board bedroom furniture into “stainless steel”) cut it down into subway “tiles” and glued them to the back of my kitchen “peninsula” in the brick pattern. Turned out great but man alive, aluminum flashing is a slicey, pokey material! lol I always bleed a bit when working with it.
Ouch! Bleeding! Yikes! I tend to avoid DIY that could result in blood! 😉 Though, sewing can be dangerous. What with all those needle pin pricks! 🙂 Linda
This is so cute… this might have to be a little project I can share with the kids at school. Love it!
love it so pretty and looks like we should be able to make
come see us at http://shopannies.blogspot.com
This is so fun! I love that you used all paper products…no guilt if you ever have to discard or replace. 🙂
Thanks Kim! I love that it was free to me! 🙂
L-O-V-E. I-T
what a pretty wreath. i probably would have been cussing over the hot glue after two flowers!
Linda, I absolutely love it! Thank you for linking your pretty wreath at Inspiration Monday party. I am pinning this for later, and sharing with my FB followers today…, then I’m heading to my phone to share IG XO ~ Julie Redhead Can Decorate .com
Your wreath is gorgeous, great job!
and looks so beautiful for Valentines day.
blessings and happy Valentines day a bit early,
Nellie
Thank you! 🙂
Hi. What kind of glue gun do u use and how many watts is it?
Thanks x
I don’t know about watts for the glue gun. I just picked up a cheap one at Michaels. You can find them at any craft store.
I love this and want to try to do this for my next ladies craft night at the end of January. Could this be done in a two hour time frame?
Thank you! As for the 2 hour time frame, I think so? It’s been a few years since I made this wreath but I seem to recall that it was a bit time consuming to make all the little rosettes. You could get a head start on it though by cutting out the heart forms and painting them first … and maybe even cutting out the strips of tissue paper.
Making this with my ladies craft group! Going to cut out hearts and tissue before hand. Hope to have mine done so they can view! Looks like fun and so pretty!