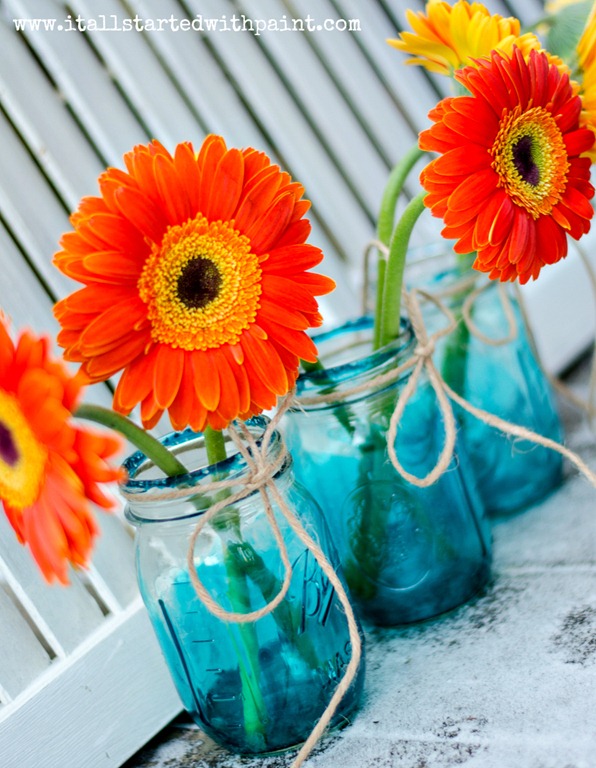
Vintage Look Blue Mason Jars Tutorial Using Food Coloring.

“Don’t worry,” she whispered to the window pane mirror resting on the floor against the dining room wall. “You’ll be hung up again. She promised me. You’ll be so pretty again. Don’t worry. I’ll take care of you.”
“Nooooooooooooo,” he wailed. Outstretching his arms to the sky – as if seeking divine intervention – when he spotted the bare walls in the living room.
Well, not quite bare. They were covered in blue painter’s tape. Masking off where the boards and the battens will be installed.
“What about the art? The pictures?” he wanted to know. No. Demanded to know as he gesticulated to the picture frames leaning against the radiator. “They’ll go back up, right? RIGHT?”
I think I heard his voice crack.
“Yes,” I reassured. “There will be art. Not the same art, though. But the same frames. Okay, not really the same frames They’ll be painted. Spray painted, I think. And the art … that will be new too. You know, to complement the new rug.”
“Noooooooooooooooooooooooooooooooooooooooooooooooooooooooooooooo ……..”
Uh oh.
My mistake. I shouldn’t have mentioned the new rugs. That’s what started this whole crazy uprising in the first place.
You see, while I’ve shared my design plans with you all for the living room and dining room remodels, turns out I’ve neglected to inform my family of the changes …
… okay, that whole innocent ‘neglected’ isn’t quite so innocent. I know full well my family is not one to easily embrace change.
But he arrival of my amazing new rugs opened up a can of worms. A worm-infested can filled with too many questions about “why do we need new rugs” and “where are the old ones are going” (both children separately requested that I put the old rugs into storage for them. Um, no. I was thinking Craig’s List.).
Then my daughter pointed out that the whole house is turning blue. The kitchen. The bathroom. The master bedroom. The entry (no, I corrected her, it’s gray. Not blue). The odd little “in-between” space between the kitchen and the bathroom and the dining room and the family room (again, gray. Not blue).
But she does have a point. I’m trading in my circa 2000 jewel tones for various shades of blue and gray.
So, before I cover their beloved red wall (yes, they’ve been crying about the red wall too) with battens and navy paint, I thought we’d take some baby steps into the world of blue with a vintage-look blue mason jar diy …
How To Make Vintage-Look Blue Mason Jars

![]()
Using some Mod Podge and blue food dye …

Do you see the Mod Podge “matte” in the picture? Yeah? You do? Well, don’t use the matte product. You won’t be happy. The finish will be dull and murky. You’ll have to scrub them clean and try again. And on the second try? Yeah, you’ll be equally unhappy. And as you scrub away the glue and dye with scorching hot water and soap – for a second time – you’ll realize that you really do need to use the Mod Podge gloss.
1. Mix Mod Podge gloss with water and food dye. I used a 4 parts Mod Podge to 1 part water equation. I wanted a deep, rich blue color. If you want it more subtle, just add more water to the mix.
2. Pour into mason jar and swirl around.

Pour the excess back into your plastic cup.
3. Dry upside down for an hour. Periodically, wipe away excess paint from top lip. You can make a little drying rack using popsicle sticks. I didn’t have popsicle sticks, so I used some plastic forks.

4. Bake in oven at 200 degrees for one hour. I let mine bake for 30 minutes upside down. Then I turned them right side up for another 30 minutes. After an hour, turn off the oven and let the glass cool down inside the oven. Oh, and you should gently wipe the excess paint from the lip at the 10-15 minute mark.
As you can see, I didn’t follow that wipe the lip step …

![]()
Oh well. I still like my tinted blue mason jars. Especially after three tries …

![]()
And the kids approve too …

![]()
Although, I have yet to hear my daughter whisper sweet nothings to them …
🙂
PIN IT!
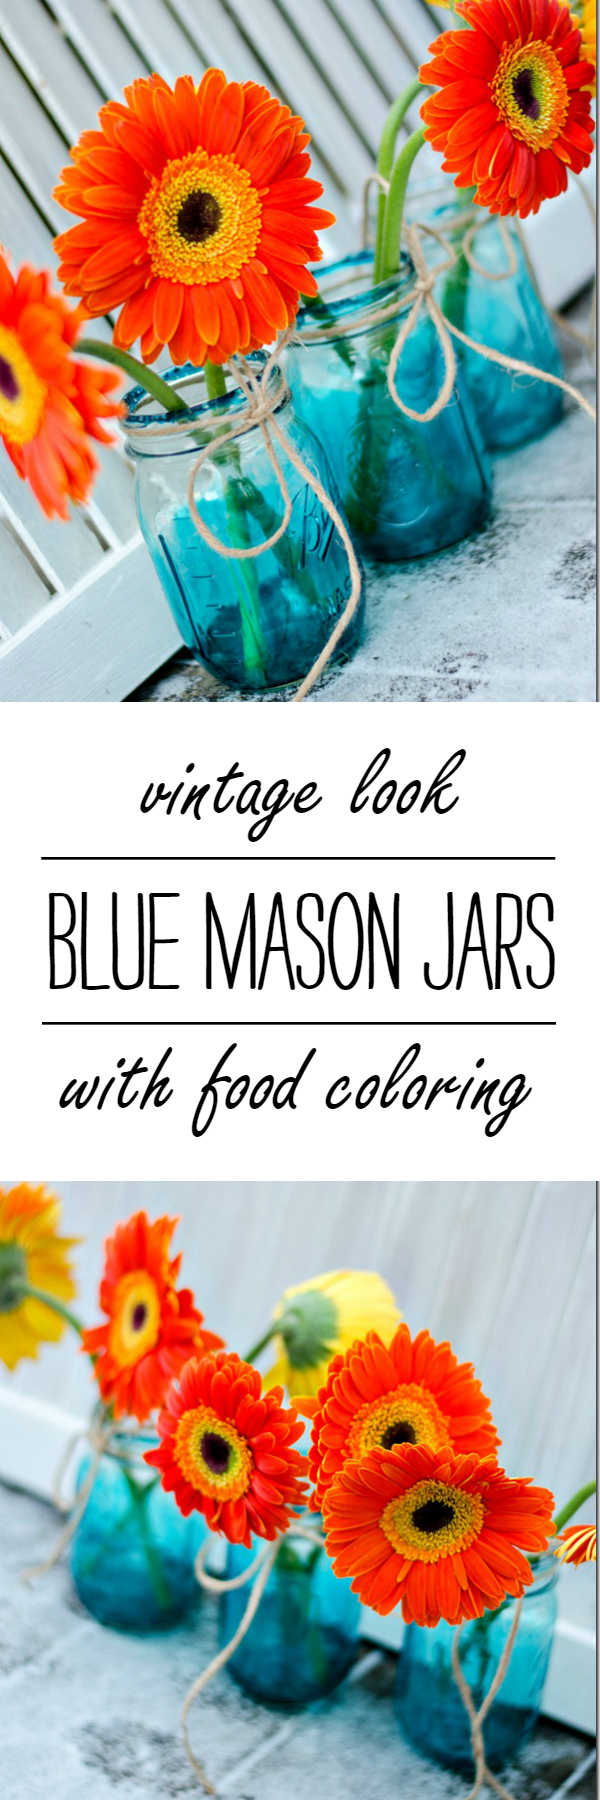
Vintage Look Blue Mason Jars
You Might Also Like:
If you’re looking for more mason jar project ideas, check out my gallery here …
P.S. You can find the finished navy & white living room remodel here. And the navy & white dining room remodel here.
They look great! I inherited a bunch of the “real” blue ones and I love them. (My people are used to chaos. It’s all they’ve ever known.)
The color is so pretty! Nice alternative if you can’t find the blue jars! Get used to the need to convince the uninspired around you…..I’m still having the same conversations 41 years long….they always like it in the end don’t they?
Very pretty. They’ll get on board shortly. Just don’t let them pick out your lamps!
Don’t worry, they’ll be happy with the changes once the chaos is gone. Just remind them that they like all the other changes you’ve made, right? 🙂 That’s what I have to tell my fam. Have a great week!
Debbie
My family is with yours… son asked again Saturday “are you going to paint EVERYTHING???” He’s my toughest critic.
Bliss
I love that your kids care so much about your decorating choices. You must have a house that feels very much like their home, that they don’t want anything to change. I hope your baby steps towards blue helps ease in the dining room and living room changes.
Funny – makes you realize how delicate the balance is in a child’s heart! Thanks for pointing out that I still love the colors of 2000! I always thought I just picked out colors that I liked… At least I’m not stuck in the 80’s! Your rooms are going to be amazing. You kind of have me inspired to do some board and batten in my guest room. Might mess up the whole headboard thing though.
Give her time…she’s still traumatized about the changes! 🙂 who would have thought you could mix food coloring with mod podge. Brillant!!
Very pretty 🙂
I bought a few vintage ones for our rustic wedding reception a few years back.
Hmm, I should dig them out!
Oh, and Mike totally kills me! What about the art?! (It’s Mike, right?)
~ Dana
Great technique!So pretty especially with those bright flowers!
xx
Anne
Ahhhh! Your kids sound so sweet! I don’t think my boys ever noticed a thing I did around here. As long as there was food on the table and milk in the fridge, they were happy!
Hahaha. This post was hilarious! Andy hates change too. Hating change is not compatible with living in the same house as someone like you or me. But baby steps, baby steps.
Love this project! I love mason jars and love the blue ones the most! Pinned!
These look great, Linda! I’ve been thinking about making some, but needed a good tutorial -yours is by far the best! Thanks for sharing!
They look great Linda! Love that you went with a lot of color…that’s different from the others I’ve seen. And I didn’t realize you could use food coloring. Thanks for the tip about the gloss vs. matte. Sounds like something I would do!
Debbie
So cute! I host a DIY link party every Monday and would love for you to join! http://homecomingmn.blogspot.com/2013/02/the-diyers-link-party.html
Great tutorial and tips, Linda! They’re so pretty!
Love the color combo, pinned this to my Interiors pinboard. And I think I like the skipped wipe-the-top step, it gives it flair. Maybe if you added a splash of a glitter it would look like you meant to do that? It has sort of the look of a fancy cocktail to me, so a little sparkle seems like it might do the trick. On the other hand, I love them just as they are, too. 🙂
Oh my goodness – so pretty!! I’m definitely going to have to make some of these! Thanks for sharing this at It’s a Spring Thing Linky Party!
Beauatiful!
i love the LIP! and my kids, too, joke/harrass/tease/bemoan when i pull out the WHITE paint. my son says i paint everything that isn’t nailed down WHITE. well, it sure looks lovely in here! i’m GOING TO DO THIS blue tinting! i NEVER do crafts! i love it tho!!! thanks for the visual…for the tutorial!!!
I’ve always wondered how people did this! Thanks so much for sharing. I’m definitely going to be trying this for some of my wedding decor.
I’m hosting a giveaway over at my blog, so check it out and enter.
Have a great week!
http://cloverandmustard.blogspot.com/2013/03/a-few-of-my-favorites-giveaway.html
Michelle
Clover&Mustard
Love this! came over from Bonbon break…
ADORE, ADORE, ADORE!! These are absolutely GORGEOUS!! Hope you can link up at my trendy tuesday party!!
I love these! My daughter and I are making about 70 for a VBS project at our church this summer. I was skeptical when the first batch was baking–they looked really streaky and clumpy, but they turned out beautifully! How many drops of blue food coloring did you use? We used 20 or 25, and you can tell they’re blue–we might try a few more for the next batch.
I agree that more drops of food coloring the better. I probably used 25-30 or so drops. With a few extra uncounted ones added in! While it looks really dark at first, once they’re baked they do lighten up. Plus the color I used was a brighter blue (more like turquoise) vs. just blue.
can you use water in these jars? or will it soften the mod podge? I’m wanting to use jars for the toothbrush holder in our main bath, so there will always be some amount of standing (read, icky) water in them.
Water is Mod Podge Kryptonite so, no, you can’t use water in them. It will become a sticky mess!