• Home
  • About
  • Contact
  • Email
  • Facebook
  • Instagram
  • Pinterest
  • Twitter
  • YouTube

It All Started With Paint

Our Home. My Canvas.

  • Home
  • Meet Linda
  • My Etsy Shop
  • Advertise
  • Contact Me

drop cloth napkins by the numbers…

December 2, 2011 By Linda 5 Comments

I’m excited — and honored — to bring this post to you from The DIY Showoff.  Roeshel has so generously opened up her blog to guest posts – and has even given me two opportunities to feature my projects.  Thank you so much Roeshel!

Now on to the post …

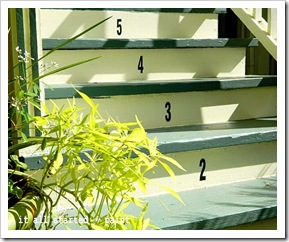
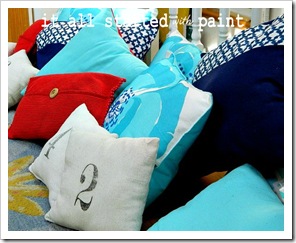
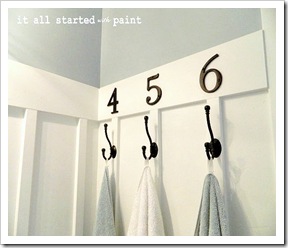
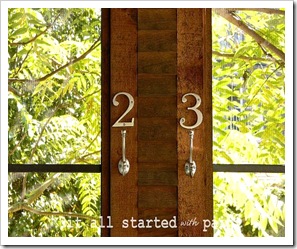
You may or may not know that I’m obsessed with numbers.  If not, here’s a quick refresher of numbered things in- and out- side of our home …

Numbered Steps.Porch.closeup (2) (600x450)Porch Pillows Indoors (600x450) (2)Numbers Powder Room (600x450)Numbers Back Porch (600x450)

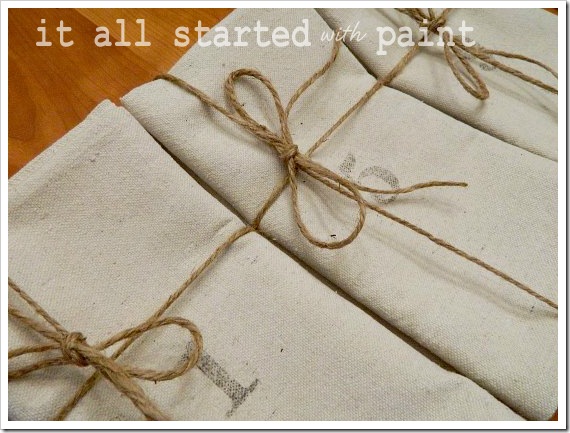
When I landed on an image a few months ago showing off a table setting with numbered napkins, I knew I needed to make these for our home.  And then make some more to sell on my ‘in-the-works’ etsy shop …

No. Napkins Final Close Up (550x413) (2)

… and a plan took shape in the form of iron-on transfer numbered napkins made from drop cloth fabric …

Painter’s drop cloth as fabric is my newest obsession.  It’s cheap. It’s washable. It’s easy to tear into perfectly straight lines.  I like the natural color, but it can be bleached lighter or even dyed — like I did for my fall wreath.

Here’s what I did …

1. Machine wash and dry drop cloth.  I purchased mine from Menards.  It cost just under $15.00 for a 4’ x 15’ drop cloth.

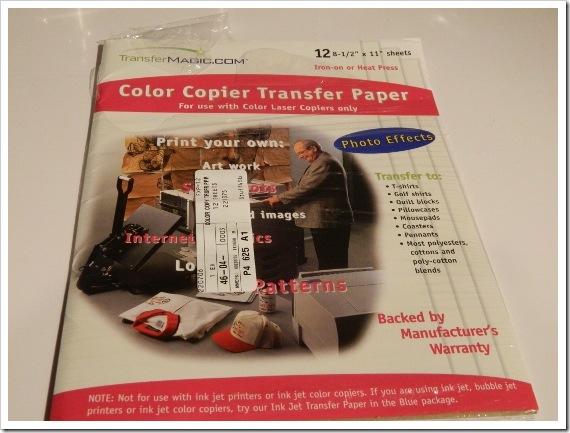
2. Create mirror image numbers and print on transfer paper (I have an ink jet printer but mistakenly used paper made for a laser printer.  It was a mistake that worked in my favor because the images transfer to the fabric without that annoying film border.  It comes out a bit grainy and aged – but honestly, I like that look …)

DSCN3417 (550x413)

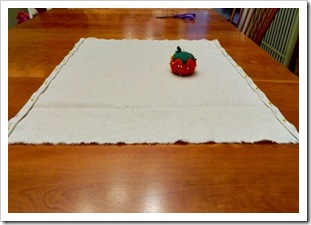
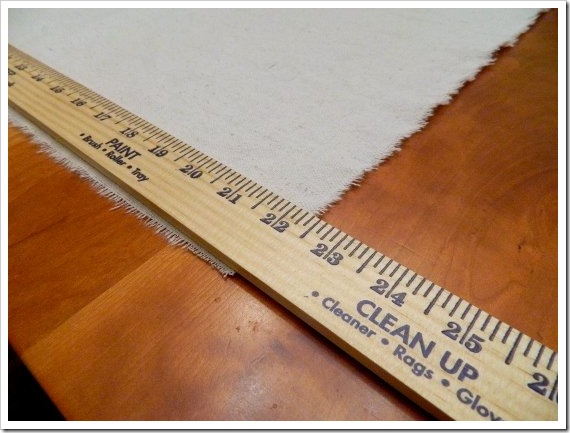
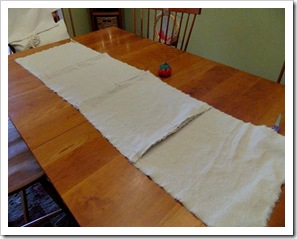
3. I cut the drop cloth fabric into 22” x 22” squares, allowing for a 1” seam allowance around the border …
No. Napkins Measured (550x413) (2)
 
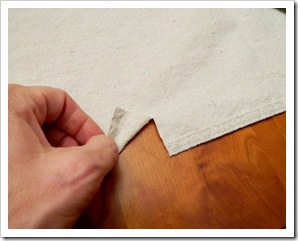
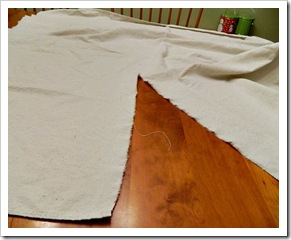
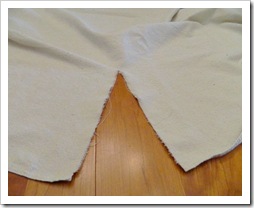
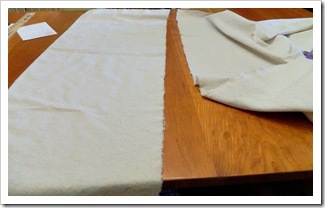
Here’s a tip that guarantees a straight line:  cut a small slit in the drop cloth and then tear …

No. Napkins 2 (550x413) (2)No. Napkins Rip (550x413) (2)

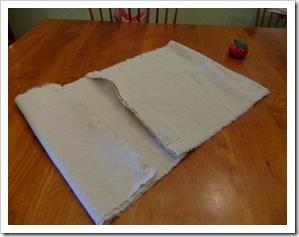
4. Double fold over a 1/2” inch and pin.  The drop cloth frays easily so the double fold will make it much more durable for frequently washed fabric napkins.

No. Napkins Pinned (550x413) (2)No. Napkins Pinned All (550x413) (2)

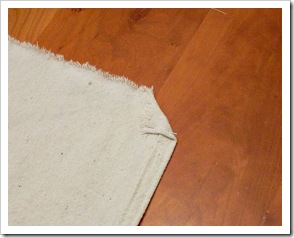
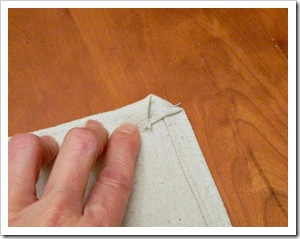
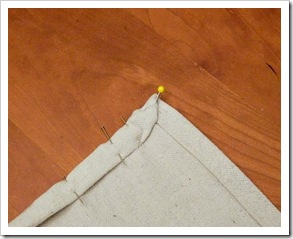
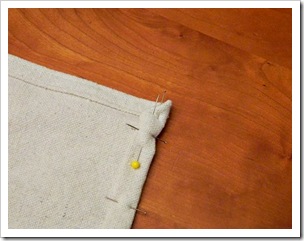
Here’s a quick ‘pic-tutorial’ on how I pinned the corners …

No. Napkins Corner 1 (550x413) (2)No. Napkin Corner 2 (550x413) (2)No. Napkin Corner 3 (550x413) (2)No. Napkin Corner 4 (550x413) (2)

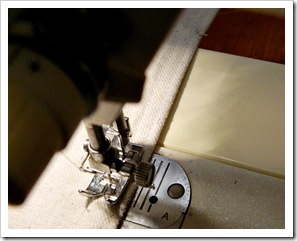
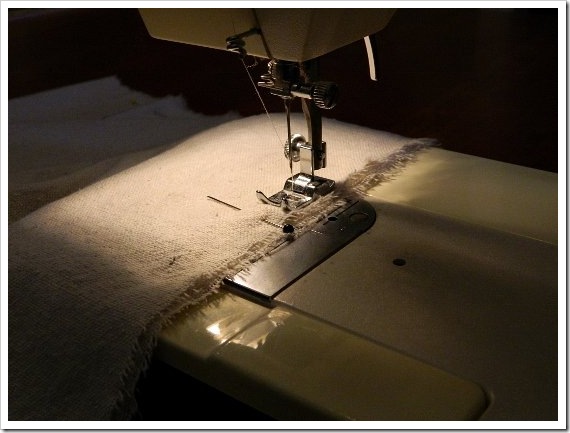
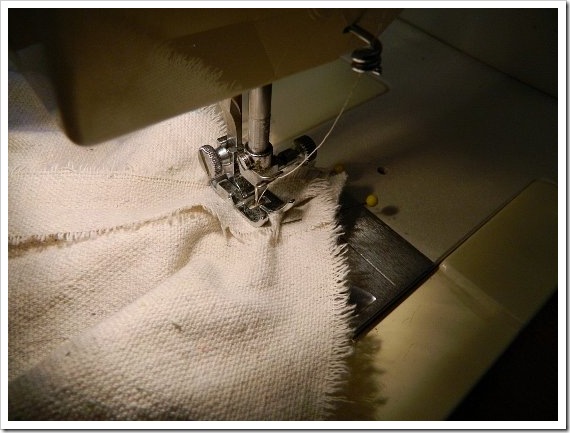
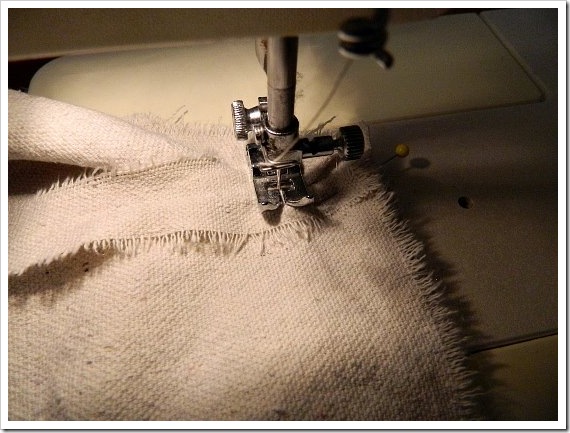
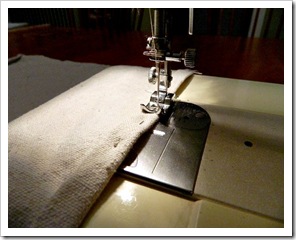
5.  Sew … and since I’m a glutton for punishment, I sewed a double seam to ensure greater durability …

No. Napkins Sewing (550x413) (2)No. Napkins Sewing 2 (550x413) (2)

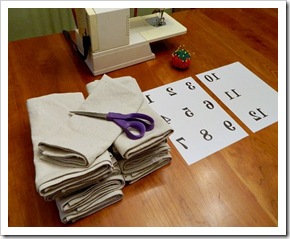
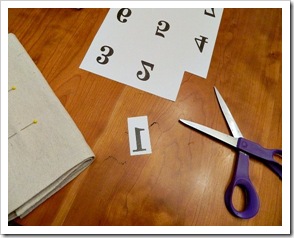
6.  Now it’s time to transfer the mirror-image numbers … (check back soon for my ‘screen cap’ tutorial on how to make mirror image text and numbers in a Microsoft Word document).

No. Napkins Transfer (550x413) (2)No. Napkins Transfer 3 (550x413) (2)

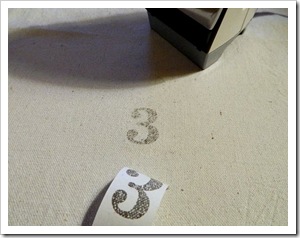
… the transfer paper I used comes out a bit grainy, but I really like that aged look on the drop cloth canvas …

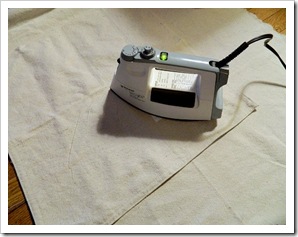
No. Napkins Iron (550x413) (2)No. Napkins Iron Transfer (550x413) (2)

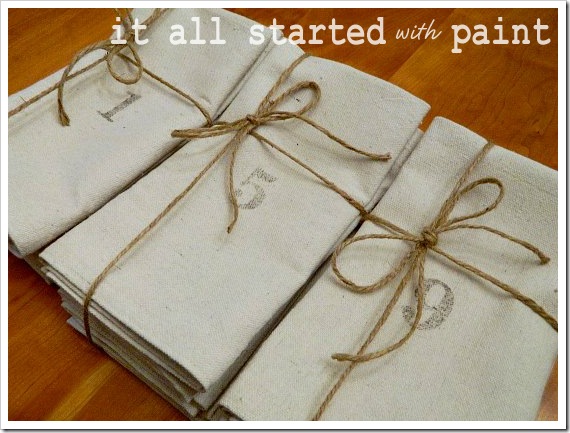
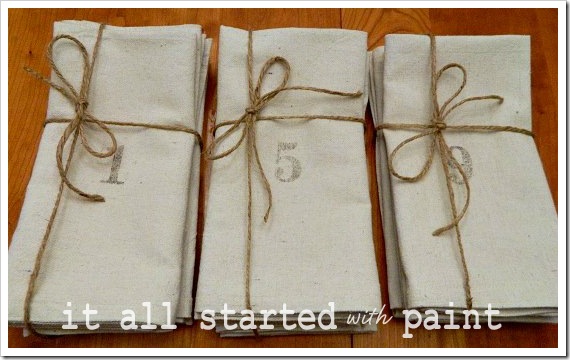
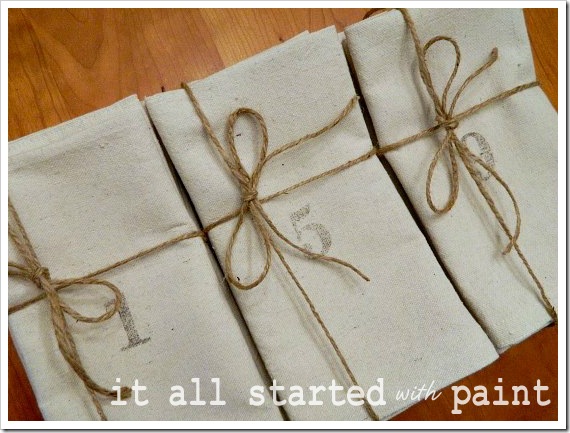
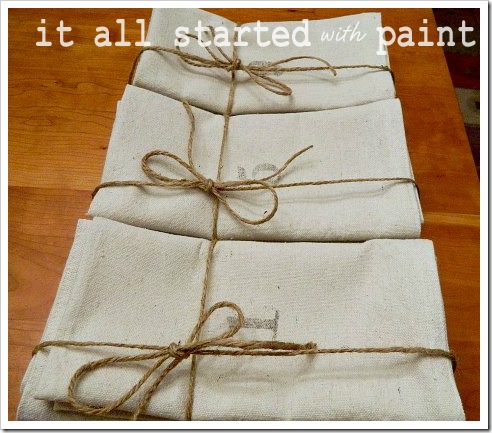
… and the finished product …

No. Napkins 12 (550x413) (2)No. Napkins 6 (550x413) (2)
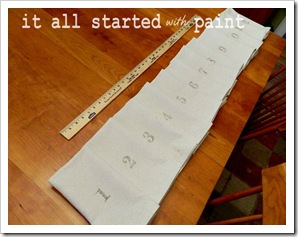
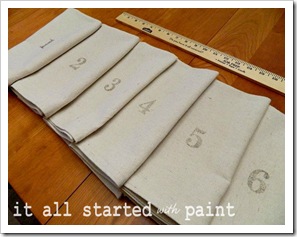
No. Napkins 1 5 9 again (550x413) (2)No. Napkins 1 5 9 (550x413) (2)No. Napkins 1 5 9 more too (550x413) (2)No. Napkins 1 5 9 too (550x413) (2)

… is ready for dinner …
image

Filed Under: Uncategorized

Comments

  1. Pat L. says

    January 21, 2018 at 7:43 am

    Love this tutorial, the bit about the metered corners is great! It took me a while to figure this out when making baby blankets for the first time.
    Your napkins are adorable and the graininess of the numbers is PERFECT!

    Reply
  2. B.S. Swartz says

    March 25, 2019 at 8:46 pm

    Is a abide DIY and an interior designer (retired) I find time on my hands, of course. Been thinkng about a bday gift for my sis who is always there for everyone and uses only clothe napkins. Your idea is perfect. I will be bleaching for softness and using kitty cat mofits. These are purrfect.

    Reply
    • Linda says

      May 30, 2019 at 8:09 pm

      How cute! (And, yes, I realize this response is months late!). They sound like the cat’s meow. 😉

      Reply
  3. Susan Seal Knight says

    August 27, 2019 at 10:57 am

    Cute. Does the fabric soften after washing?

    Reply
    • Linda says

      August 28, 2019 at 10:19 am

      Yes, it does. And the numbers do fade too after multiple washings.

      Reply

Leave a ReplyCancel reply

December 2, 2011 By Linda Leave a Comment

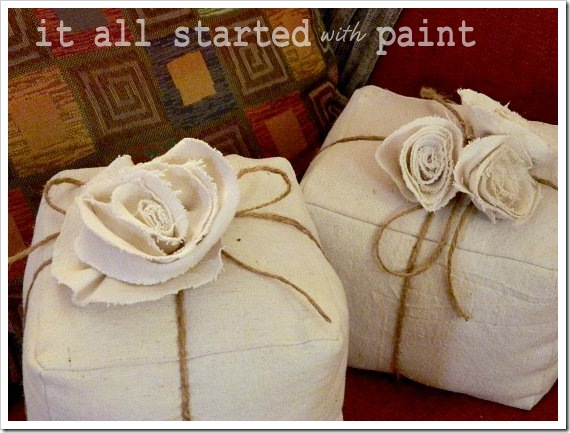
Present Pillows Twine on couch (550x413) (2)
I’m honored to be blogging to you today from The DIY Showoff.

Thank you Roeshel for this amazing opportunity to be a guest contributor on your blog.  You, your readers and your followers have been so very kind to me … and an amazing source of inspiration and instruction.

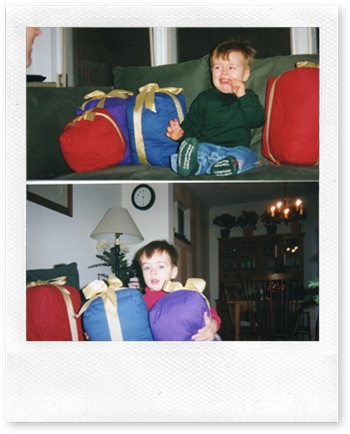
About 13 years ago, I made ‘present pillows’ for our home.  They were jewel-toned with gold bows.  Seriously, those were the hot colors of the day splashed across the catalog pages …

Present Pillows (3)
… my creations (and photos) were a little rough around the ages in my pre-blogger days …

… and the very pages where the inspiration for this project first sparked. It was either Pottery Barn or Crate & Barrel that featured ‘present pillows’ in a photo shoot.  They weren’t for sale.  Just a prop.  But it was a prop that I knew I needed in our home for the holidays …

Those jewel-toned present pillows were literally loved to death by my children and were ‘recycled’ many moons ago.  Then I happened upon that picture above (the baby holding those pillows is now in high school) and decided it was high time to bring back the present pillow.

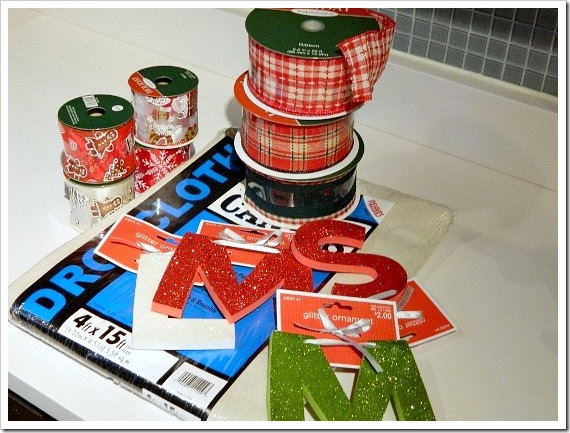
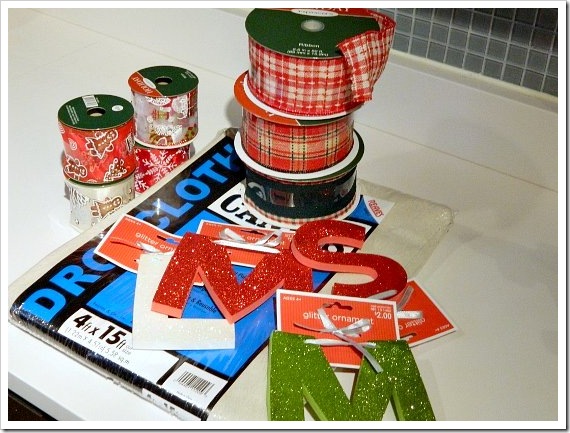
This time around I jumped on my new passion of using drop cloth as fabric.  With a $10 Menard’s rebate, I picked up a 4’ x 9’ drop cloth for under $5. Then I grabbed a bunch of different ribbon options.  They were all marked 50% off and if I don’t use them in this project I’ll put them to good use elsewhere …

Present Pillows Materials (550x413) (2)

The first step was to wash the drop cloth with detergent and fabric softener.  And then dry with a dryer sheet.  I actually ran mine through the washing machine twice.  It’s amazing how much it softens it up.

I made two present pillows that are 8” x 6” in size.  That meant I cut 4 pieces of fabric (tops and bottoms) 7” x 7”; and cut 8 pieces of fabric 9” x 7” for the sides.

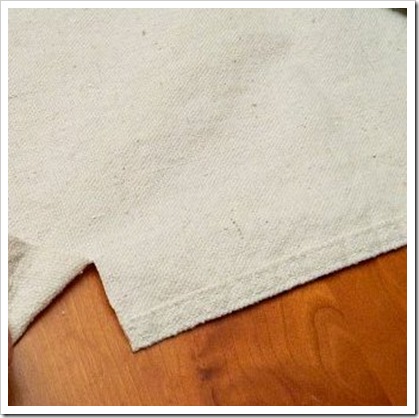
I cut  — well, more like tore – the top and bottom pieces first.  If you make a small cut in the drop cloth like so …

Present Pillows Tear 1 final (550x413) (2)
You can then tear it and end up with a perfectly straight line …

Present Pillows Tear Final (550x413) (2)Present Pillows Tear 2 (550x413) (2)

When all the cuts (tears) were made, I pinned the pillow “sides” together …

Present Pillows Sides (550x413) (2)Present Pillows Pinned (550x413) (2)
…and stitched them up…

Present Pillows Sew (550x413) (2)
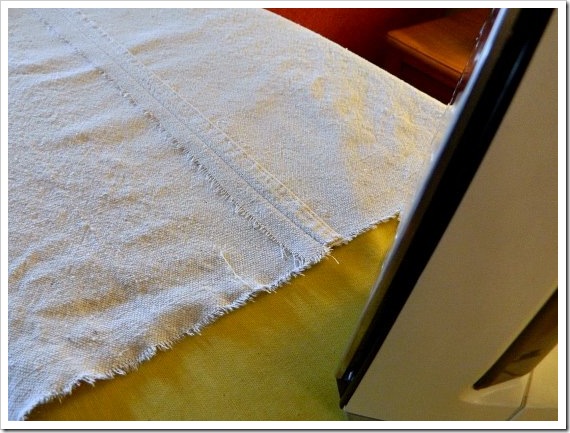
In an ideal world, I would add a zig zag stitch on the edges because the drop cloth frays so easily … but since these are seasonal pillows, I skipped that step and instead pressed open the seams …

Present Pillows Press (550x413) (2)

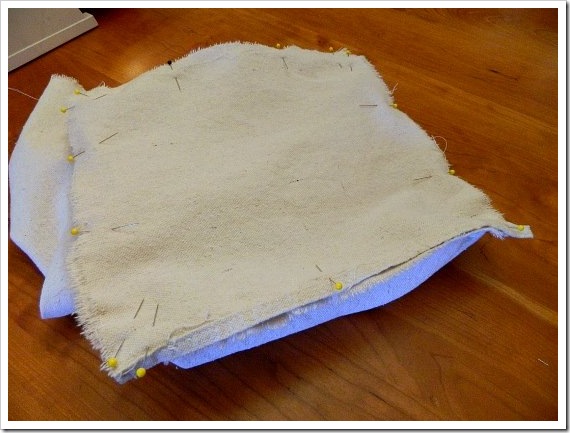
I pinned the top on next, matching up the corners …

Present Pillows Top Pin (550x413) (2)

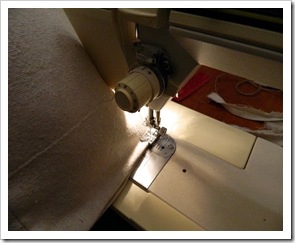
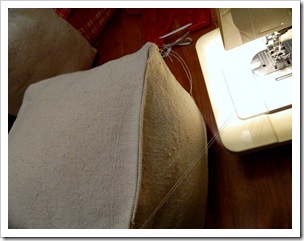
When sewing the tops and bottoms to the sides, when you get to a corner you need to lower the needle into the exact corner and lift the footer …

Present Pillows Sew Top (550x413) (2)

Pivot the fabric and spread the boxing around the corner … lower the footer and continue sewing. Repeat at each corner.

Present Pillows Sew Top 2 (550x413) (2)

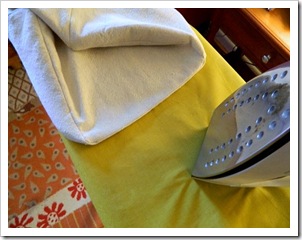
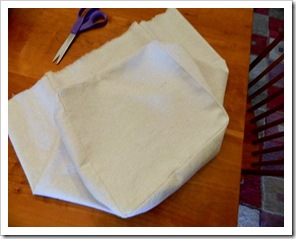
I clipped the corners, pressed open the seams and turned right side out ..

Present Pillows Clip Corner (550x413) (2)Present Pillows Press Open (550x413) (2)Present Pillows Press Top (550x413) (2)Present Pillows Turned (550x413) (2)

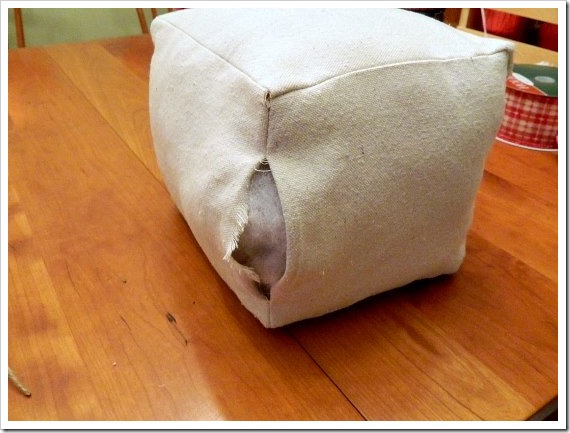
Then I pinned the bottom on the same way, only this time when I stitched it up I left an opening for the stuffing …
Present Pillows Opening (550x413) (2)

… and speaking of the stuffing, mine is from a ‘deconstructed’ $9.99 body pillow from Target.  And no, really, I didn’t get that great money-saving tip from a fabric and craft store employee …
You can slip stitch the opening closed … or do what I did and sew it shut using the machine …

Present Pillows Sew Open Close (550x413) (2)Present Pillows sew open closed (550x413) (2)

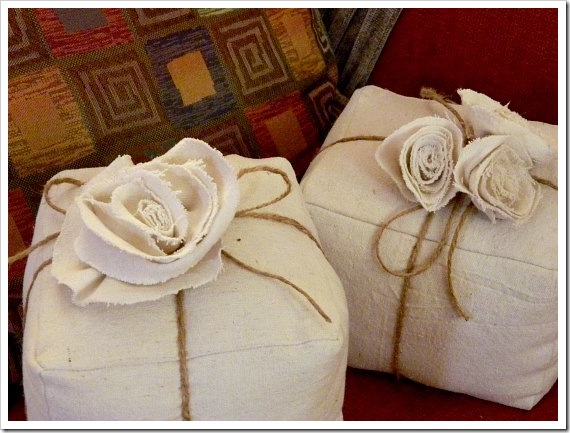
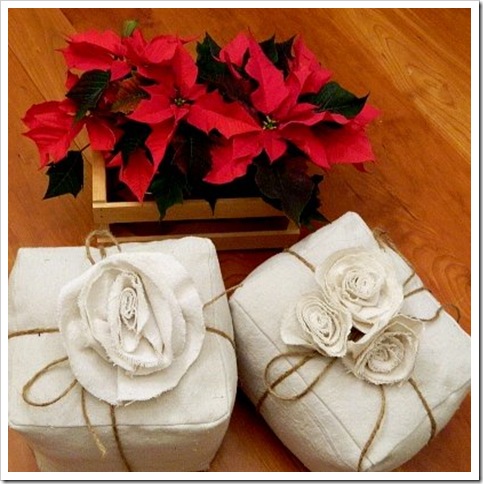
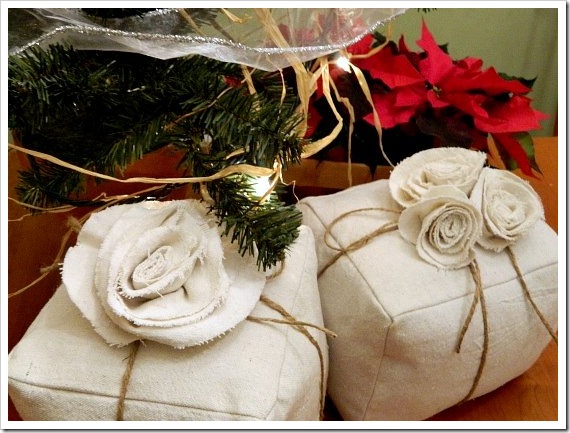
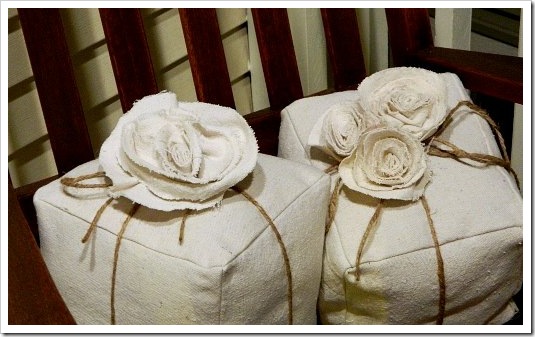
All that’s left to do is dress them up with some twine and rosettes ….

Present Pillows Twine on couch (550x413) (2)
Present Pillows Twine 2 (550x413) (2)Present Pillows Twine (550x413) (2)Present Pillows Twine on porch (550x413) (2)

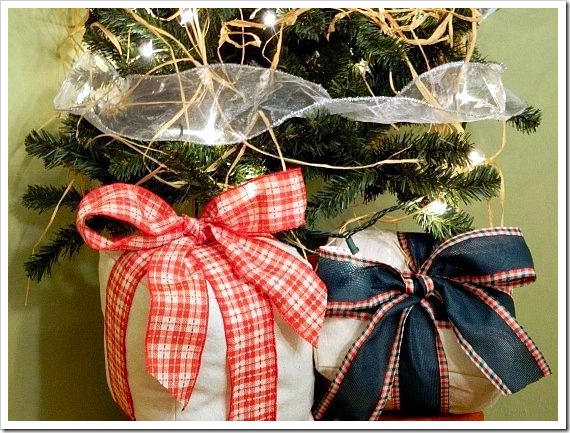
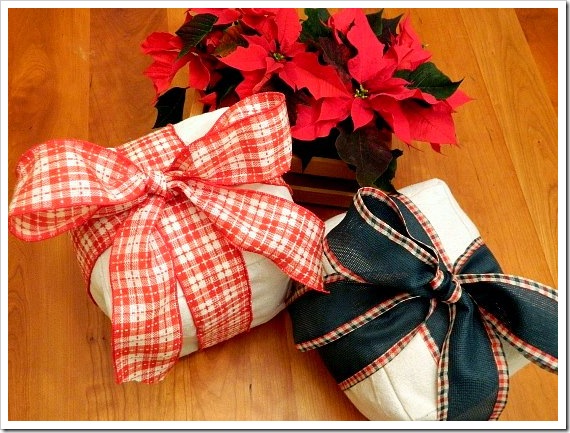
Or, if you prefer, with some ribbon and bows …

Present Pillows Country (550x413)-2 (2)Present Pillows Country table (550x413) (2)

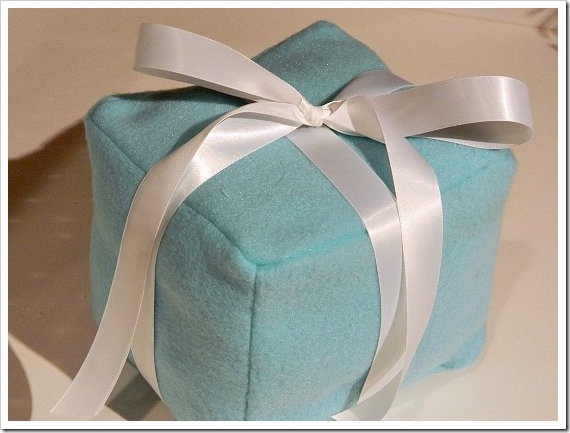
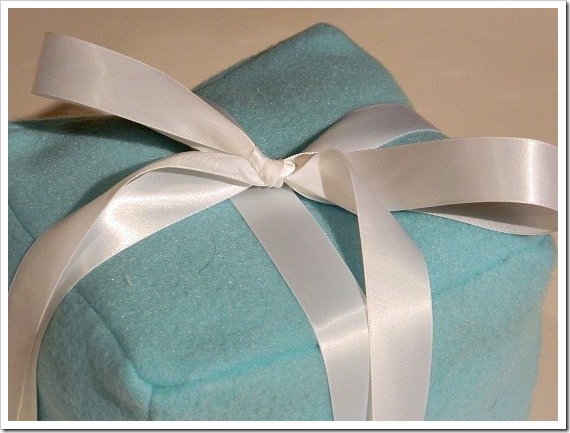
And, just because I couldn’t resist, I used a $2 fleece remnant to make a Tiffany blue pillow box …

Present Pillow Tiffany Box Kitchen(550x413) (2)Present Pillows Tiffany close up (550x413) (2)
I’m not a huge jewelry person, but even my heart skips a beat when I see that robin’s egg blue all wrapped up with a simple white ribbon …

Present Pillows Tiffany 2 (550x413) (2)

Thank you Roeshel for hosting my project!

And “Happy Holidays” to all you DIY Showoff followers.

If you happen to find yourself here through my blog, please be sure to check out all the great posts, projects and creativity featured on The DIY Showoff …

Filed Under: Uncategorized

Leave a ReplyCancel reply

coming soon to a blog near you …

December 1, 2011 By Linda 2 Comments

The holiday Tablescape Link Party + HomeGoods Contest hosted by Centsational Girl yesterday was quite the production …

Especially since our dining room table ends up being the catch-all for mail, projects, things the dog stole …  not to mention my work space for sewing and building and crafting.


It felt like I spent half the day just unloading stuff … and now my kitchen is in a state of chaos …

My point:  I’m taking a day here to regroup.  That doesn’t mean I’m taking a day of rest.  No sir.  I’ll be hard at work on a guest blog post for The DIY Showoff … which is a huge honor and a huge opportunity for a new blog like mine. 

Here’s a sneak peek at the materials I’m working with …

Present Pillows Materials (550x413) (2)

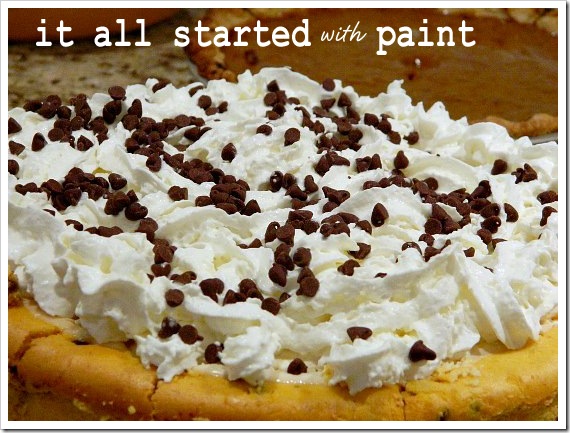
I’ll be back on Friday with a regularly scheduled post featuring a recipe and “how to” about how I made this …

Cheesecake Final Close up (550x413) (2)
And next week, I’ll have a ‘pic-tutorial’ about how I made these from drop cloths …

No. Napkins Final Close Up (550x413) (2)
Now I’m off to disassemble the holiday tablescape in the dining room so I can convert it back into my sewing room …

Filed Under: Uncategorized

Comments

  1. nanamica north face says

    May 24, 2012 at 3:09 am

    THE NORTH FACEは中性化のブランドです。nanamica north face人は自然のなかで心の快適を追求します。外部は防風、防水、空気を通す生地を採択します。アウトドアスポーツの必需品です。そして旅行者の良いパートナで、野旅の第一選択の装備です!
    http://www.thenorthface-japan.com/

    Reply
  2. the north faceリュック says

    May 30, 2012 at 6:32 am

    この出会い、ずっと待ってた、ノースフェイス アウトレットショップで。海外直輸をし、話題のthe north face アウトレットやthe north faceリュックなどを嬉しいアウトレット価格で提供、そしてポイントリターンまで付いてる。すべてキミの笑顔のために!

    Reply

Leave a ReplyCancel reply

  • Email
  • Facebook
  • Instagram
  • Pinterest
  • Twitter
  • YouTube

meet linda

my etsy shop

top posts & pages

It’s The Little Things & Lemon Sorbet
Lavender Soap DIY Recipe
How To Paint and Distress Mason Jars
How to Paint a Sink
Weight Watchers Garlic Shrimp Recipe
Yarn Tassel Garland DIY

the other blog

blog archives

Privacy Policy

Click here for my Privacy Policy

It All Started With Paint copyright 2014. Built on Wordpress. Customized by NellieBellie
Enter Your Name & Email for FREE Updates
Your information will *never* be shared or sold to a 3rd party.