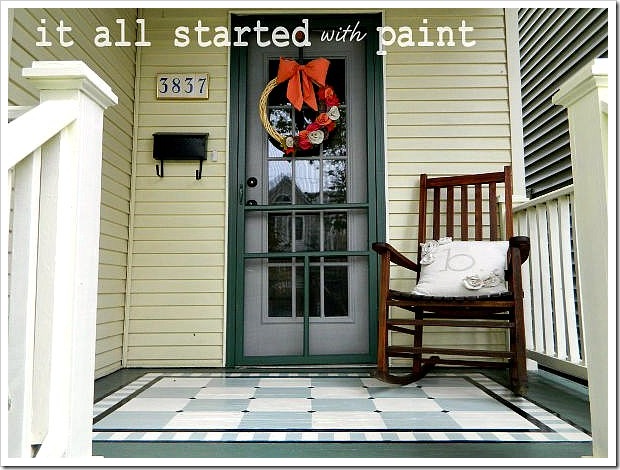
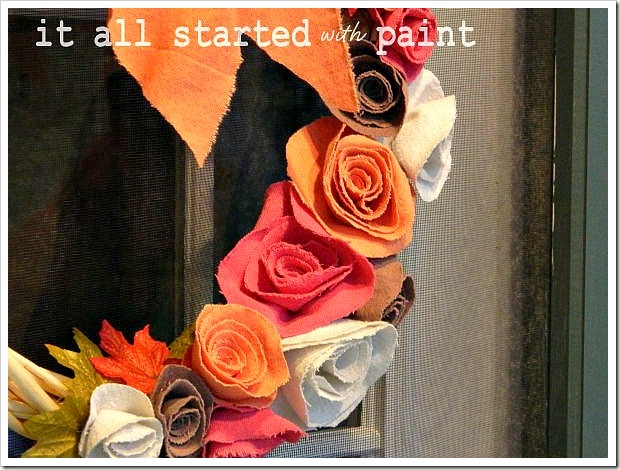
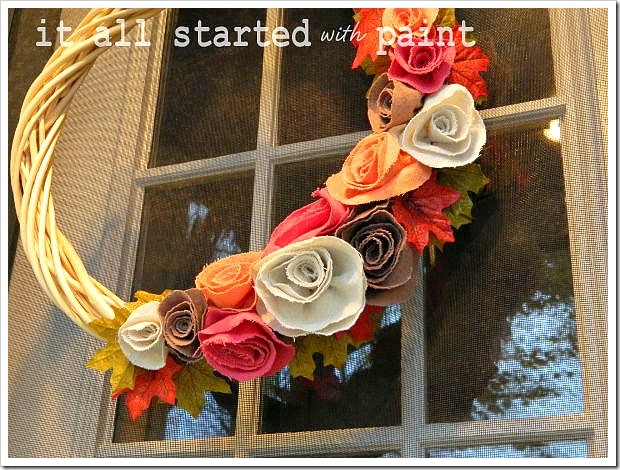
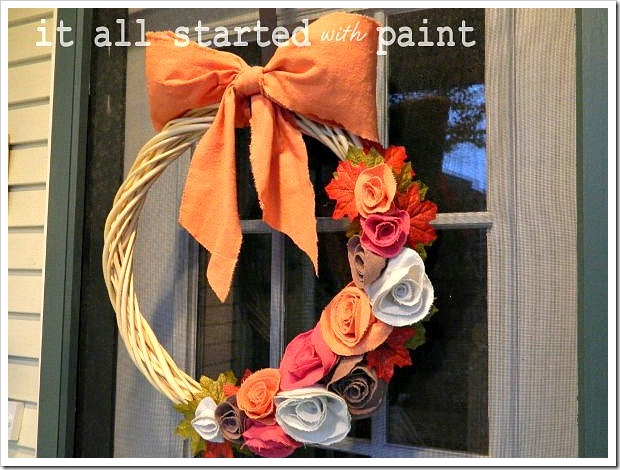
You may or may not have spotted the wreath on my front door …
I made it for next to nothing. The wreath form was $1 at Dollar Tree. The rosettes are made out of painter’s drop-cloth (about $1 per yard) that I dyed. The faux leaves were 50 for $1. I like those prices.
(In the interest of full disclosure I’ll admit upfront that this wreath is a time-consuming project)
To start, I gathered my supplies:
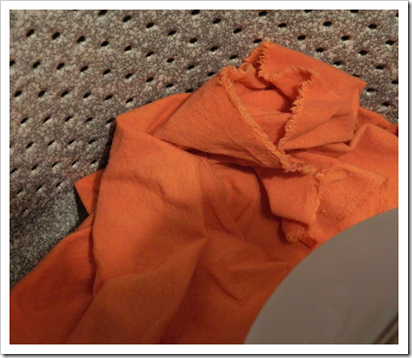
The drop cloth was prepped for dye with Rit Color Remover (which, by the way, smells like rotten eggs. Make sure you have your Febreze handy). I wasn’t sure if the drop cloth would accept dye, but breathed a sigh of relief when I opened the washing machine to find this:
I then colored a few yards of fabric each with the orange, red, and brown dye. Did I mention this project was time-consuming?
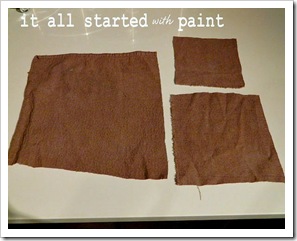
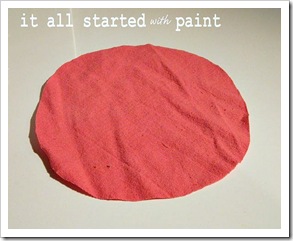
Once everything was dry, I cut out 10”, 7” and 5” squares from each of the dyed fabrics. I also cut some squares out of the natural drop cloth color. Then I cut circles from the squares – don’t worry, they don’t have to be perfect.
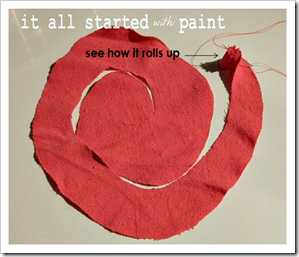
And then … it’s not easy to explain, but the picture says it all:
For the next step, you don’t have to sew; you can use the glue gun. I, however, have a love/hate relationship with the glue gun. To minimize the risk of burning my fingertips, I opted to sew the rosettes (although I did draw some blood). You start with the outside and roll and stitch and roll and stitch … (or glue) …
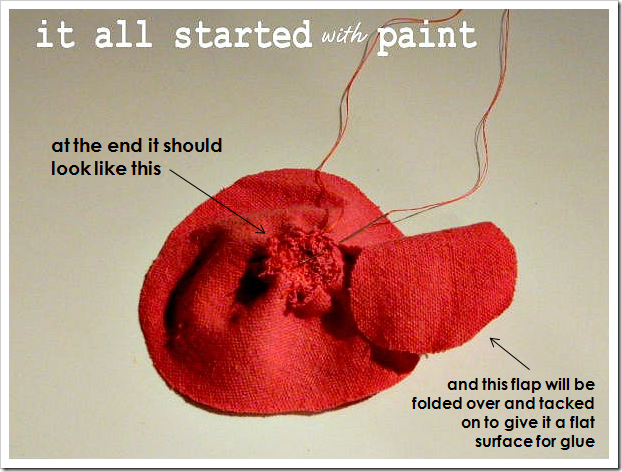
It starts tight at first and then you loosen it more and more as you go. When you near the end, it should look like this on the back …
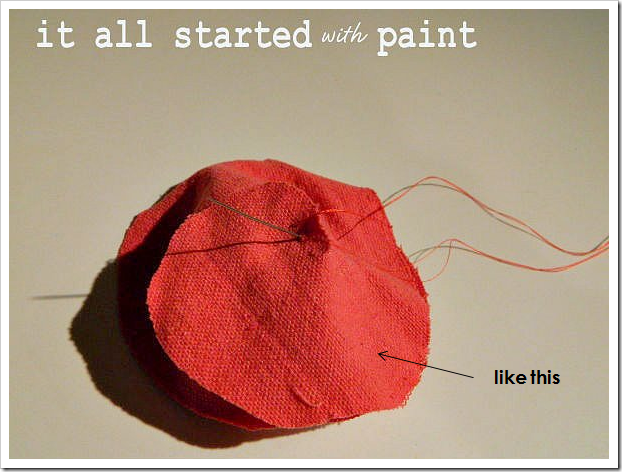
Then you take the extra piece you see on the right and use it as a flap to cover the stitches. It creates a flat, solid surface for glue. Stitch (or glue) in place:
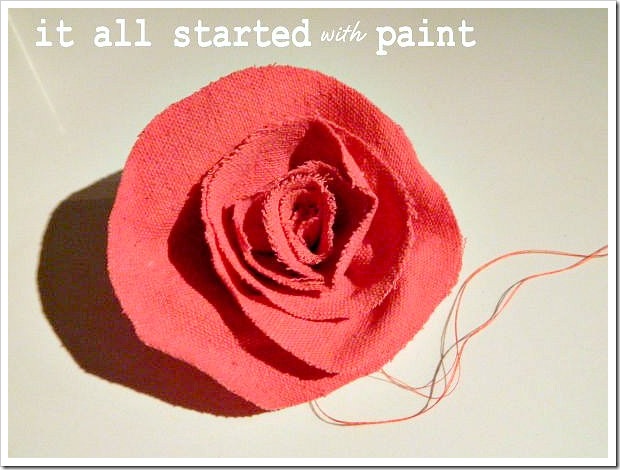
The front of your rosette should now look something like this:
Once all your rosettes are done, arrange them on the wreath frame and hot glue in place.
I used some extra orange-dyed drop cloth to fashion a bow and hung it from my front door:
Now I need to get started on my winter wreath …





Thank you for this great tutorial.
It was worth all that “time consuming”! So very fall-icious!
and after scrolling back up for a second look, I spied your gorgeous floor! Did you paint it using stencils? I’d love to do the same for our screened porch floor.
this is so great. I was wondering if drop cloths could be dyed as I want to make an orange slip cover for a bench cushion. Im also painting my sons room so I will have an extra drop cloth when finished. this is fantastic. Thanks for the post. Also the wreath looks beautiful
when you used the color remover on the drop cloth, what color did it turn out like like? More white, grey, beige? I have grey walls in my LR and I want to use drop cloth but the base color is too beige and I didn’t want to got to the hassle of bleaching.