Peer pressure. Or more like neighbor pressure. I try not to succumb. But it’s pretty hard to ignore when you live in a city where your next door neighbor is mere inches away.
And when your rusty and peeling wrought iron fence butts up against their newly painted and refreshed one, well that just ups the pressure to the nth degree.
So I succumbed.
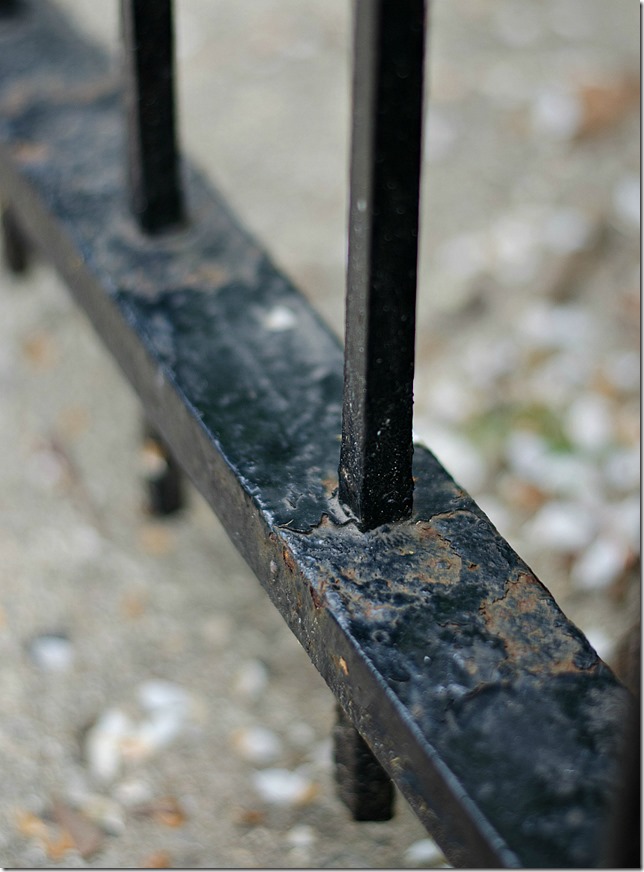
Now, there are those who celebrate all things rusty and chippy. Hunt yard sales and flea markets and rummage through old barns in search of rusty and chippy. But I doubt even the most fervent rusty and chippy lover would want this …
on the iron fence in front of their home.
For all their neighbors to see.
![]()
I know I don’t.
Before I get to the tutorial, let me add in a disclaimer. I, in no way, am claiming to be an expert on wrought iron. Or how to paint wrought iron. I’m just sharing what I did. This time. Because in the past, I didn’t spend time on prepping the surface first. Which was my #1 mistake. And as a result, my previous wrought iron fence paint jobs have turned out bumpy and, well, not good.
But not this time.
This time I pulled out the big guns, thanks to the folks at 3M DIY …
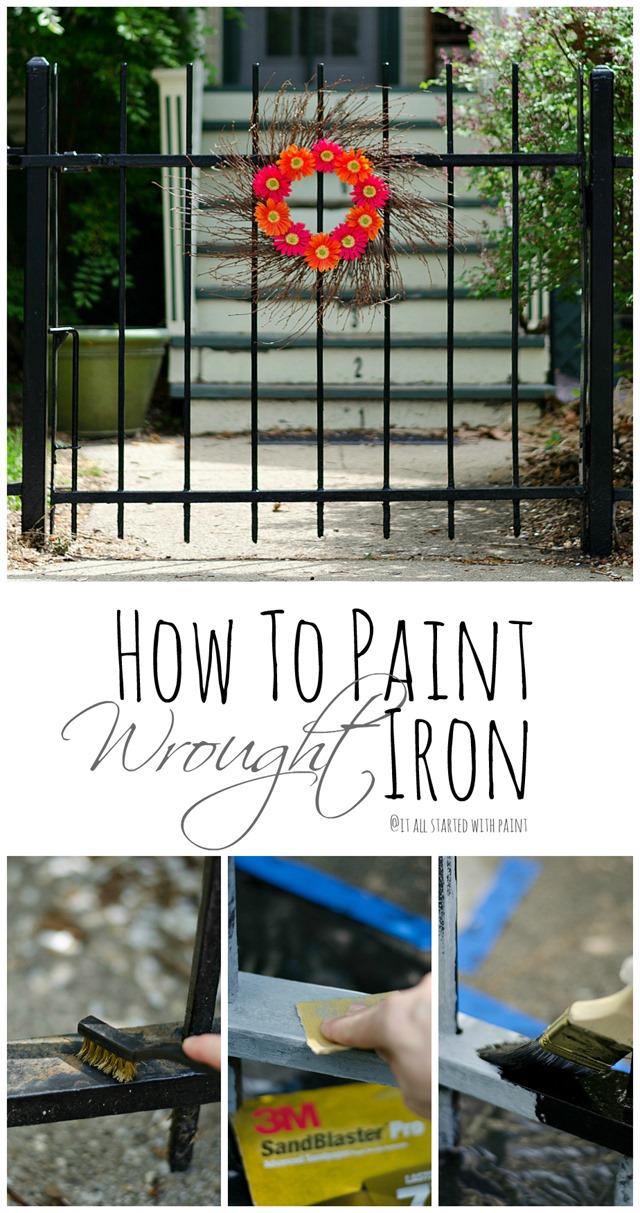
How To Paint Wrought Iron
Supplies:
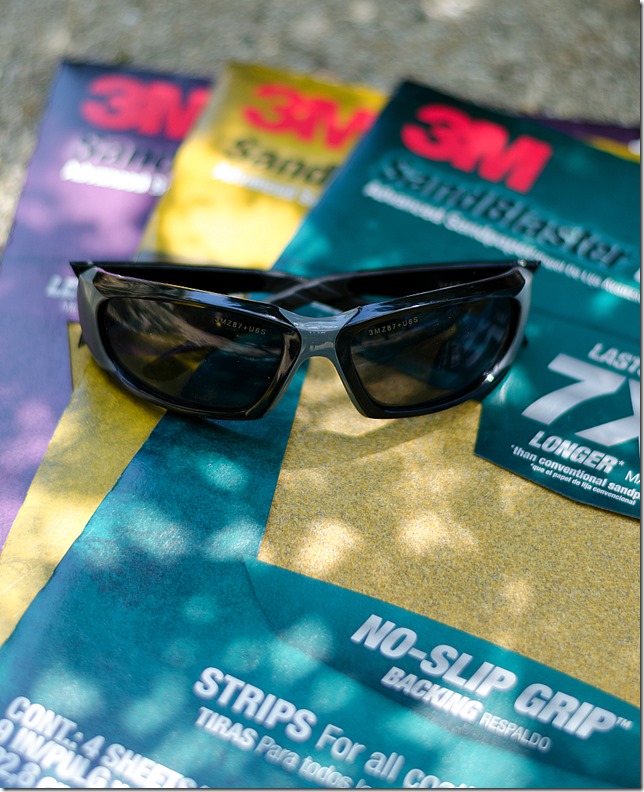
3M Safety Products ForceFlex™ MAX Safety Eyewear (safety first!)
3M Advanced Abrasives with NO-SLIP GRIP™ Backing (80 and 220 grip)
ScotchBlue™ Painter’s Tape Exterior 2097 Painter’s Tape (who knew there was an exterior painter’s tape?)
Wire brush
Rotary tool (and extra sanding attachments)
Ace® Hardware Rust Stop Indoor/Outdoor Oil-Based Enamel
Ace® Hardware Rust Stop Oil-Based Primer
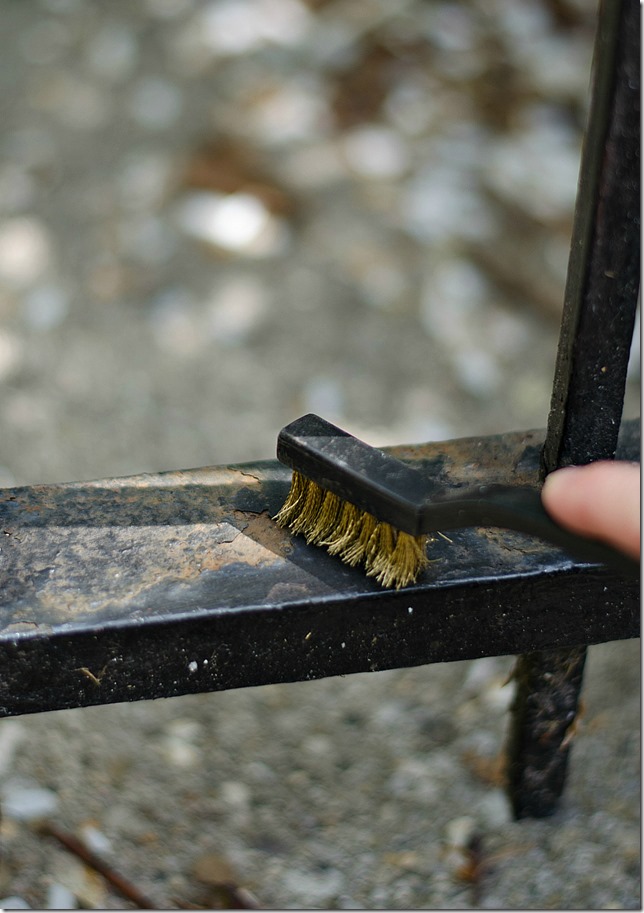
Step 1. Use wire brush to remove chipped paint.
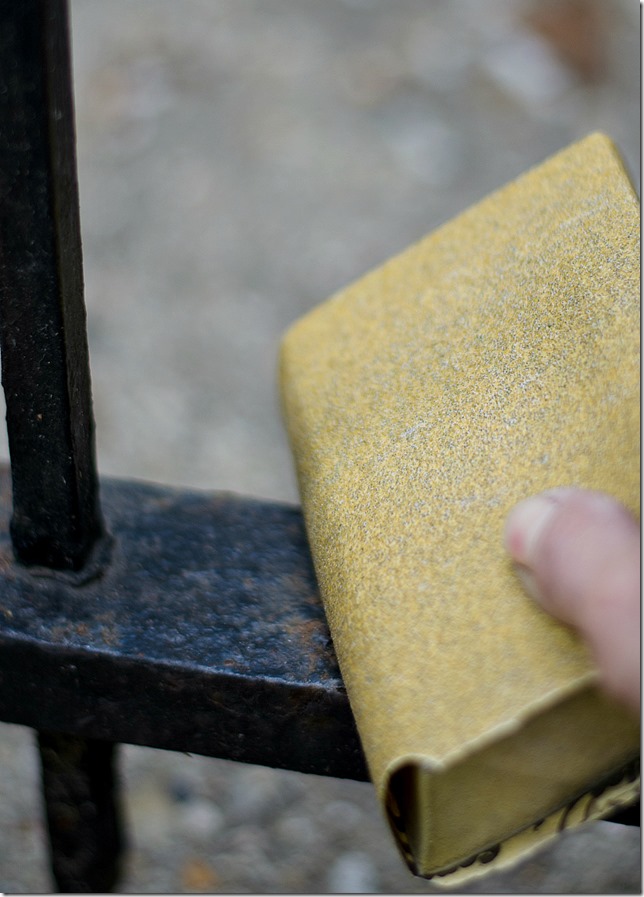
Step 2. Sand.
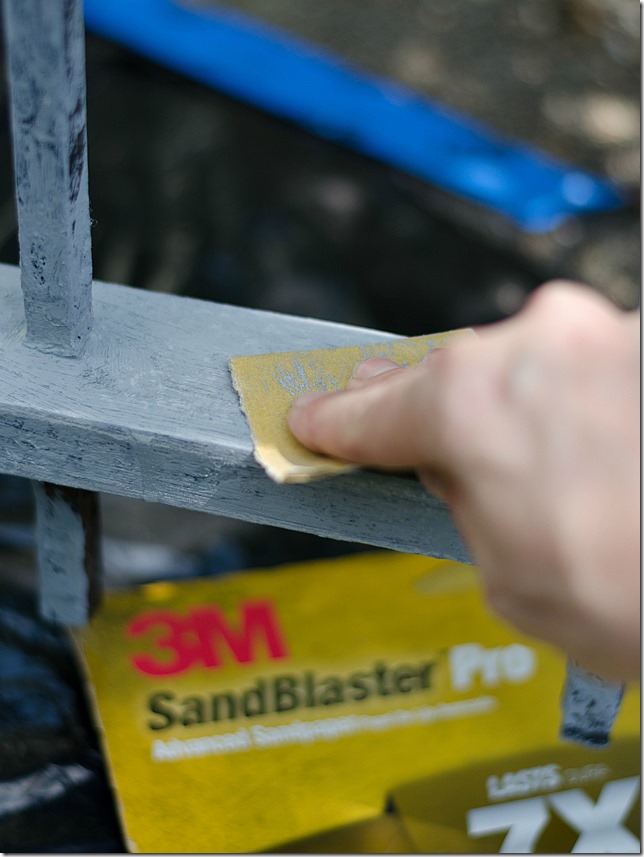
I used a 3M™ Advanced Abrasives with NO-SLIP GRIP™ Backing in 80 grit and wrapped it around an old sanding block.
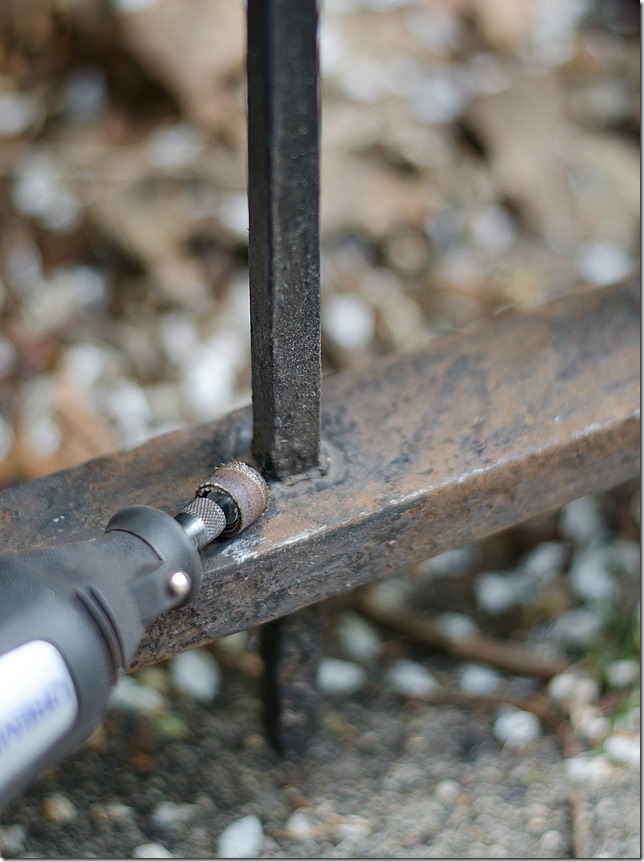
Step 3. Very important: sand again. This time using a power rotary tool.
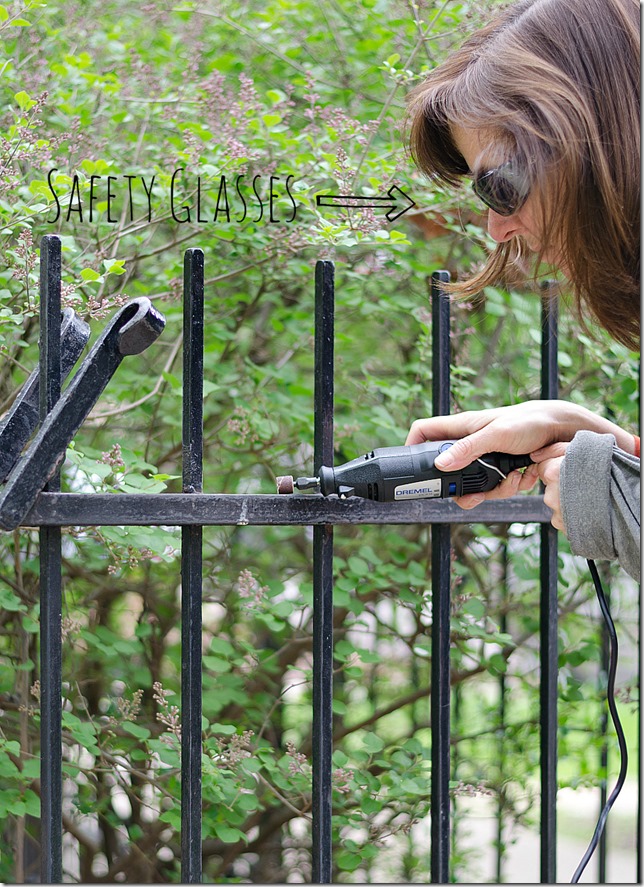
And be sure to wear your safety glasses for this very important step. Chips and flecks and dust from the old paint was flying this way and that.
I chose the super cool 3M™ ForceFlex™ MAX Safety Eyewear.
Step 4. Clean surface. No picture for this one. Just grab the garden hose and rinse off.
Step 4.a. Let dry completely before proceeding to next step.
Step 5. Prime using an oil-based rust protector.
I just primed over the rusted areas.
Step 6. Lightly sand once dry.
I chose a very fine 3M™ Advanced Abrasives with NO-SLIP GRIP™ Backing in 220 grit.
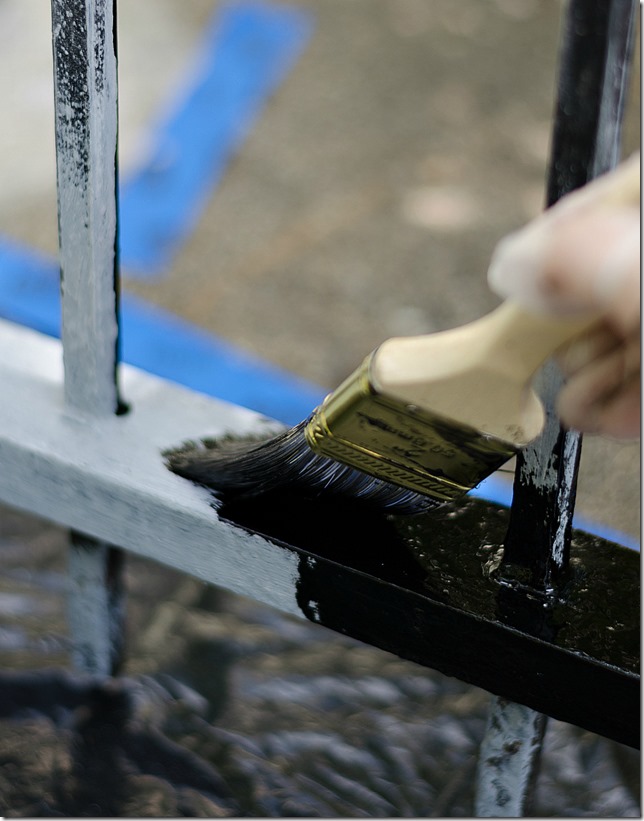
Step 7. Time to paint. Finally! Use an oil-based paint.
I chose a satin finish. I thought it would be more forgiving of my sanding shortfalls than a gloss.
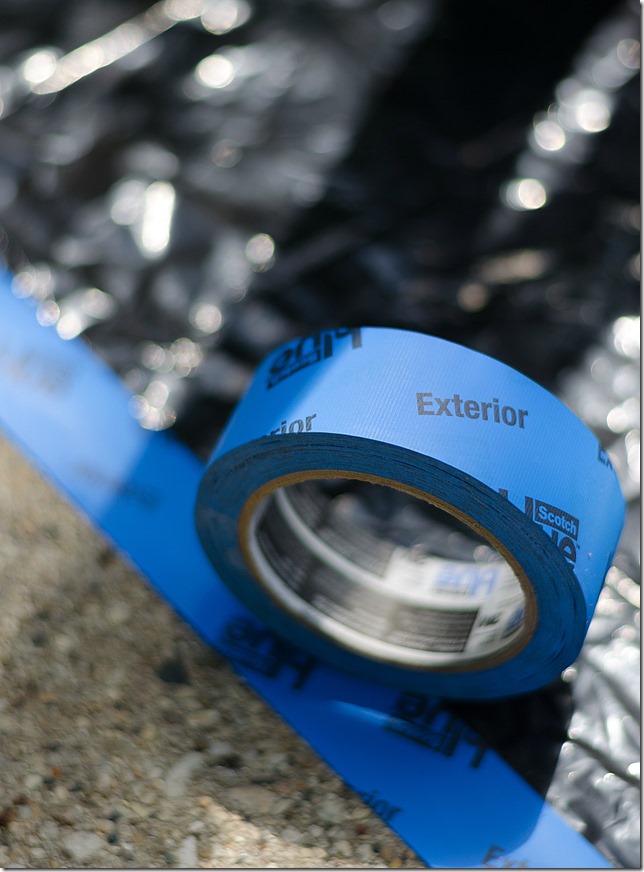
Also, the paint is a bit runny so be sure to put something underneath to catch drips. Since we living in the windy city, I secured a sheet of plastic using my new best friend, ScotchBlue® Painter’s Tape for Exterior Surfaces …
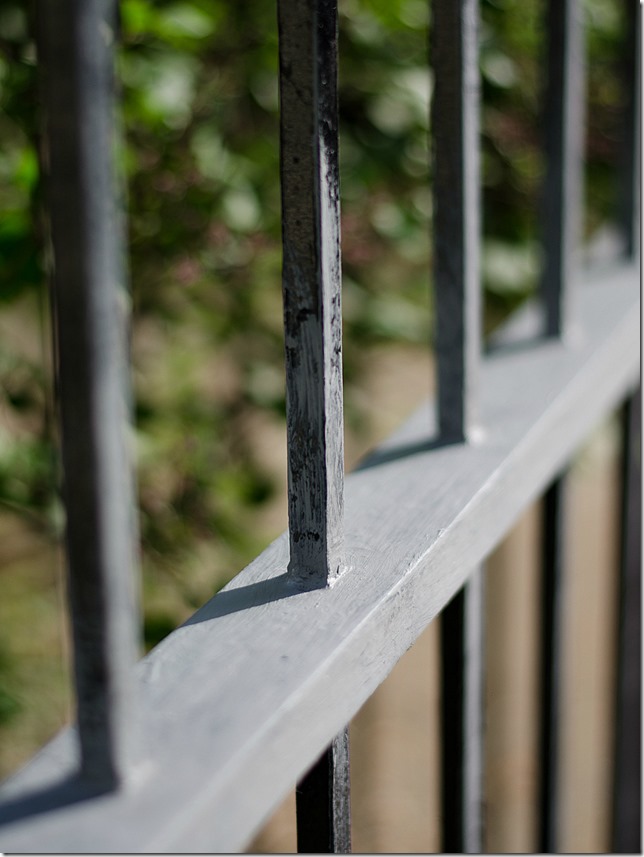
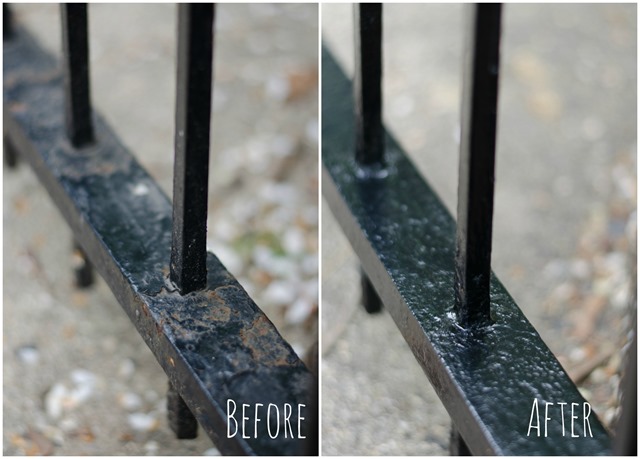
And you’re done …
so much better!
And here’s the fence from a distance.
Now I’ll fess up. I only painted one section of the fence. So far. This is a big project. Time consuming. And one that I want to take my time with to make sure I do it right.
You know, I am under a great deal of neighbor peer pressure here …
![]()
I am proud to be a 3M- sponsored blogger, and, as part of my responsibilities, I get the opportunity to evaluate new products from 3M DIY. Opinions are my own and additional product used in the project were selected by me.
For more great DIY tips visit 3M:
3M DIY Website | 3M DIY Twitter | 3M DIY Facebook | 3M DIY Pinterest



I have shy’d away from doing much wrought iron lately as it is so very time consuming for hundreds and hundreds of feet. So I have resorted to telling myself…… I will just replace it all one day with vinyl. Thank you for the “Tom Sawyer” motivation!!
How did you know I was thinking of Tom Sawyer the whole time? Now I know why he hated painting that fence so much!!! 🙂
5 years late to the comments but man… a wrought iron fence can last for decades if not centuries if taken care of and they are VERY expensive. The idea of replacing one with vinyl kinda makes the DIY in me hurt. Seriously, if you have wrought iron please cherish and maintain it. You have no idea how much went into making it.
This sounds awful but it works: I buy spray paint Rustoleum that stops rust. I get their better kind as they’ve made improvements over the years I do not hose the fence. I wipe the worst of the dirt with my fingers but just spraypaint most all with no prep and go. Doing the rungs and top? The paint floats into the air. A piece of cardboard you move under the bottom railing prevents black on cement. If its on soil, no need to protect. I’ve done this for years and years. I only repaint when the black starts to look whitish black or has a bit of rust but its much easier than painting and all that sanding you did. The new Rustoleum cans have a comfort spray but one can purchase reasonably a nozzle to fit on the can to prevent that numb index finger freeze!
So after you spray the rusty area with rust-oleum rust reformer, do you then paint over it? I have a large area fenced in with wrought iron fencing (1 acre) and it’s such a daunting task. I think I can handle it if I only have to spray the rust inhibitor! Thanks!
Yes, you do need to paint over the rust reformer. If you have a large fence as you say, it might be worth it to purchase a paint sprayer. It’ll certainly go much faster and easier! Good luck! 🙂 Linda
I constantly spent my half an hour to read this website’s content daily along with a mug
of coffee.
Thank you so much! You just made my day!!! 🙂 Linda
Just a heads up… all your 3M links are dead.
Hello, thanks for sharing this tutorial. Can you tell me why you use oil based paint?
Hi there! I think I used that paint because the hardware store recommended it. Since this fence is outdoors and takes a lot of abuse that it would hold up better!
Do you have to prime the areas of the wrought iron fence that are not rusted? I have a wrought iron fence for 30 years now and just removed the rust and sanded and primed the rusty parts, most of the area still have the glossy black paints with no rust,jus wonder if I have to prime those. Thanks.
Honestly, I’m not an expert at wrought iron fences but I would just prime the rusted spaces. That’s how I’ve seen painters in my neighborhood do it.
Your fence looks galvanized. From what I’ve read galvanized doesn’t hold oil paint well. May I ask if this project stood the test of time or if it experienced any peeling?
It definitely is peeling! I think I’ll look up how to paint galvanized metal and see if that will work better. It’s time for some fence TLC! 🙂