Pillowgate has come to an end. Deep throat has spoken. And at the risk of being impeached, I’m going with full-disclosure …
… full disclosure, that is, of how I made these …
… that are part of this …
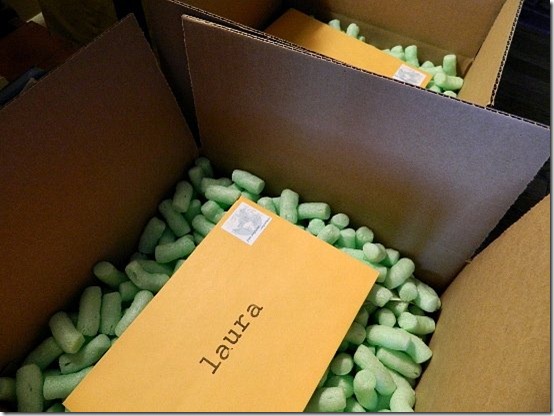
… that were packed up …
… and sent out this weekend to these lovely bloggers …
Before I jump into the tutorial, let me share a little tip. You see, I’m cheap. And pillow forms are just too pricey for me. So I made my own. I cut up an inexpensive duvet cover, sewed up along the seams and stuffed with a deconstructed $9.00 body pillow from Target.
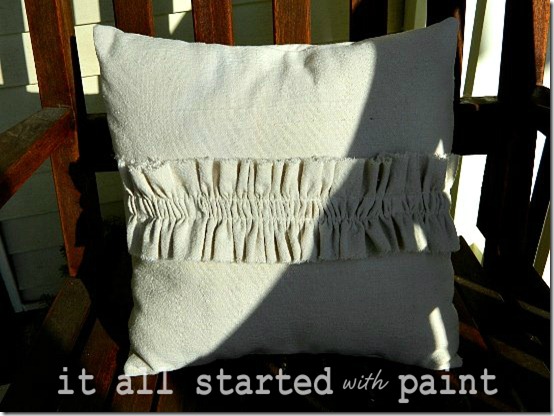
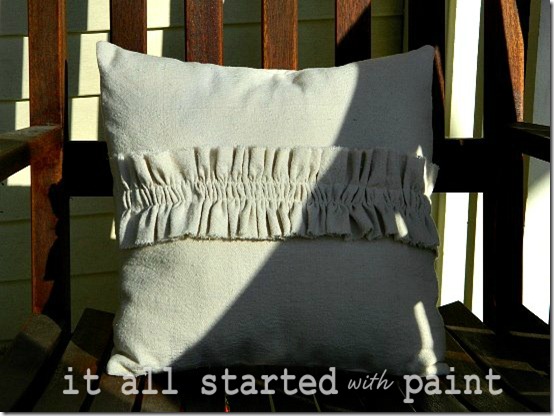
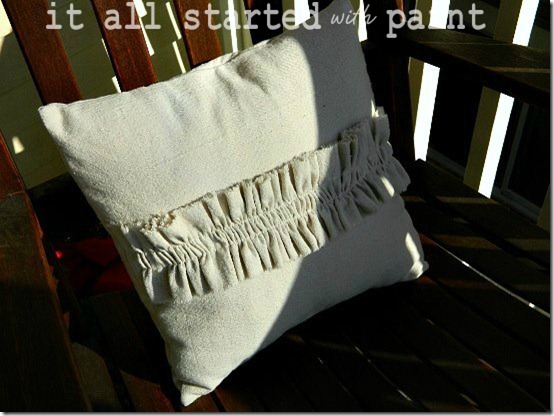
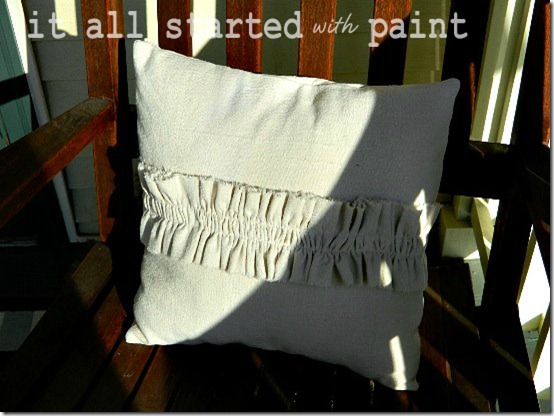
Now onto how I made my 14” x 14” ruffle pillows …
1. I started with canvas drop cloth. I purchased mine at Mendards. It was on sale for $7 for a 4’ x 15’ sheet. You can find them at any home improvement store …
2. Wash and dry the drop cloth. With detergent. And some fabric softener sheets.
… if not you’ll end up with a pillow cover that will feel fat after the first wash. Trust me, pillow covers already have enough ‘form’ issues to deal with — what with their bloated middles and those karate chopping designers …
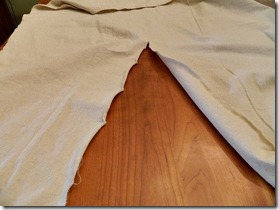
3. Now it’s time to measure the width of your pillow against the fabric. Then snip. Then rip. That’s a huge plus about drop cloth. You can rip a perfectly straight line …
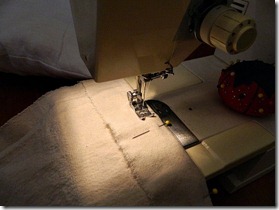
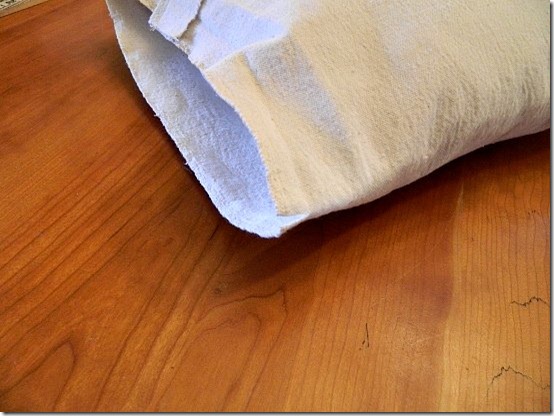
4. Wrap your strip of fabric around the pillow. Overlap the envelope seams at 3-to-5 inches. Pin and sew.
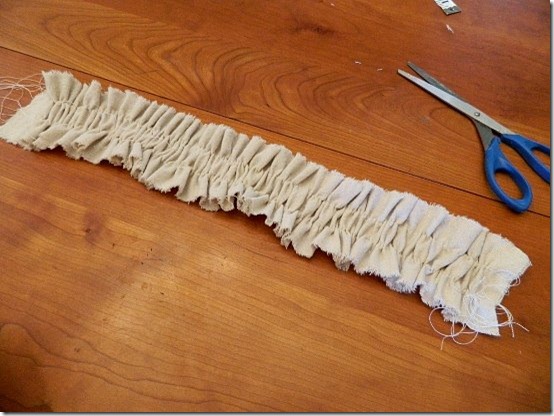
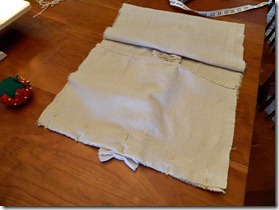
5. Now it’s time to make the ruffle …
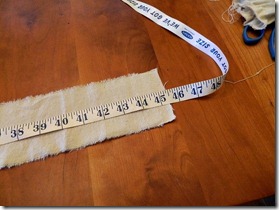
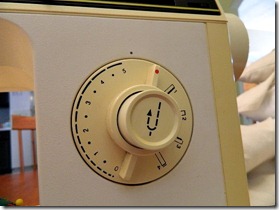
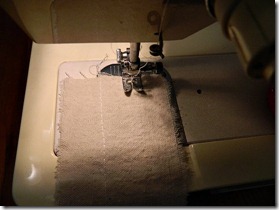
Cut a 3 1/2” strip about 45” long. Set machine on its longest stitch. Stich two rows. Then pull threads and ruffle and pull and ruffle and pull and ruffle …
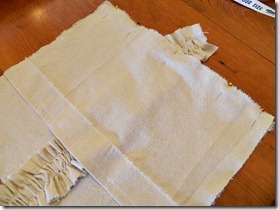
6. And now I realized I needed my envelope pillow cover in three pieces. This way I could “hide” the rough edges of the ruffle in a seam. So I wrapped it around the form, snipped on the right and left edges and ripped …
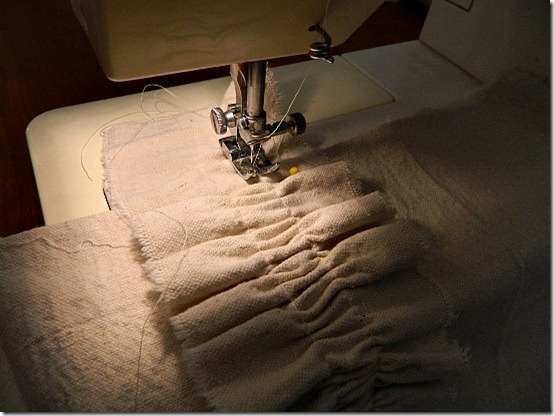
7. Then I sewed the ruffle to the front pillow piece …
… and don’t skip this step. Trust me. the ruffle won’t stay ruffled and there will be some cursing as you deconstruct the entire pillow by removing each and every stitch …
8. And now it’s time to pin right sides together. Stitch it all around. Cut corners and excess fabric. Press open seams …
… and insert pillow form …
Now I worked hard on these pillows …
So no butt-crack karate chopping allowed …
The Pass it On project is the brainchild of Karah at the space between. If you want to get involved, just click here …
Oh, and for the record, I am not a crook.

Linking up …
Funky Junk Interiors * The Shabby Nest * French Country Cottage * Chic on a Shoestring * At The Picket Fence * Addicted 2 Decorating * Five Days … Five Ways * Tatertots & Jello * Serenity Now * Be Different Act Normal * Lolly Jane Boutique * Home Stories A 2 Z * Savvy Southern Style * Someday Crafts * The Shabby Creek Cottage * House of Hepworths *







This is great. Your tutorial is really comprehensive–well done, you!
Love the step-by-step and clear pictures. You’ve got me thinking that maybe even I could sew a pillow. In fact, I think I can take your method and make some covers for some chair cushions that have been on my to-do list since, oh, October!
These are so fantastic, they make me want to learn how to sew…
Yeah and I bet “you didn’t steal the tapes” either!!!
I love your pillows!
And thank you for allowing them their dignity!
xo
~K
I can’t wait to get mine in the mail! You did an amazing job, I love the ruffles.
Jessica
stayathomeista.com
Oh Nixon, you’re hilarious 🙂 Great project great pillows….I better get my butt in gear and start passing it on.
Adorable pillow — really, I MUST get some drop cloths and get to sewing soon!
yay! i can’t wait!!! 🙂
Those pillows are so cute! I’m definitely going to keep the ruffle tutorial in mind! Our master bedroom could use a softer touch and the ruffles are calling to me!
Super cute pillows! I love the ruffles!
I love the tip on the pillow forms! I’m all about some cheap workarounds. The pillows are gorgeous!
You did a fantastic job on your pillow Linda. Loving those ruffles. What a wonderful project!
What did the president know and when did he know it? Did he wiretap your sewing room so he could make his own pillows?
I can’t wait to receive mine, and if I put it where I am thinking I will I am going to have to follow that tutorial because I will need two.
Bliss
The pillows are sew cute! Loving the ruffle accent.
“no butt-crack karate chopping allowed …”
That! Made me laugh =)
How adorable! I love this cover!! Some projects even make me wish I had a sewing machine… but then I recover & move on. Lol!
Happy Easter!
I didn’t know Nixon could sew!? Makes me want to learn so I can fill my house with these fabulous pillows! What a fun surprise for everyone to receive!
Kelly
They are so pretty.
And, you pictures really make the process clear.
~ Dana
Great job Linda. Your hard work definitely shows! They look awesome! (Can’t stop laughing about the butt-crack karate chop.)
I wasn’t sure whether to start this comment with Finally! or Do pillows really need packing peanuts when mailed? but am not sure either express exactly how awesome I think these pillows are. Just beautiful. And thanks so much for the project shout outs. 🙂
I am visiting via Addicted 2 Decorating. I absolutely adore your pillow.
I created several spring projects on my blog this week. Please stop by if you have a moment.
Have a lovely Easter weekend.
What a lovely pillow! I love making pillows too, and love anything with ruffles, they just make everything so much prettier :o) Your pillow is beautiful! Love the natural look!
Excellent idea and very pretty! I may give it a try. I pinned it to share with others. Diane
oh i love this! i would love for you to link this post or any other posts you want up to my weekly link party called spread the love. it’s a weekend wrap up party where you can share anything and everything you want! there is also a really awesome vinyl giveaway going on there right now too, so go check it out! http://www.lovenotesbylauryn.blogspot.com/2012/04/spread-love-5-decallove-giveaway.html
have a wonderful weekend!
{love} lauryn @ lovenotesbylauryn.blogspot.com