There are some diy projects that wait until my husband travels on business.
Please tell me I’m not alone.
I’m not worried he won’t like it. Okay, that’s not 100% true. I just don’t want him to see the project during the during. Because the during is not always pretty. The during can be downright scary. The during is when I often doubt myself. And wonder if I’ve made some terrible mistake …
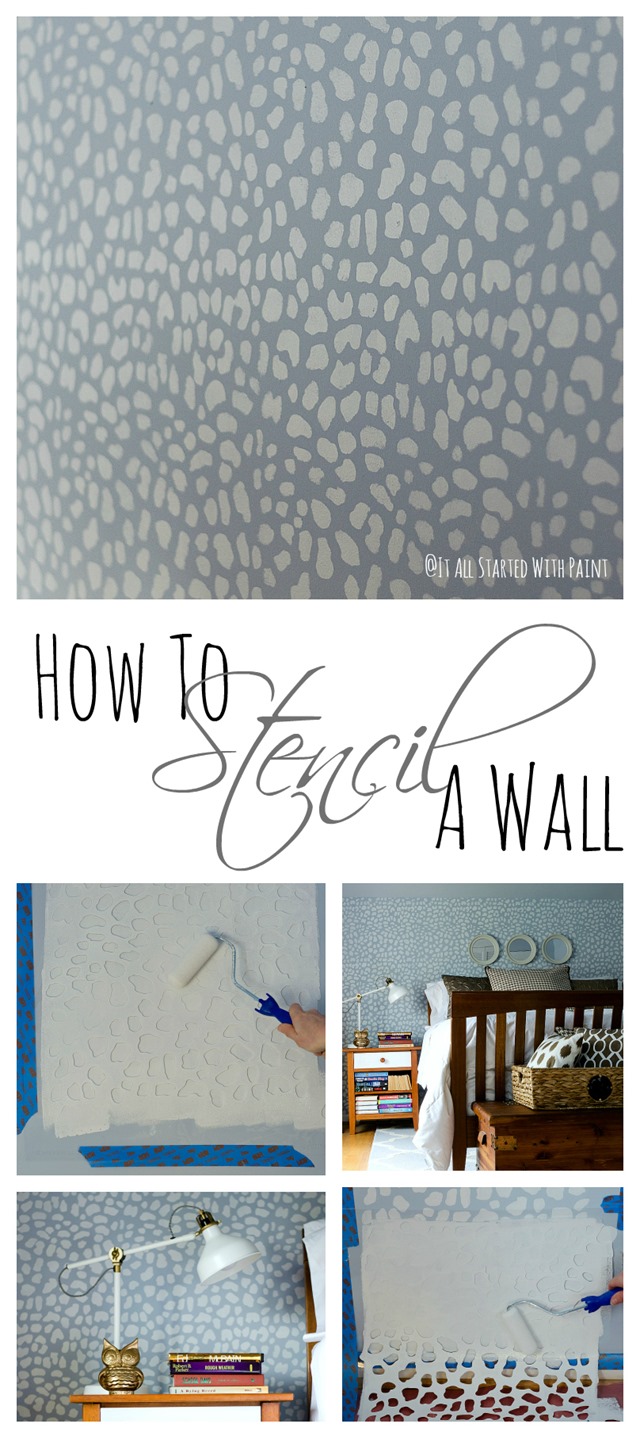
I realized early on stenciling a wall was not going to be a single day process. It wasn’t going to come together during a typical 9-to-5 workday with my husband arriving home to the big reveal. So I held off on this master bedroom leopard wall until an out-of-town board meeting. And that’s when I pulled out my new wall stencil from Cutting Edge Stencils {thank you Cutting Edge Stencils for providing me with the stencil} …
How To Stencil A Wall
Supplies
Stencil
Flat Paint
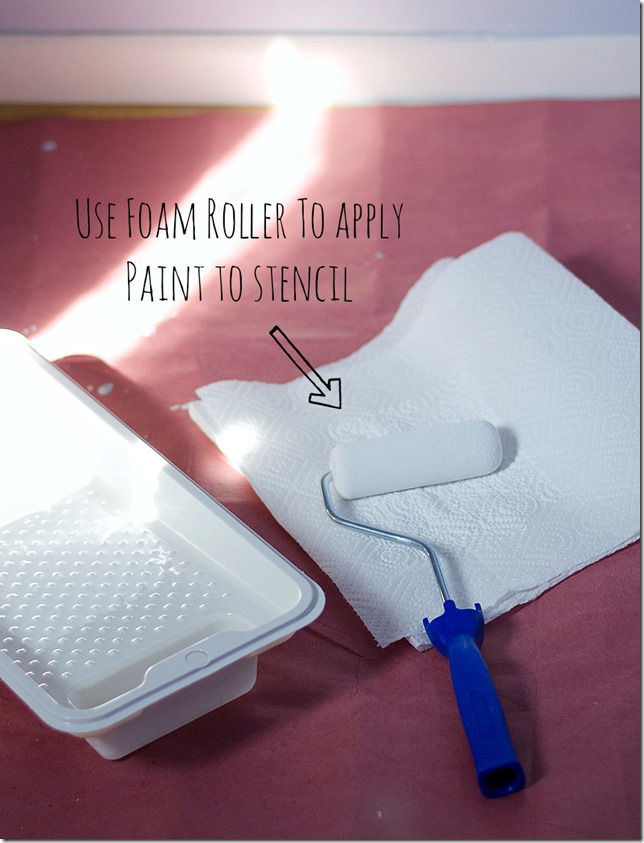
Foam Roller Brush
Disposable Paint Pan
Paper Towels
Painter’s Tape
Drop Cloths
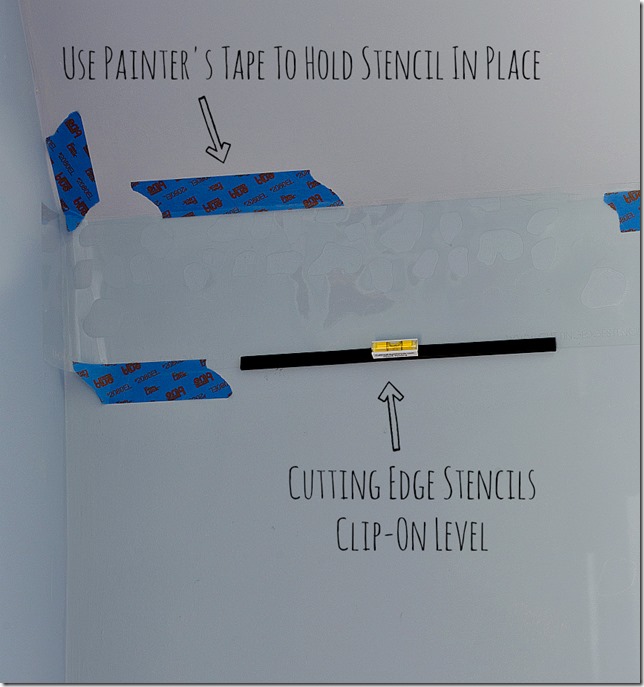
Level (Cutting Edge Stencil has a proprietary clip-on level that works perfectly with their stencils)
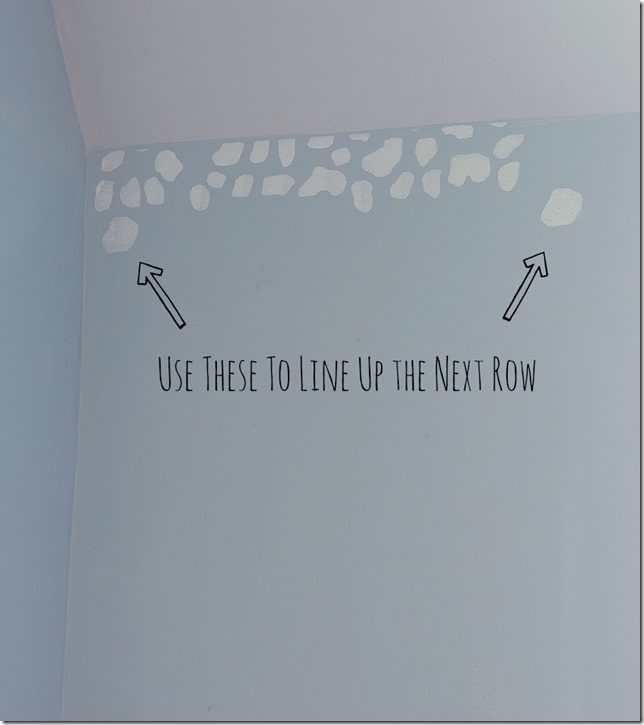
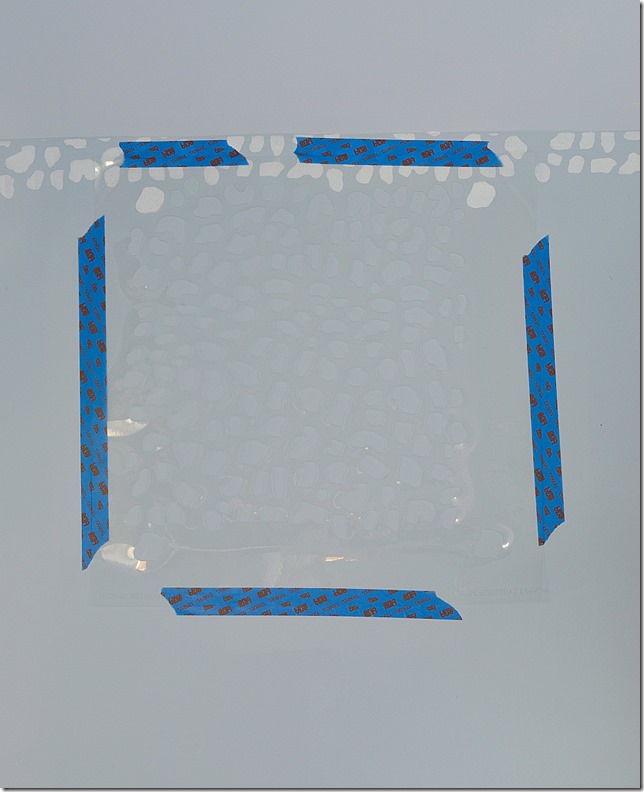
1. Figure out where you want to start your stencil. I started at the top of my wall (okay, my eave) using the top piece that Cutting Edge Stencil provided specifically for use at the top of a wall. Use level to make sure stencil is straight.
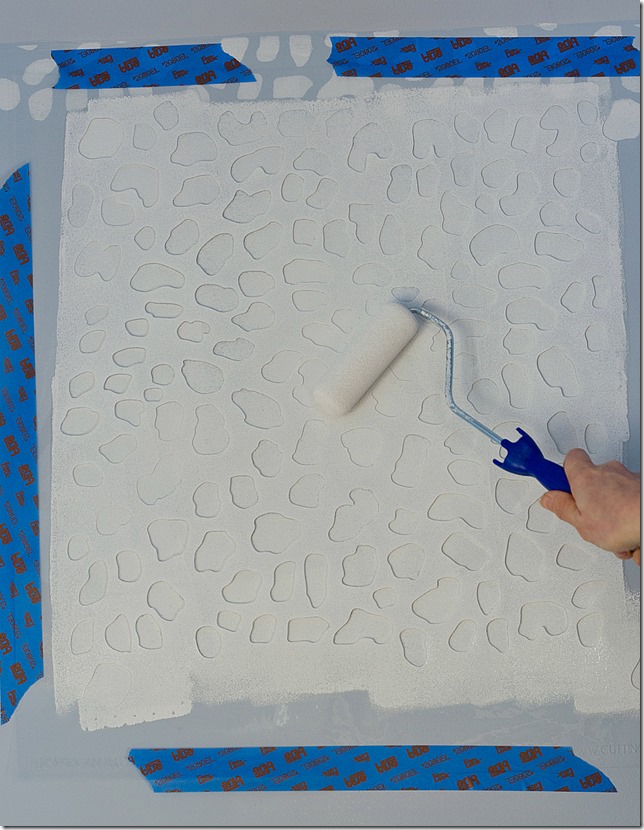
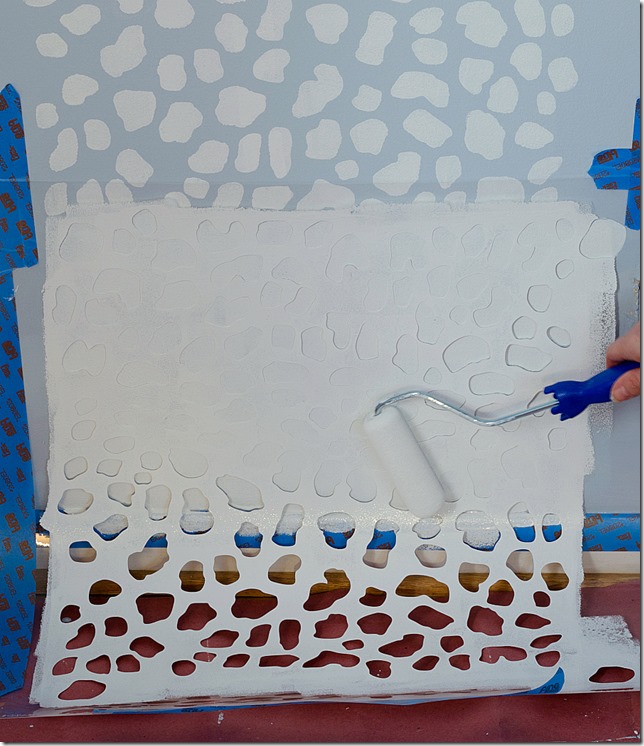
2. Roll foam brush in paint and then roll out onto paper towel first. You want to work with a thin layer.
… oh, and this roller application technique makes the process go so much faster!
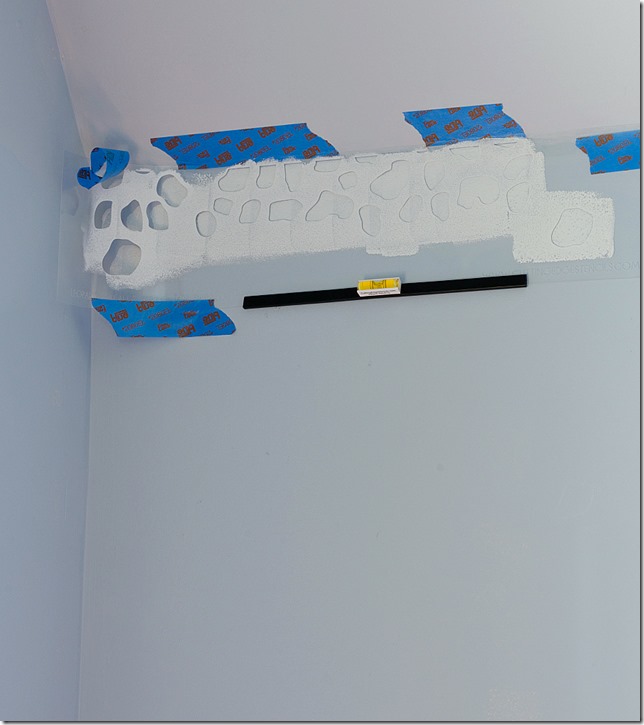
3. Roll paint, but don’t worry about the corner. You’ll come back and do that later (see step 5).
Remove stencil.
If you use a flat latex paint with a thin layer it dries quickly so you can move onto step 4.
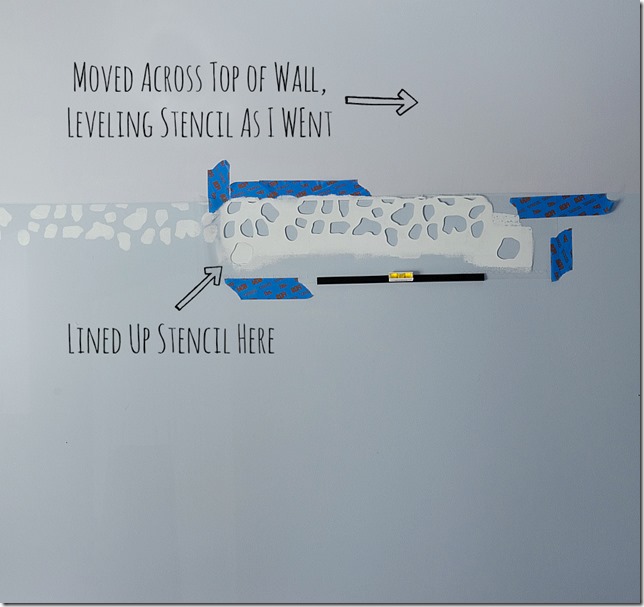
4. I opted to apply the stencil to the wall by moving across the top of the wall first, aligning the stencil as I went along. My home is neither square nor level and I wanted to make sure the stenciled image would be straight across the top of the wall.
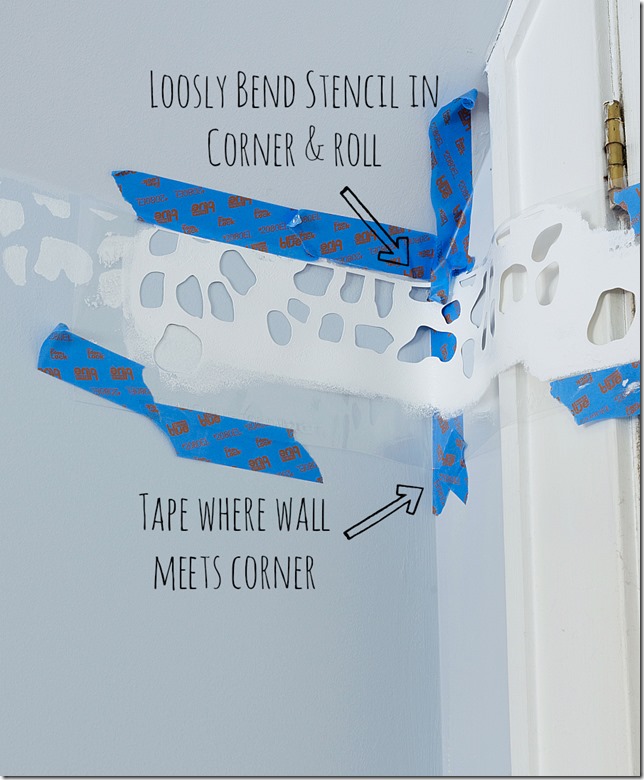
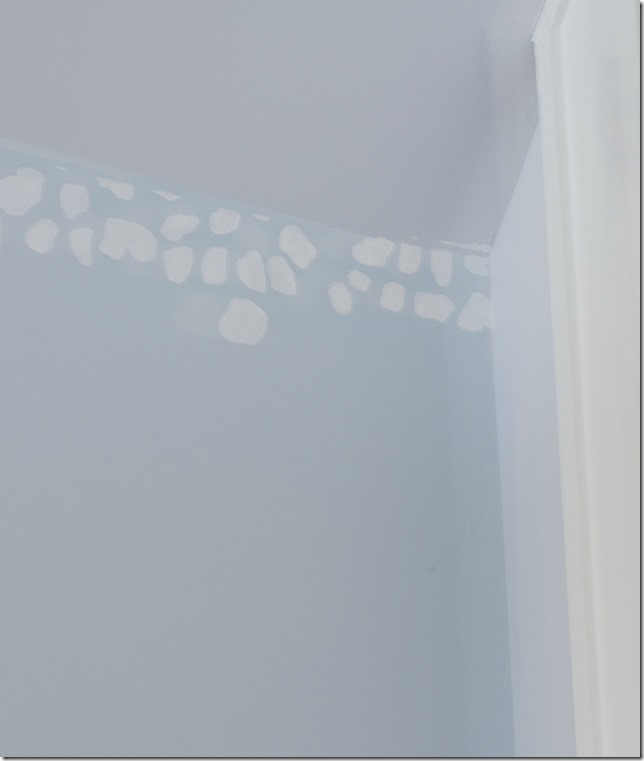
5. At the corner, tape off the adjoining wall. Attach the stencil to the wall, but don’t bend at the corner. Simply roll your roller into it.
Remove stencil and tape.
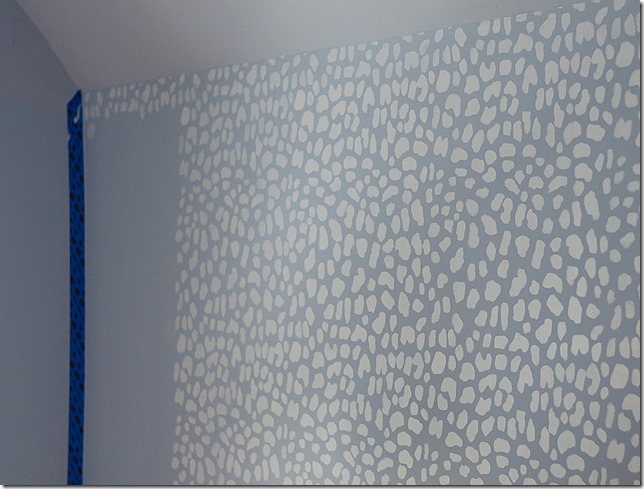
7. Once the top of the wall was stenciled all the way across, I then moved down and over using the large stencil piece.
This is when the roller comes in really handy.
And I continued to the other side of the room, alternating down and over as I went.
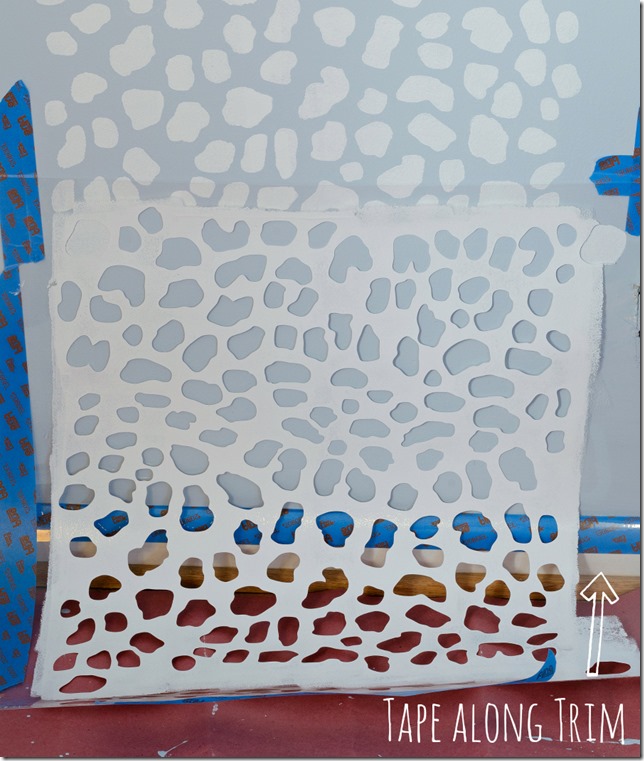
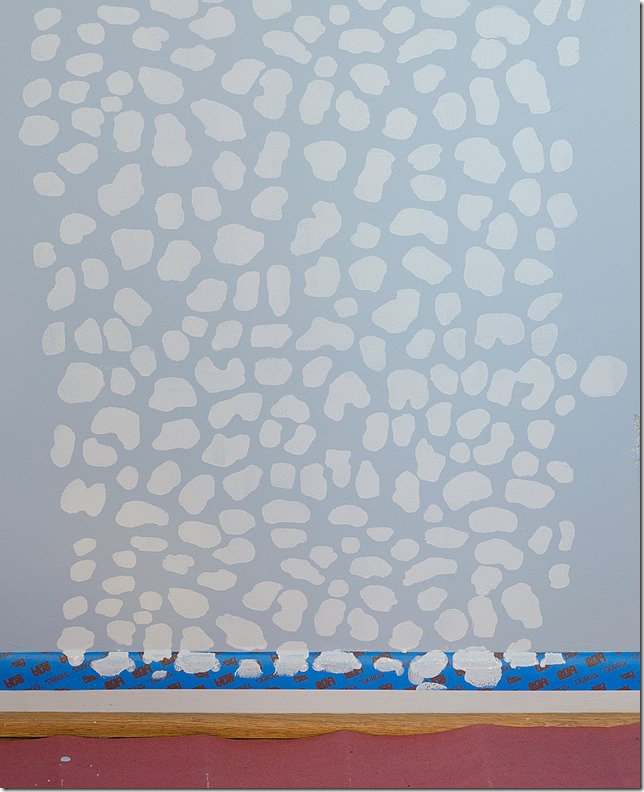
7. At the bottom of the wall, I the same technique as the corners, starting with taping off the moulding.
Just roll into the stencil.
Remove stencil.
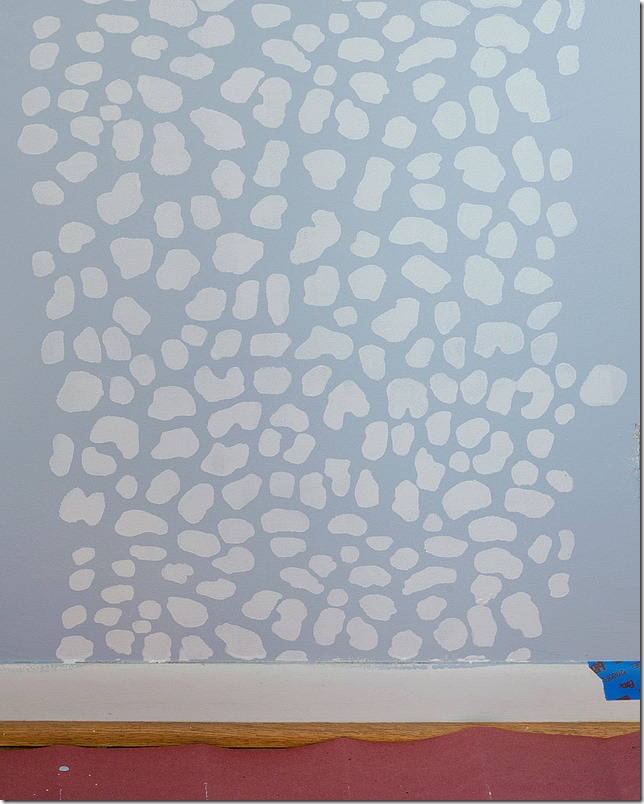
Remove tape.
I finished by painting the trim.
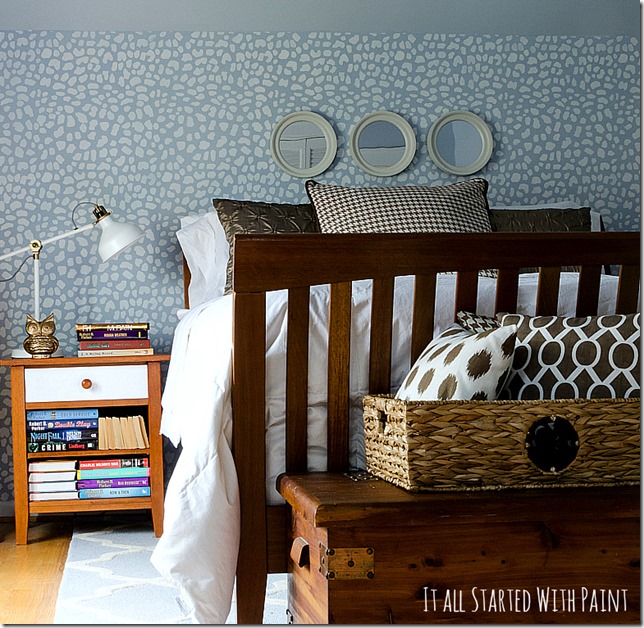
And you’re done.
And now you want to know if I finished before my husband returned home from his trip …
and my answer is almost.
![]()
You can see the full master bedroom remodel by clicking here …
Cutting Edge Stencils was kind enough to send me this Leopard Skin Allover Stencil, but all opinions are 100% mine.
Sharing:
| Inspiration Gallery | Between Naps on The Porch | Inspiration Monday-Refresh Restyle | Savvy Southern Style | Under The Table & Dreaming | Link Party Palooza |



I do any project when no one is around. Don’t need any constructive criticism. : )
It turned out great! I have been wanting to do this but have been chicken. Do you have to wash your stencil at all during the process?
Thank you so much! Yes, ideally should wipe it off during the process – especially when paint starts to build up around the stencil and the edges start to blur. And you should absolutely wash off the stencil when you’re done for the day. I must admit I was a bit remiss about this washing the stencil mid way through part!
It’s really special! Job well done my friend. A perfect accent.
LOVE!!! I am sure Mike did too!. Me, ive gotten so bold and hubby so accustomed to whipping out those projects right in front of him. Don’t worry , Mike will come around so you dont need to wait for business trips! 🙂 your bedroom truly looks amazing.
Love the wall. I’ve been wanting to try out a stencil, but find it a little bit daunting … you definitely describe the process well and give me hope it will be a successful DIY project when I finally do give it a try 🙂
Thank you Nicole! I had been holding out too. A bit frightened of messing up. Using a roller certainly helped. Plus, it’s just paint so I figured I could easily paint over mistakes! Good luck with your project! 🙂 Linda
Your directions are awesome. I’ve only stenciled small stuff, maybe I will tackle a big project! Yes, I do crazy stuff when my husband is out of town 😉 Thanks for sharing the inspiration at #inspirationmonday!
You are so patient to paint that stencil wall! And also very brave to tackle DIY without your hubby around!! Looks great though, nice work 🙂
That is such a cool stencil! I used to get a ton of projects done when my husband was out of town, but now he doesn’t travel anymore so I have to ask. It’s a lot more work to ask than to just do.
I love how this turned out!! Please come share at our link party going on now. http://www.delineateyourdwelling.com/2014/06/link-it-or-lump-it-party-number-42.html
I remember seeing your master bedroom reveal and this wall was my absolute favorite part. Stenciling isn’t easy, and you did a great job. Thanks for the tips on corners and leveling!
Leslie – you are too sweet! Thank you so much for your kind words! 🙂 Linda