DIY Farmhouse Table – Built with a Drill.
Did you see the headline up there? The one that says I built a table. I built a table. I BUILT a table. I. Built. A. Table.
Pardon my French (and screaming), but I BUILT A FRIGGIN TABLE!!!!
And can I say the more times I type the word ‘built’ the more it looks wrong. I seriously stopped mid-post and Google’d it to make sure it was a real word. 😉
But back to me. And my incredible, awe-inspiring TABLE BUILDING skills. If I was the kind of person who jumped up and down when excited, I would be jumping up and down. And if I was the kind of person who danced around the house when excited, I would be doing the Watusi. And Merengue.
Instead, I celebrated with a high five from Mike. And refrained from doing a post-high-five end zone dance.
Oh, and I spent the rest of the day walking around saying, I built a friggin table! 🙂
This was no small feat for me. Never in a million bazillion years would I ever think that sometime in my early 50’s I would be building a DIY farmhouse table. BUILDING A FARMHOUSE TABLE, PEOPLE! ME! ALL BY MY LONESOME.
And this is where I should be sharing a tutorial on how to build a farmhouse table with only a drill. That’s right. One tool. A drill! But I won’t. It’s not my project to share. Instead I will point you to the DIY farmhouse table tutorial I followed from Miss Mustard Seed (click here).
But what I will do is share some tips and lessons learned along the way. You know, when you can BUILD YOUR OWN FRIGGIN TABLE!
How to Build a DIY Farmhouse Table … With a Drill
Tips & Tricks
The road to building a farmhouse table was definitely fraught with some challenges. Like when I attached the pre-turned leg the wrong way. And had to back out eight 2″ self-drilling screws. Fun times! So I thought I’d share some key hard-earned tips and tricks with you …
Tip #1: Customize It!
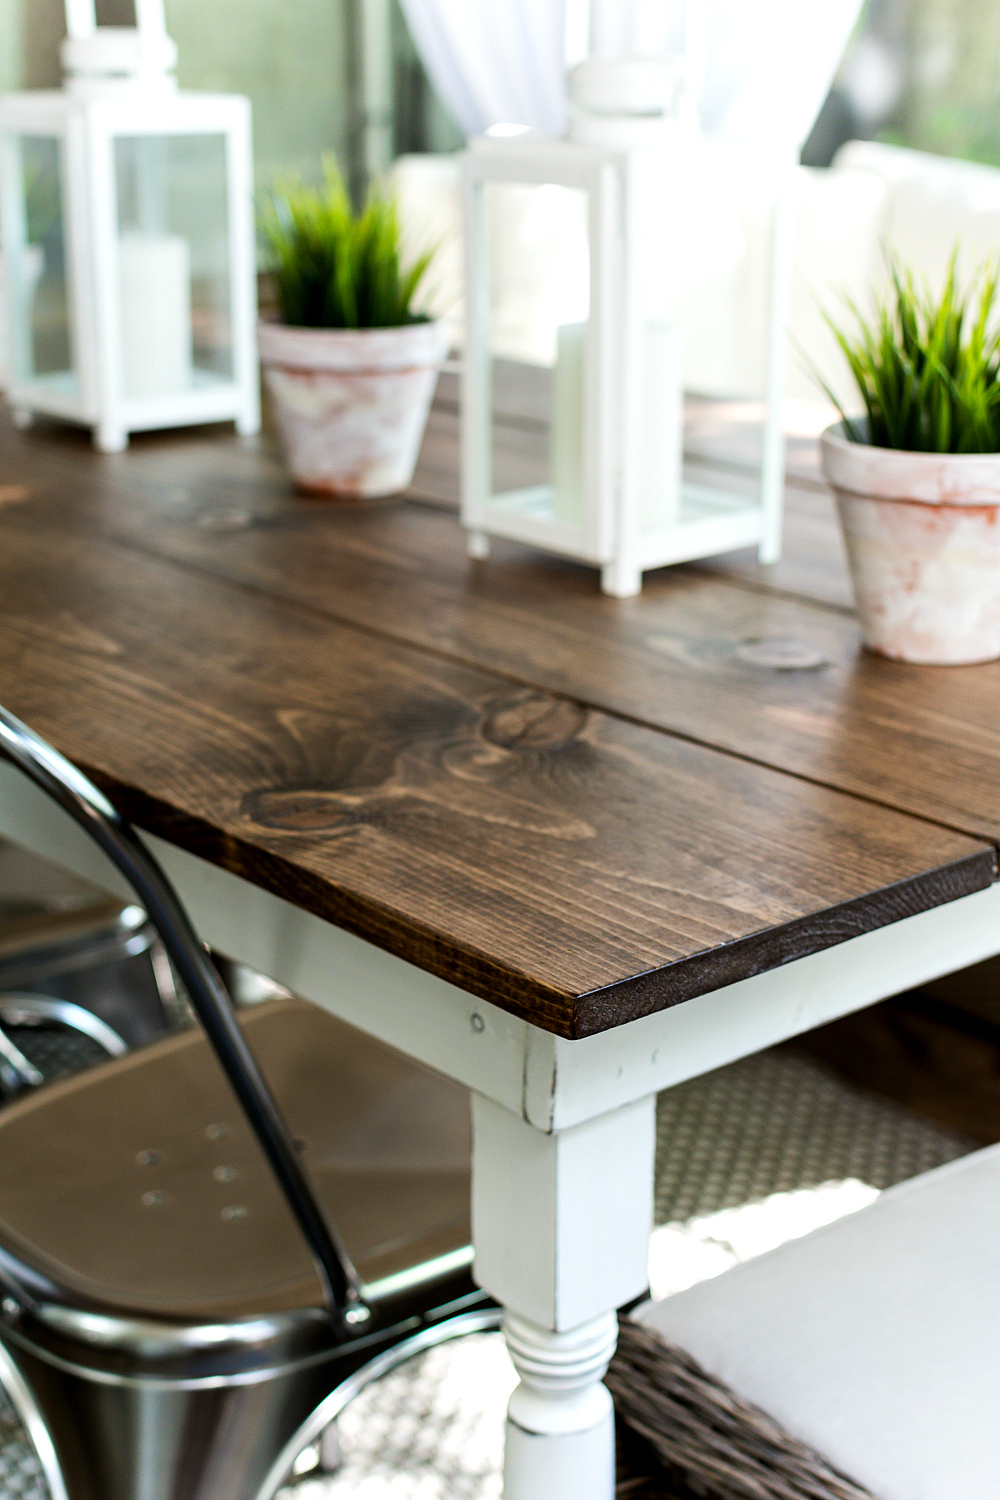
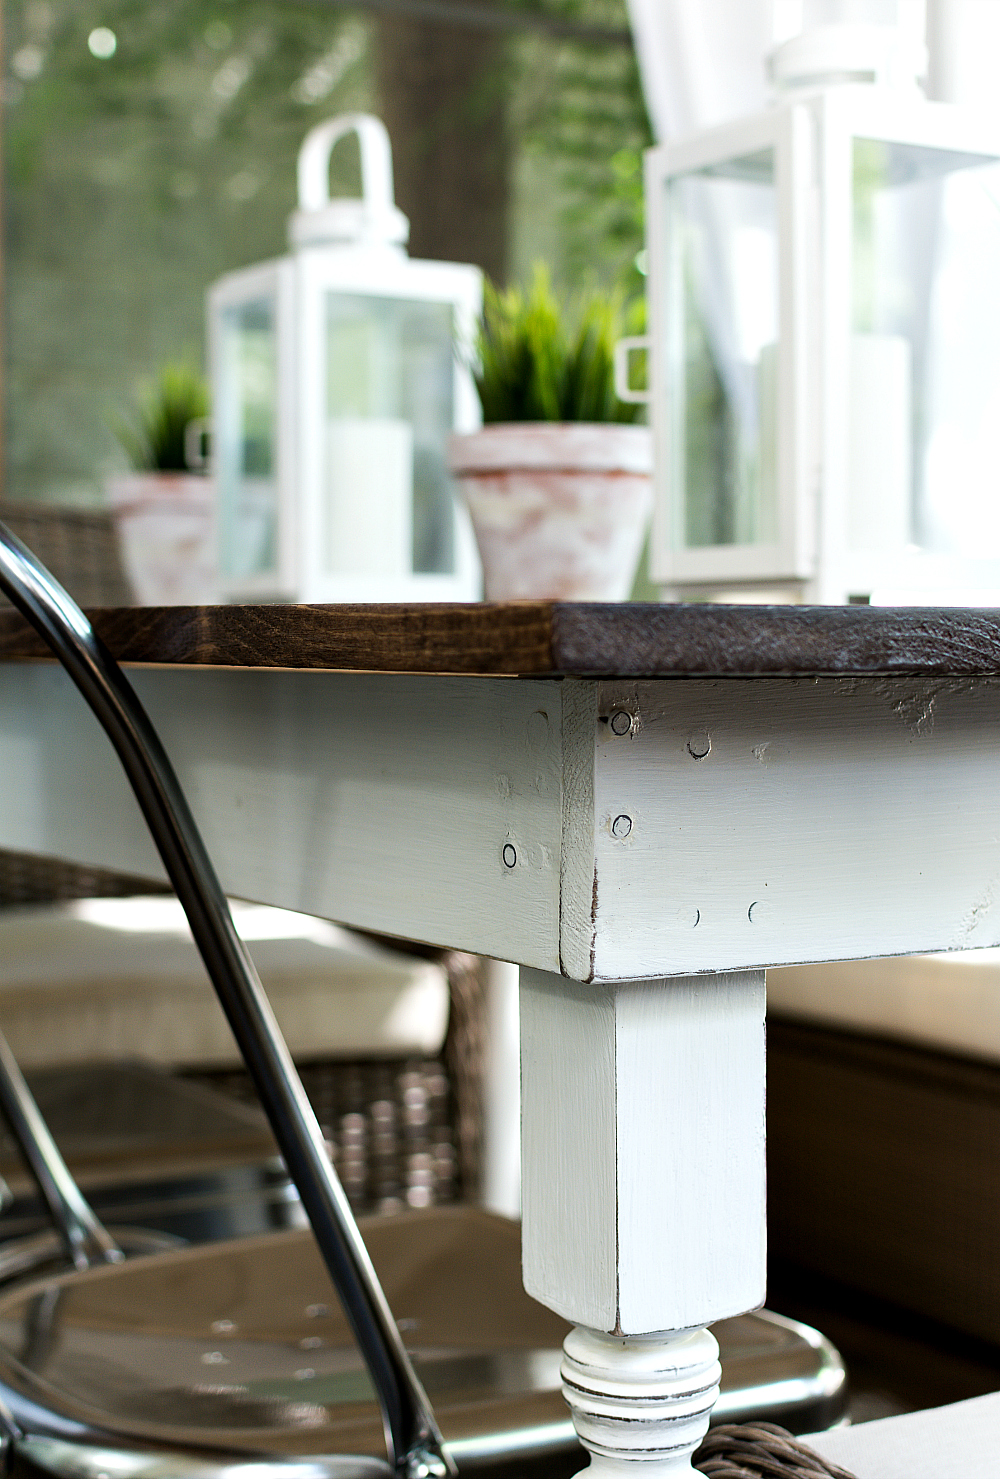
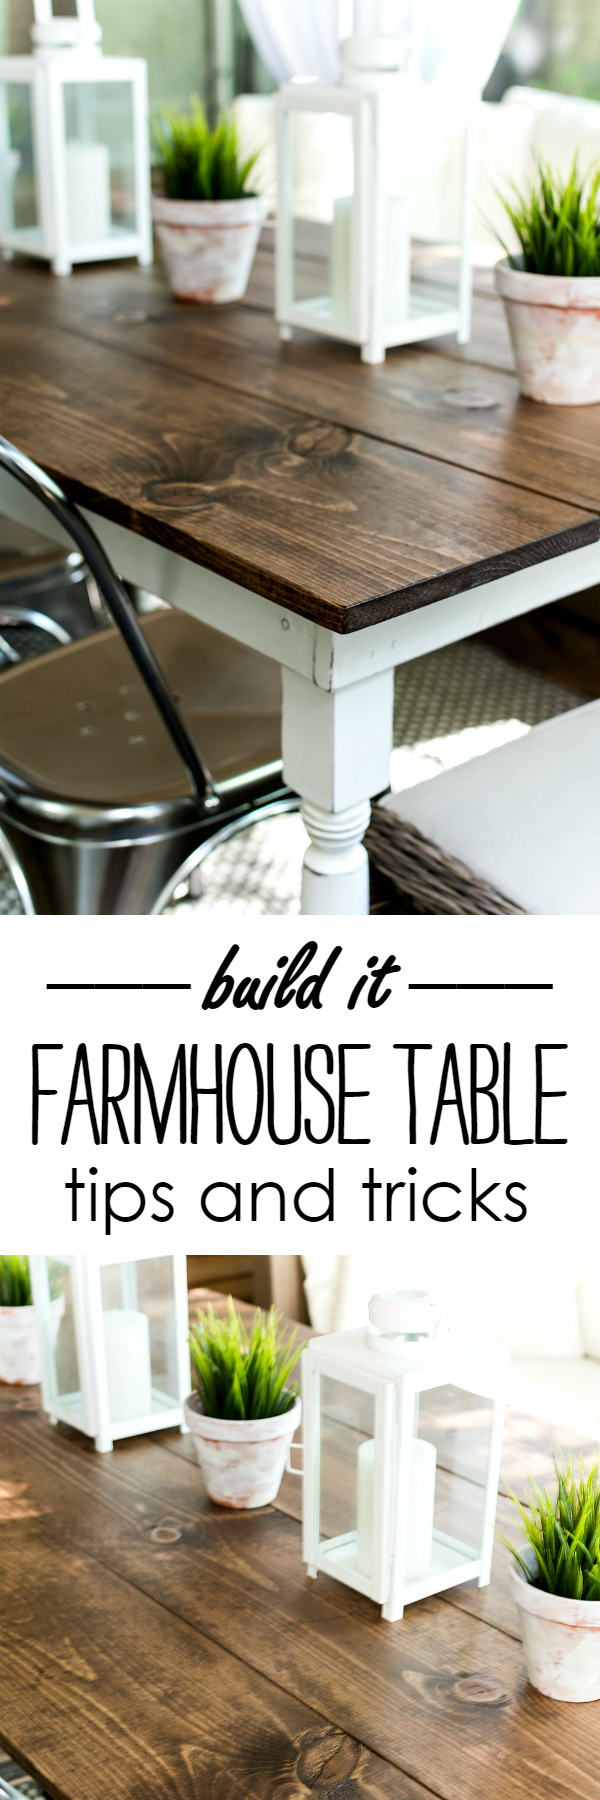
This is my favorite part of the whole diy farmhouse table project. Because I had a very specific space where this table would live (the screen porch) and I had very specific dimensions for length and width for the table. Just keep in mind that you’ll want about 3″ overhang of the table top from the apron pieces. For the table top, you have a choice for planks from 1 x 6, 1 x 8, 1 x 10 and 1 x 12 boards.
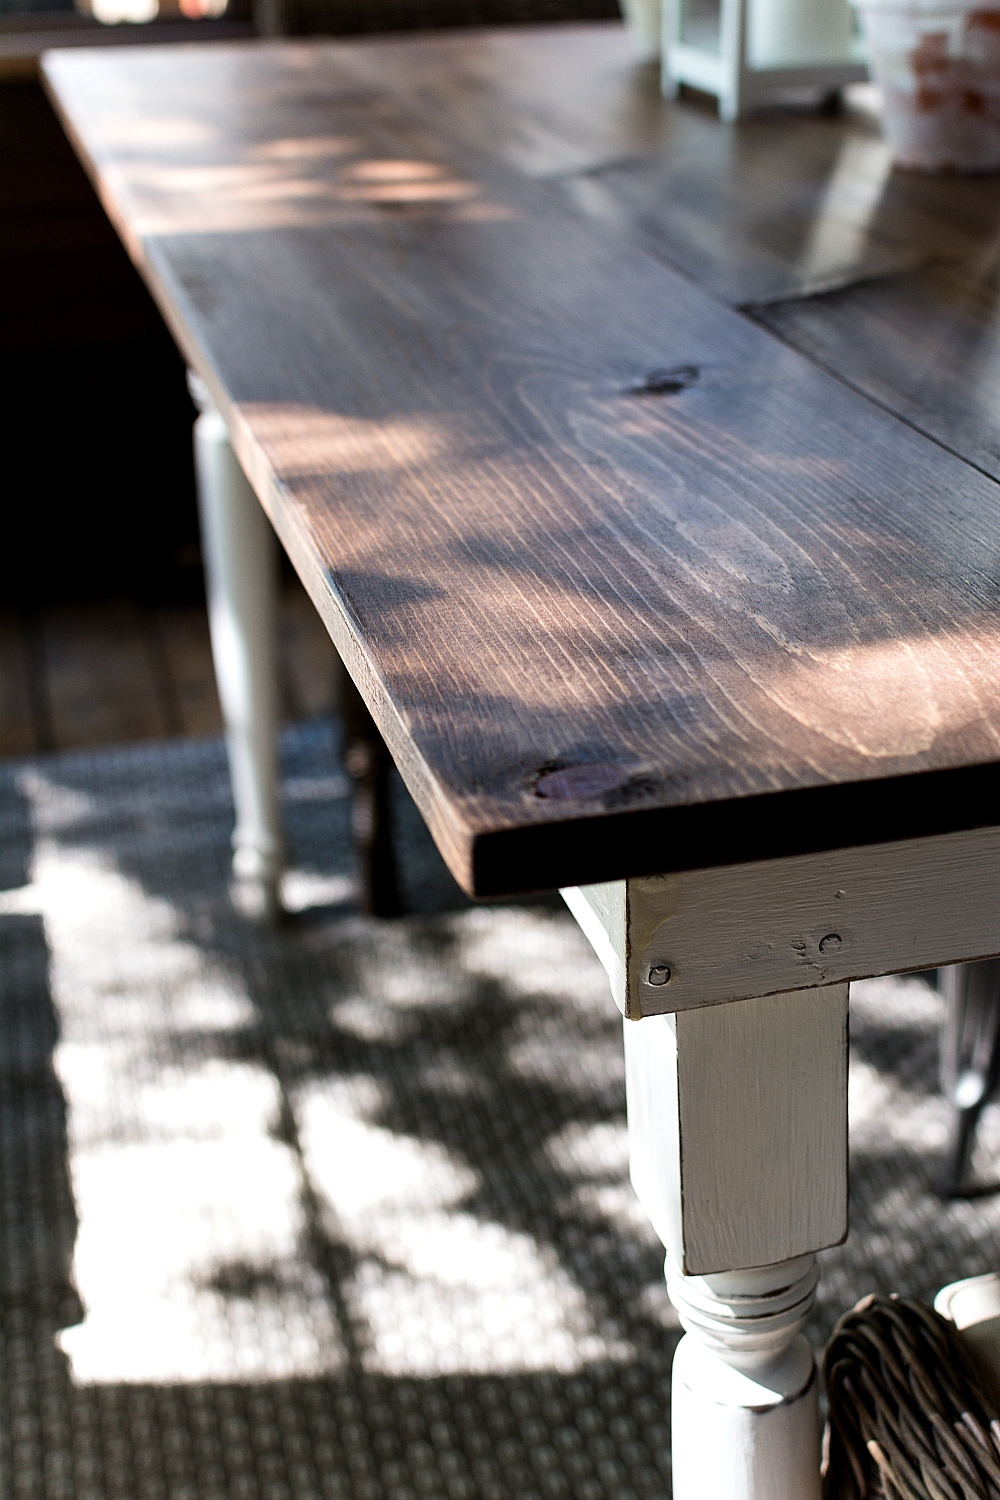
And once you have all your dimensions figured out, take them to The Home Depot and have them make all the cuts for you! My table measures 40″ x 60.” For the table top, I use four 1 x 10’s to create the table top.
Tip #2: Get a Good Drill
The key to the whole project is the drill. And self-drilling screws. So a cordless, powerful drill will make the project so much easier. I used my Ryobi drill (which I won through a blogger’s contest) and it’s my new favorite tool!

Oh, and I’m not getting paid by the folks at Ryobi to say that.
Tip #3: Get Some Good Clamps
Again, no one is paying me to endorse these clamps. But when the guy at The Home Depot was cutting my lumber and I spotted the clamps he was using, I immediately asked, “what aisle?”

I couldn’t have done this project on my own without them!
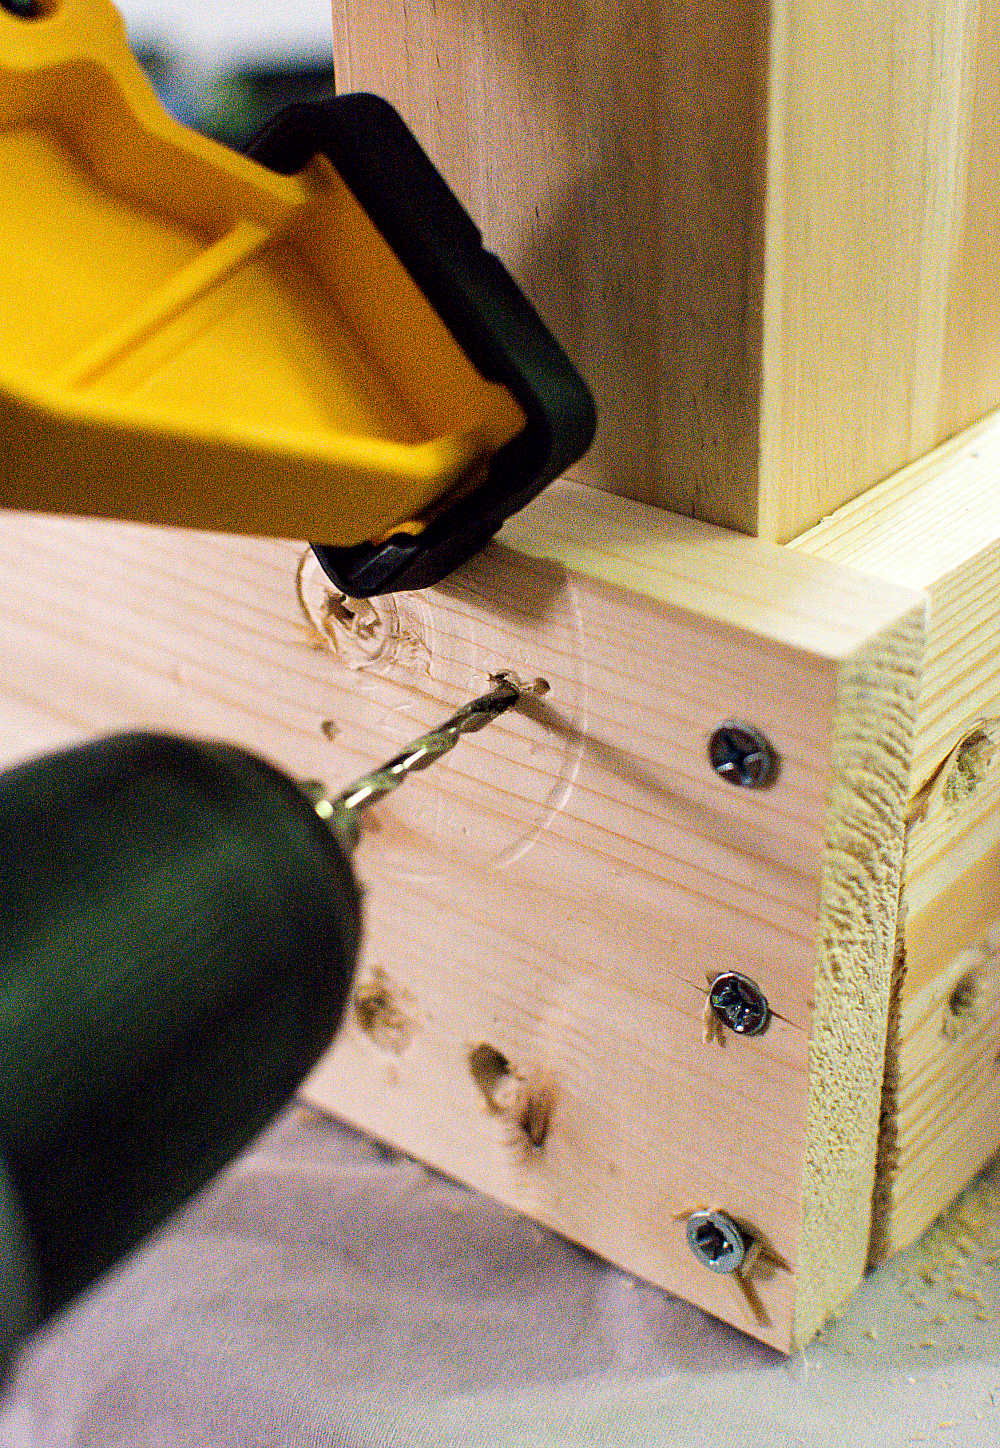
Tip #4: Drill Holes First
The self-drilling screws are great and all … right up until they aren’t so great. I found them tricky when trying to attach the pre-turned legs (found at The Home Depot) to the apron. So pre-drilling the holes first made the world of difference.
Tip #5: Removing Stripped Screws
I have a very bad habit of stripping screws and was ready to resign myself to living with a bunch of protruding screws on the apron of the table (with a warning to everyone to watch their knees when sitting) when my husband reminded me of a trick he learned from our contractor friend Ed (of Clover Building & Development).
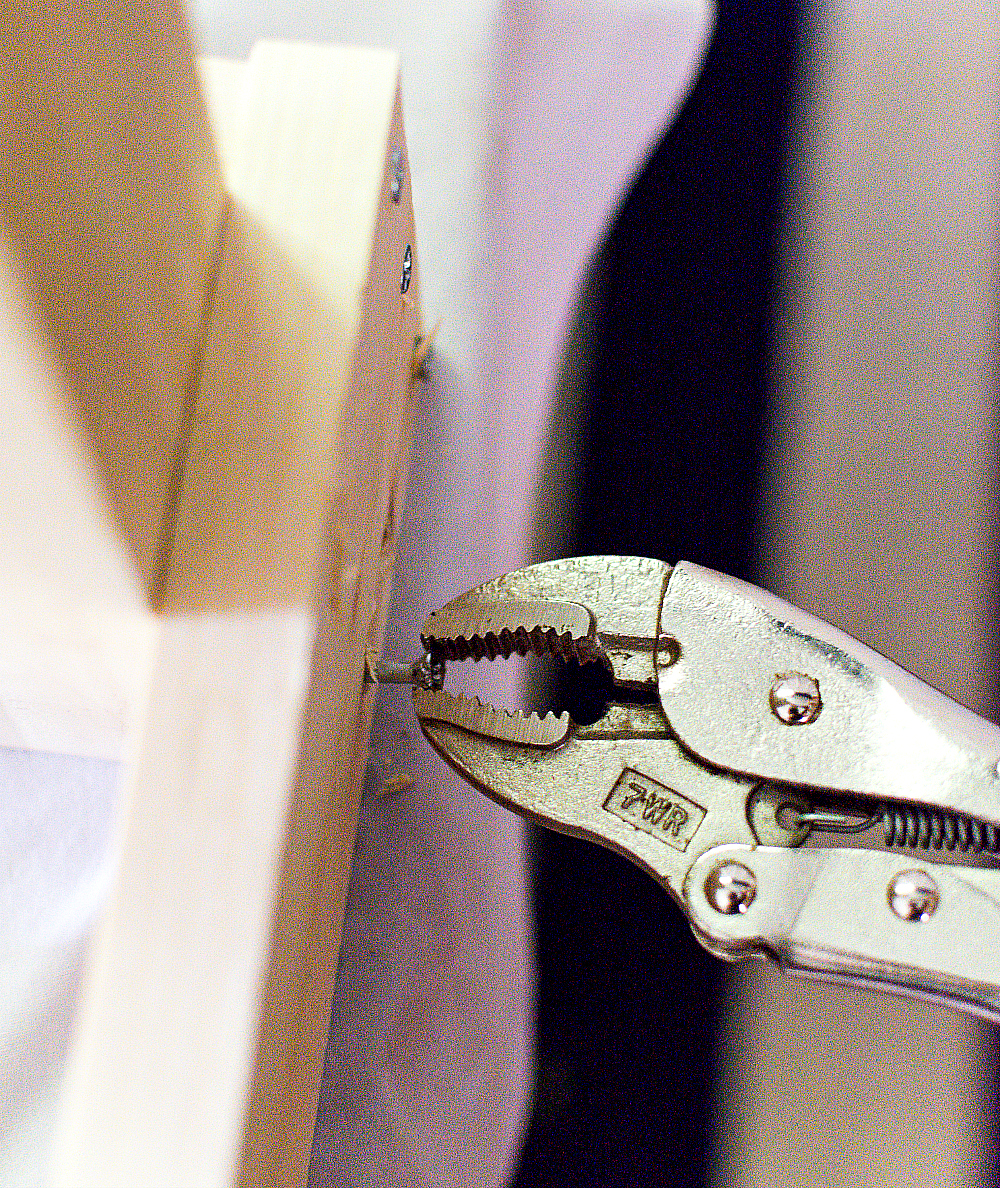
Simply clamp a vice grip onto the screw head and just left loosy it out. There’s no pulling or tugging or strength needed. Just turn that vice grip over-and-over and the screw will back out. So simple!
Tip #6: Sand, Sand … and Sand Some More
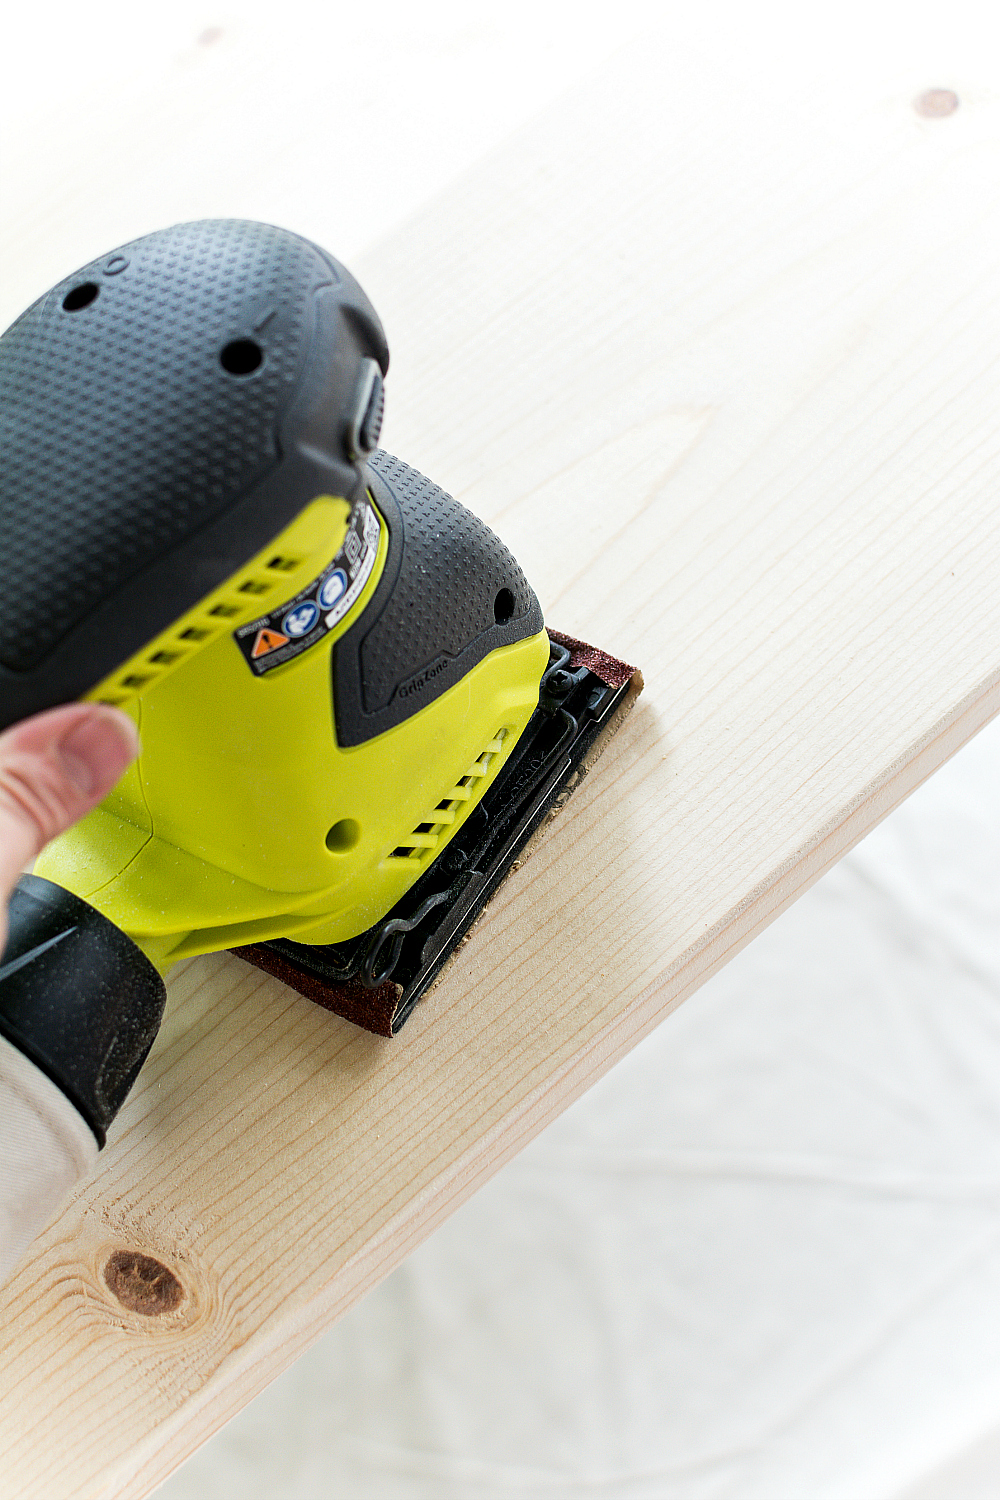
Unless you want to serve up a side of splinters with dinner, give that puppy a good sanding. Sand the top nice and smooth, focusing on any loose pieces.
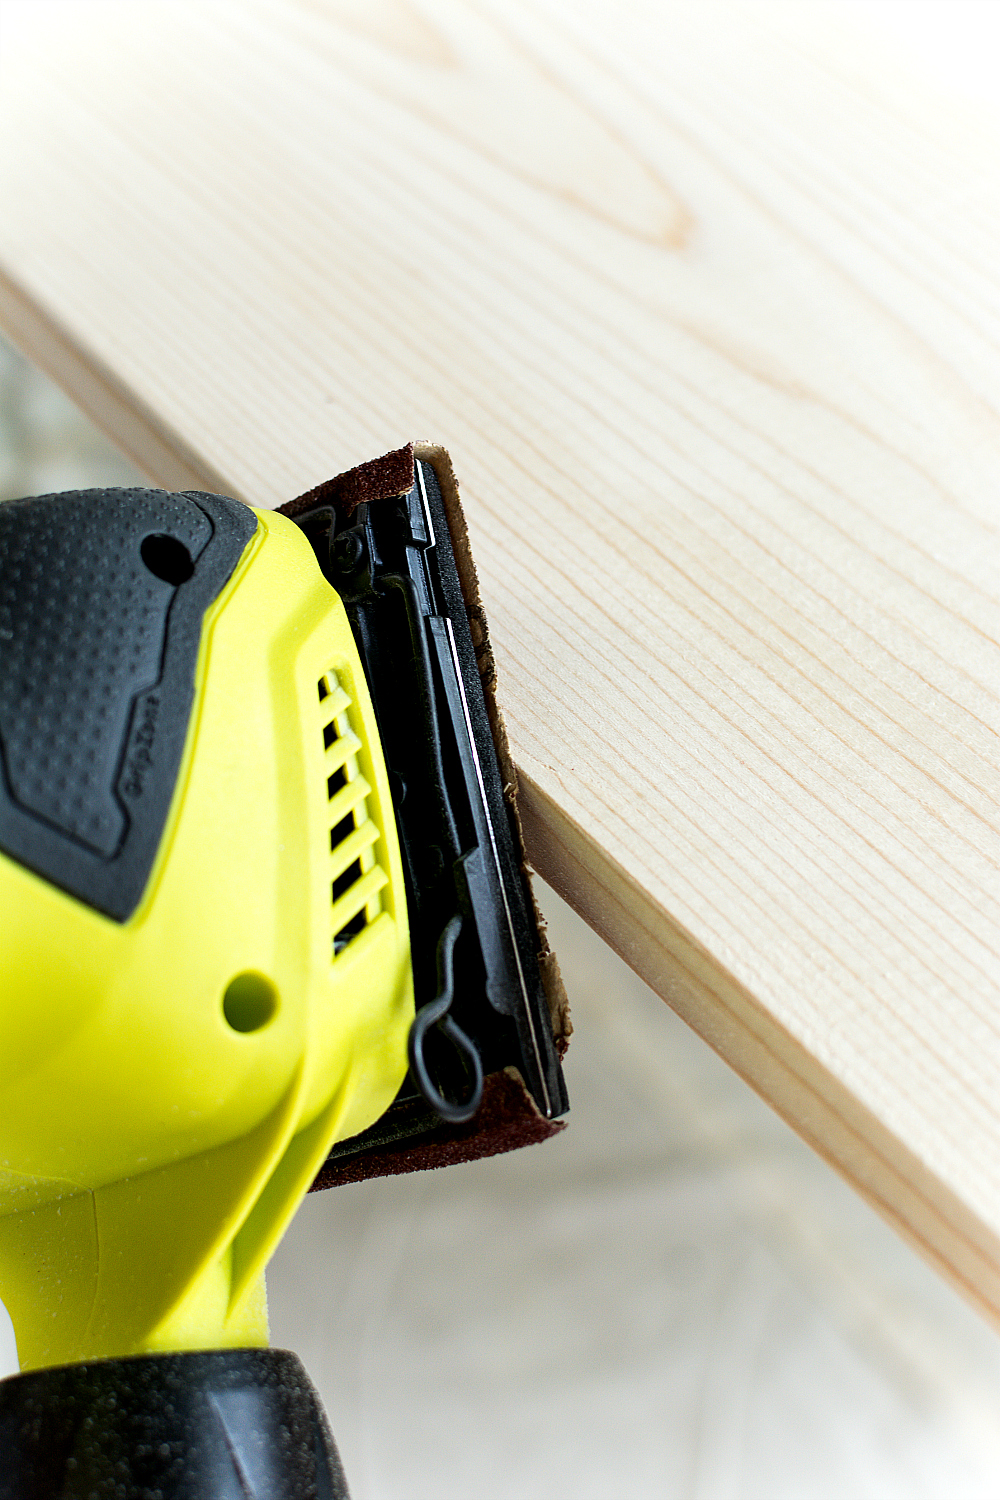
And make sure you sand along the edges really well too.
Tip #7: Test Your Stain
I was all ready to dive in and give the table a coat of stain based on the color sample from the store display … and then I thought better of that idea and tested the stain on a scrap piece of lumber. Boy and I glad I tested it first. It was toooooo dark. So back to the store went I to pick up Minwax in Special Walnut. Which I also tested on a scrap piece of lumber. Much better.
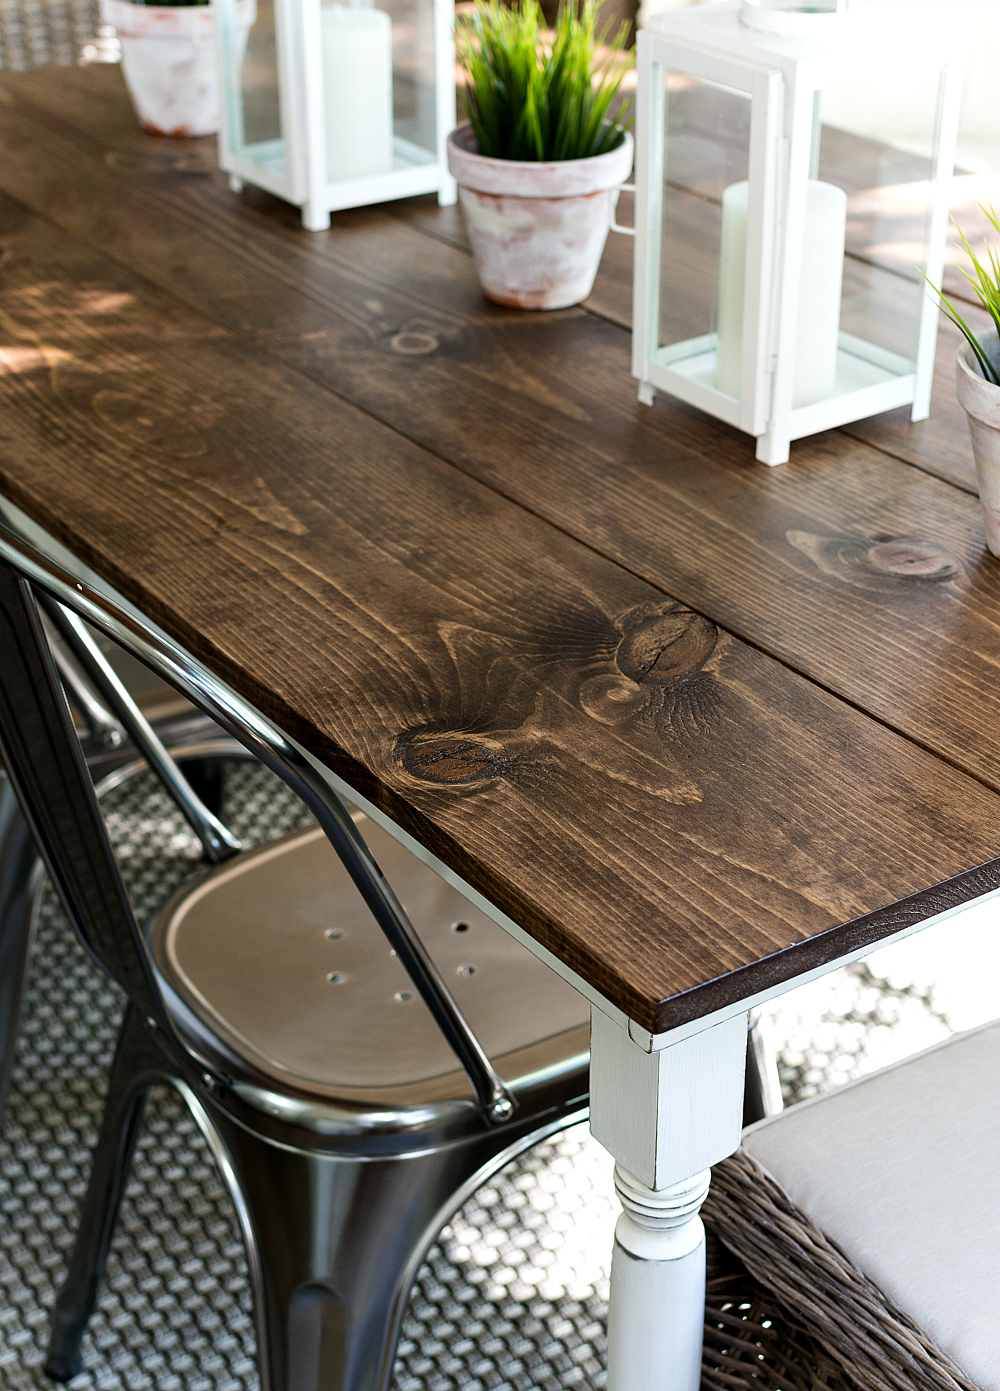
Once the stain was applied (using a rag) to the top and the legs, I decided to lighten it up with paint. I used Annie Sloan in Pure White on the apron and legs.

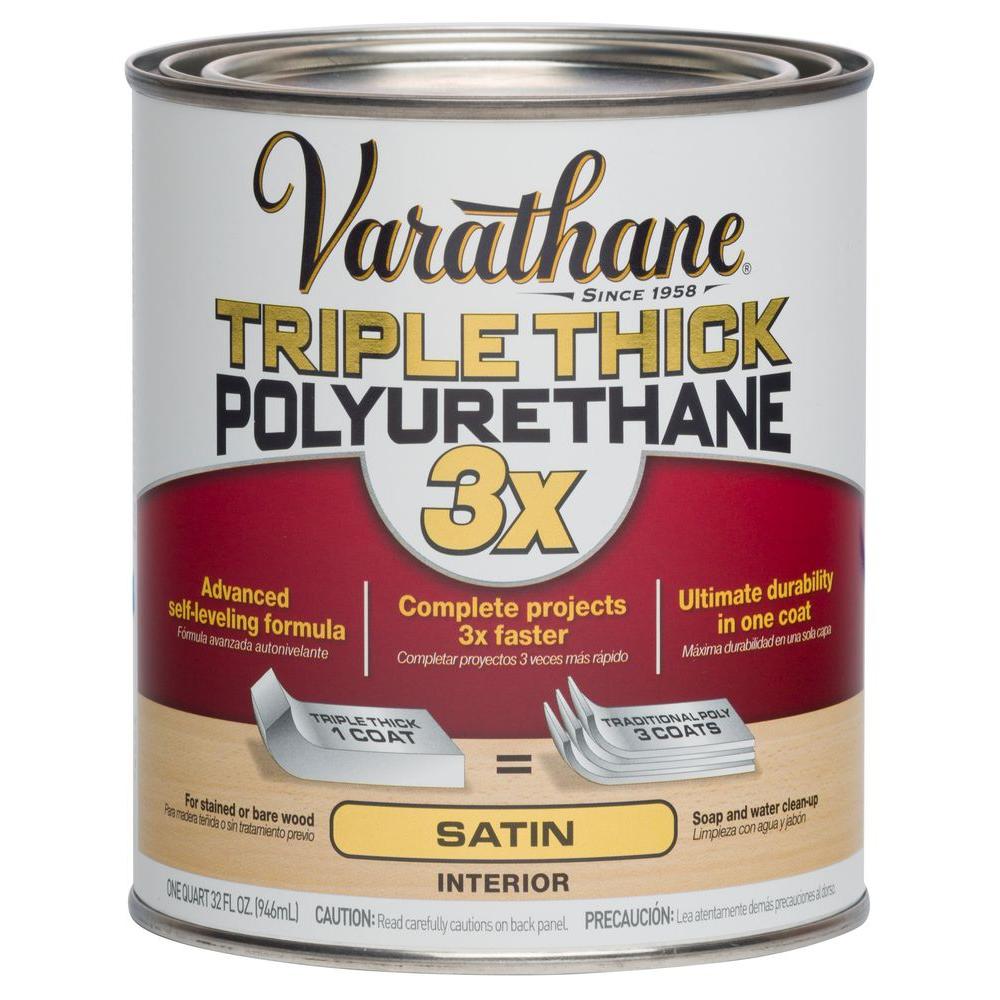
And then I gave it a quick distress with 150 grit sandpaper. The final step was a coat of triple thick Polyurethane* in satin finish.
I’m so emboldened, empowered, enamored, en … en … enspired 🙂 …. by my table building skills that I’m thinking I might just build a farmhouse bench to go with my table! That’s right. I’M GOING TO BUILD A FRIGGIN BENCH!
🙂
Pin It!
You Might Also Like:

You can find even more of my DIY projects by clicking here …
*A special thanks to Rust-Oleum for providing me with the Varathane Triple Thick Polyurethane.
Well you should be dancing around. This is gorgeous. You did an amazing job. I love it.
Yay!! This table looks awesome and you SHOULD be proud!!
Well congratulations on building a frigging bench. I have to confess, all I could think of for the first half of the post was “but I love your dining room table!!!!!” I was very relieved when you said your frigging table was going on the porch.
OH MY Goodness, you built a table…you made me so chuckle this morning….YOU built a table and I applaud your creativity and determination for building a TABLE…
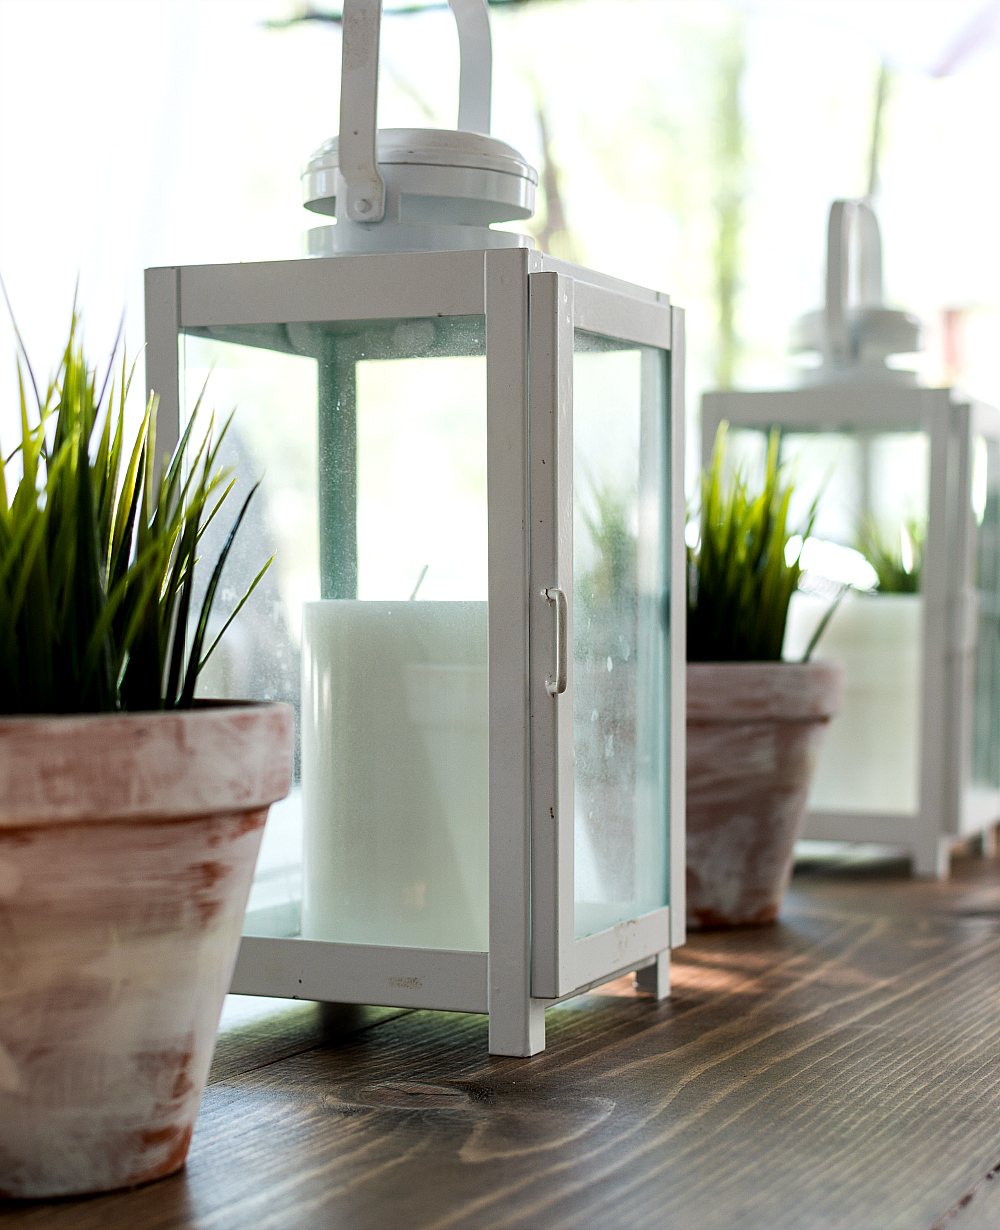
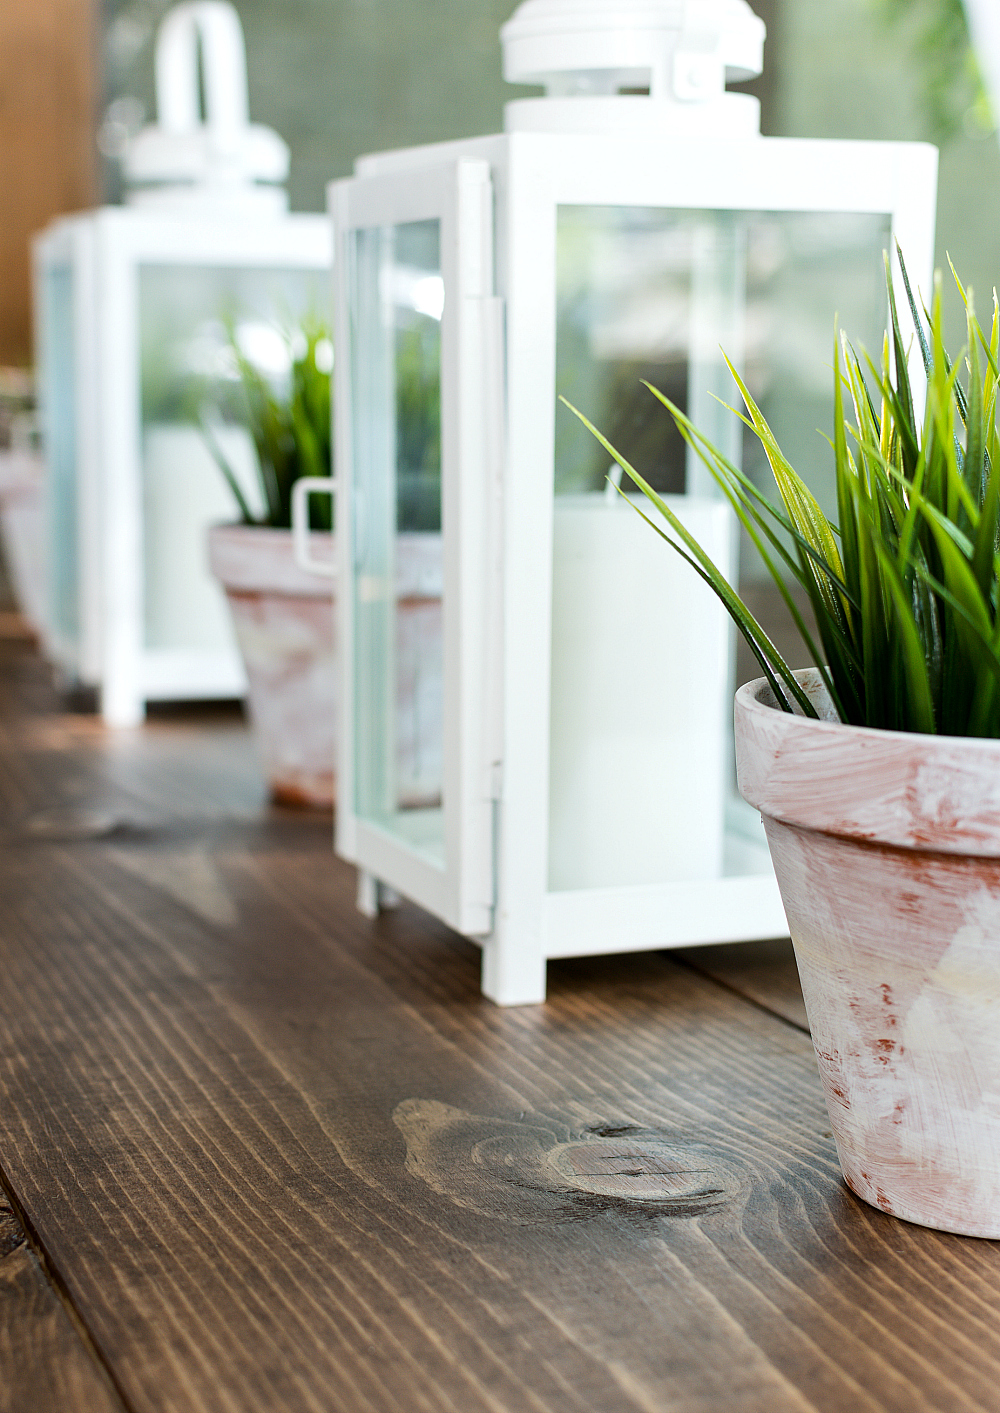
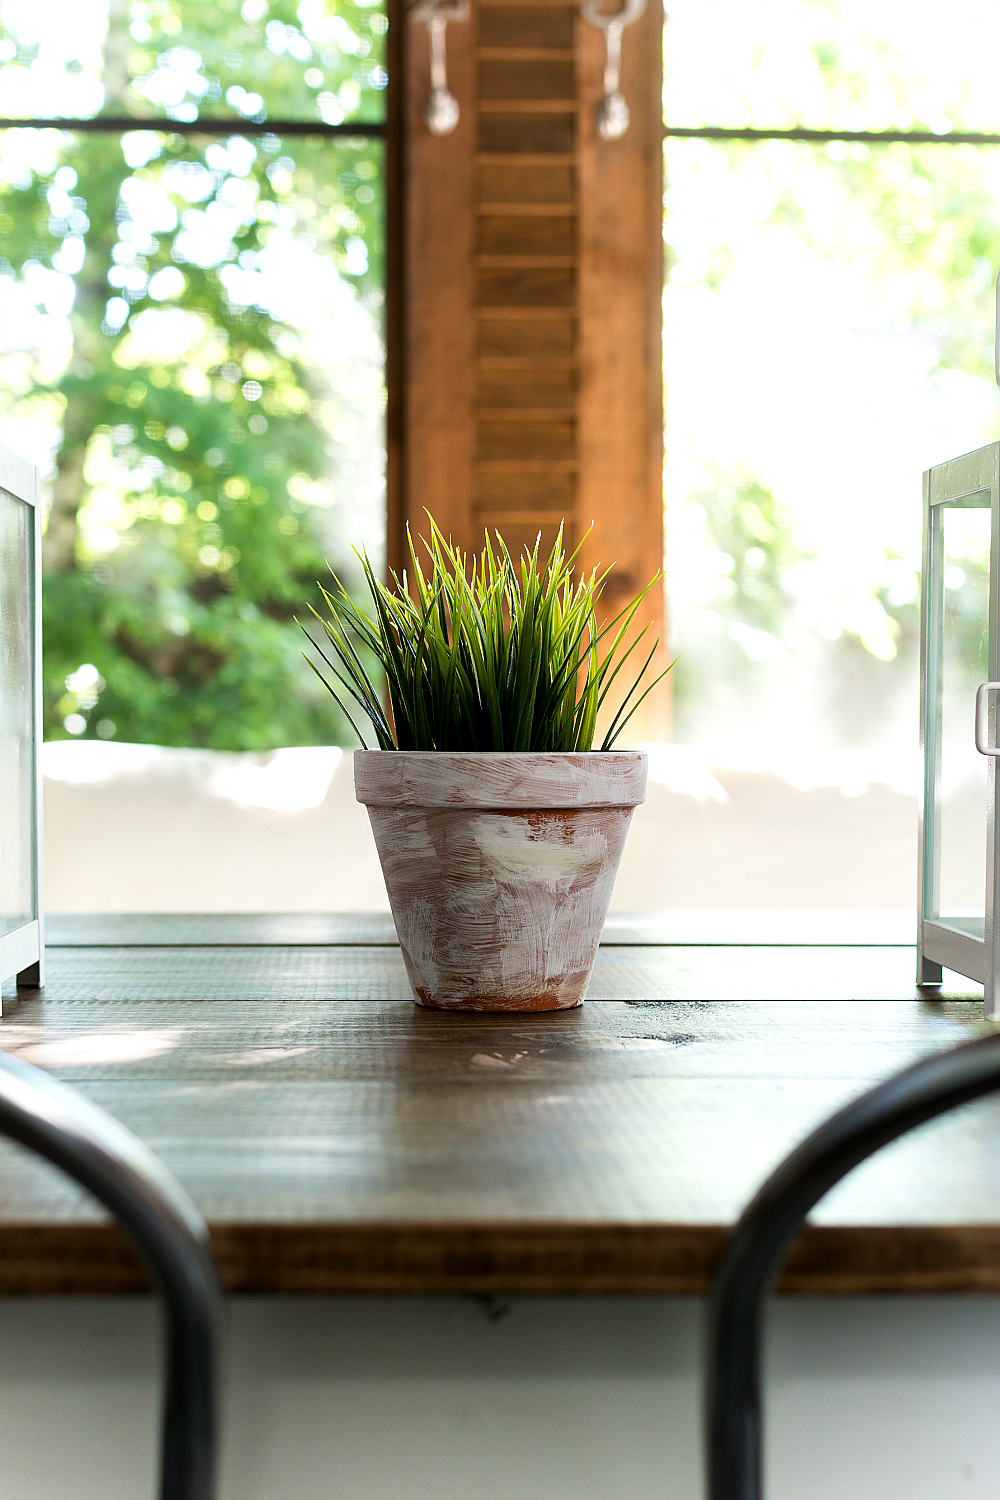
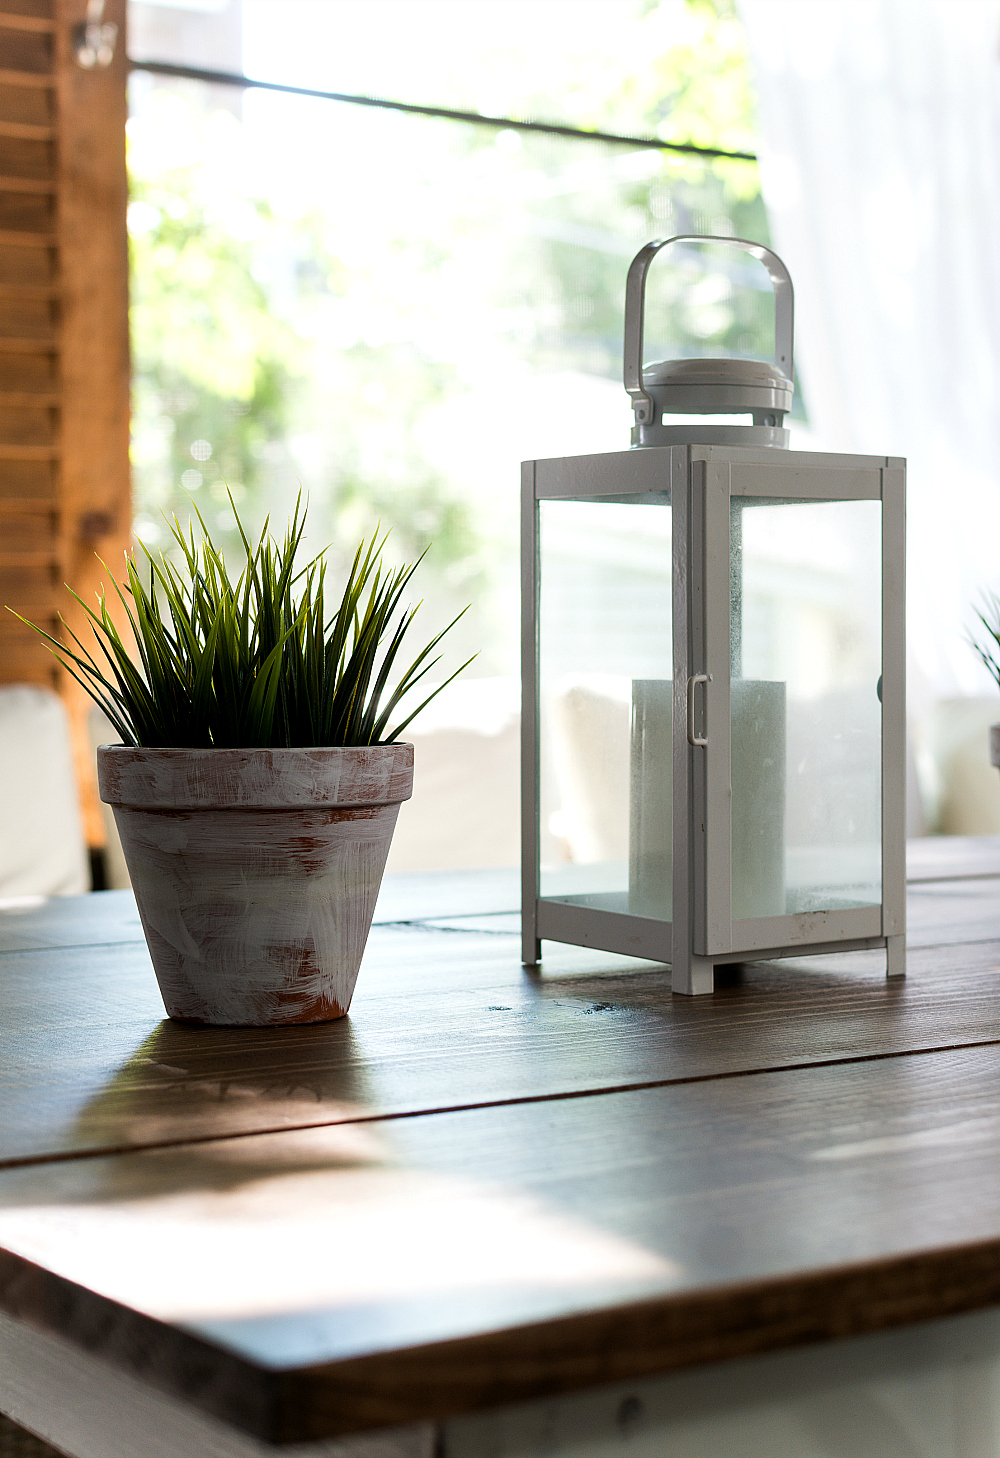
love the lightboxes on the table…tell me you built those too lol…
YOU rock x
Thanks so much! And the lanterns were purchased a few years back at IKEA (I think?). No, my building skills do not (yet) include working with metal! 🙂
Chapeau!! You can be proud, it’s great, I love it!! ?
Linda, I’m so impressed!! You did a beautiful job! Your table is gorgeous!! What was the total cost? I’m just curious. I may have to try my hand at building my own friggin table!
It was about $110 in lumber. Add in another $7 for screws. I also purchased clamps (about $25) for the project. And then of course there is stain and paint, depending on how you want to finish it. Still a lot less than some of the farmhouse tables I was eyeing online! 🙂
Yes! A very good deal, and you have the added bonus of knowing that you built it yourself! SO AWESOME, WAY TO GO GIRL!!
Linda, The table is just BEAUTIFUL!!! Jump! Dance! Drag people in off the street to see it! I think it’s AhhhMazing!
You go girl!!! It looks great and you have inspired me!!!
Thanks! 🙂
You did an awesome job with that table! It looks awesome. I also love the decor you placed on it. Congrats on accomplishing such a great DIY project!
Fariha | http://www.farihawajid.com
I am impressed Particularly as I recently thought about making farmhouse table, then reconsidered (also known as chickened out) when I realised I had a table that I could change the top on to get what I wanted.
You did an amazing job. Well done.
So I was driving east out of Minneapolis, you know heading in the direction of Chicago, when I spotted this billboard that said “I built a table”. I knew exactly who the sign meant. I hear tell they are getting ready to put a new one up, saying something like “I’m going to build a friggen bench”. Apparently happy news really travels far.
LOVE your FRIGGIN table. it’s gorgeous!
Yaaay, Your table is so freaking awesome! I’m so glad you went ahead and build it yourself, I can see more building projects coming, that’s addictive! 🙂
Holy cow! That is awesome!! I am so inspired now, so cool
Thank you! And it’s still standing – can you believe it! 🙂
this table is beautiful! I want to build the same style tables for my wedding next year. Did you buy these legs at a home depot as well or were they custom made?
Thanks! I did purchase the legs at Home Depot. And then I painted & distressed them after the table was built. Good luck with your table! 🙂
Hi!! I really want to build this, what dimensions did you use for the apron of the table?
The plywood thickness is 1/2″ but, if I was to make this again, I would go with a thicker plywood piece. Maybe more of an inch.