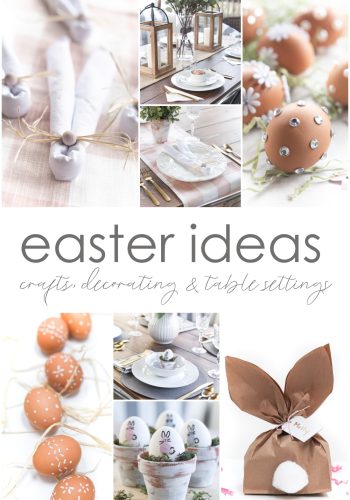
Easter Craft, Decor & Table Setting Ideas
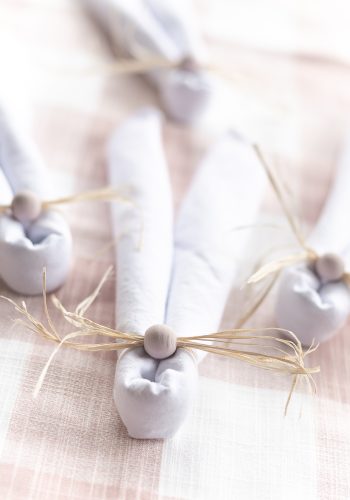
Rabbit Ears Napkin Fold with a Bunny Nose for Easter
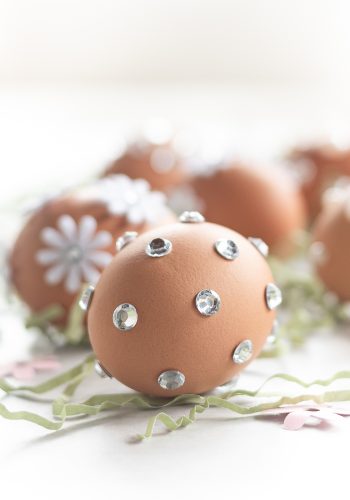
How To Decorate Easter Eggs with Rhinestones, Pearls & Flowers
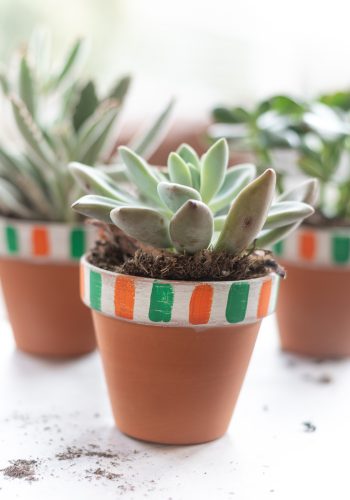
Irish Flag Painted Terra Cotta Planters
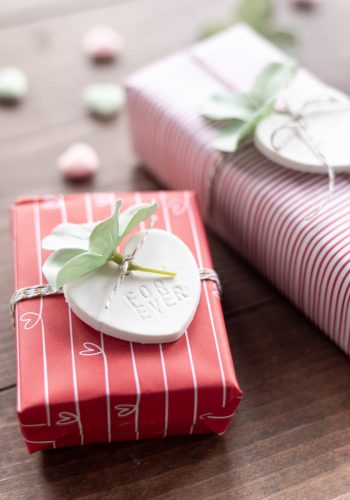
Conversation Heart Clay Gift Tags
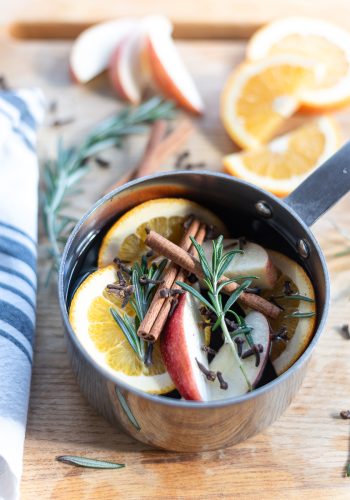
Winter Simmer Pot
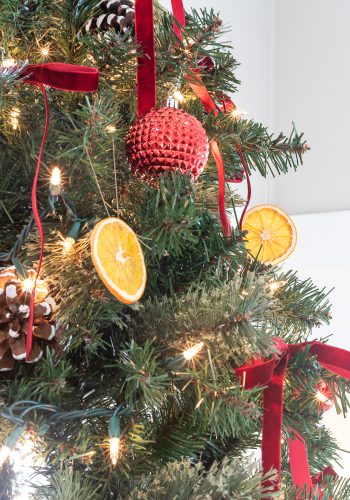
Dried Orange Slices Ornaments DIY
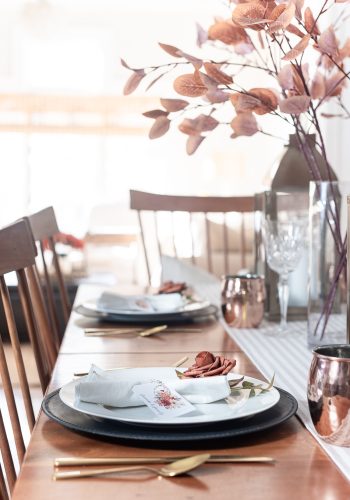
Thanksgiving Table Setting and Free Printable
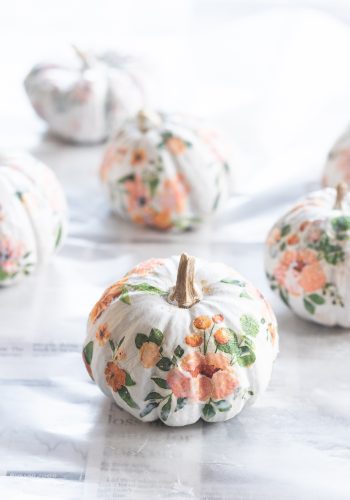
Decoupage Pumpkin Craft
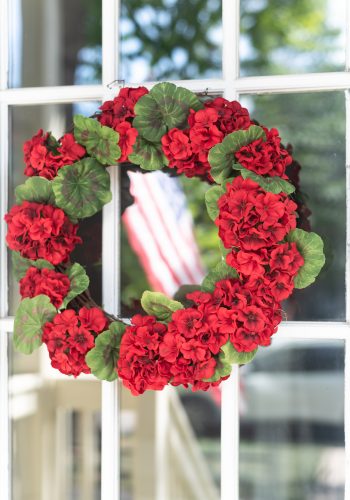
Geranium Wreath DIY
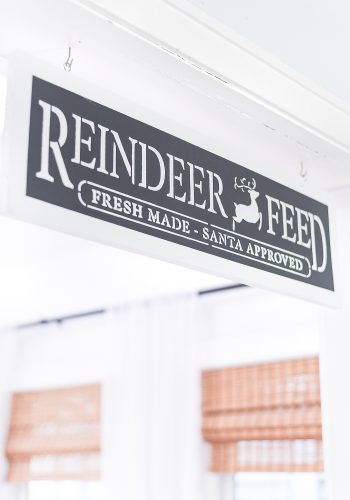
Vintage Christmas Sign DIY
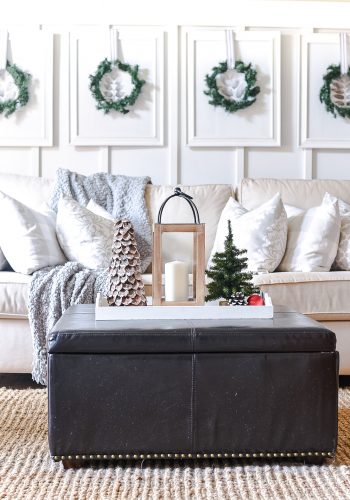
Getting Cozy in December
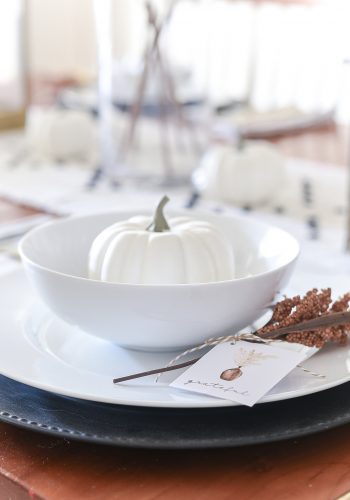
Thanksgiving Table and Free Place Card Printables
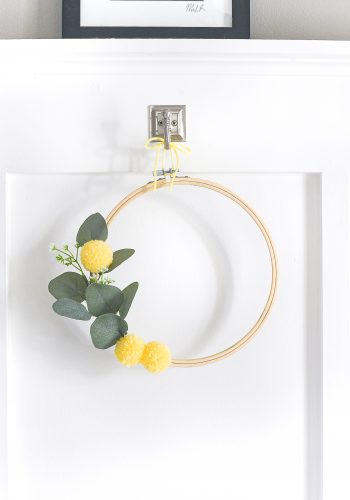
Embroidery Hoop Wreath with Faux Billy Ball Pom Poms
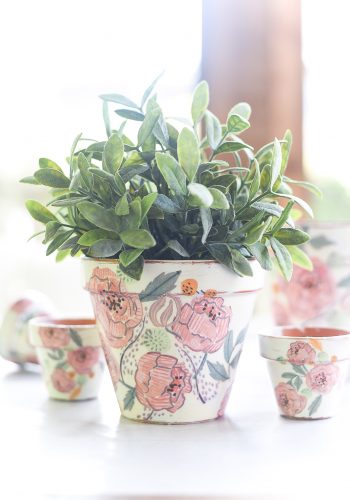
Decoupage Terracotta Pots
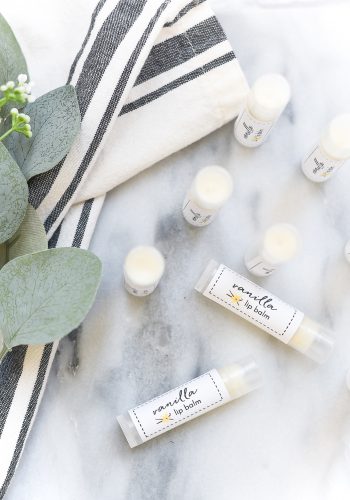
Homemade Vanilla Lip Balm
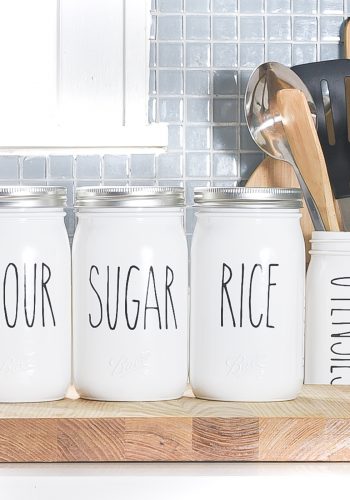
Rae Dunn-Inspired Kitchen Canisters
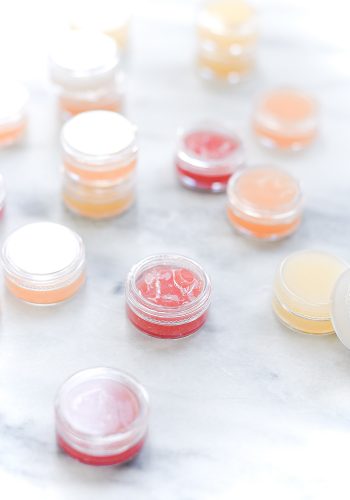
Homemade Lip Gloss with Jello
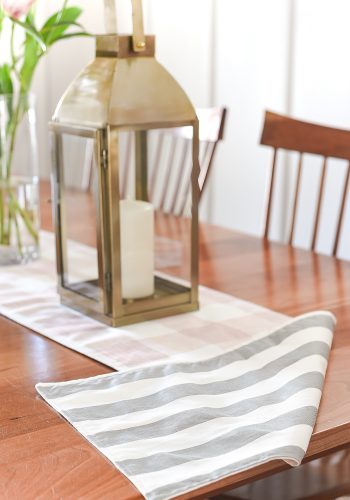
Two-Sided Table Runner DIY
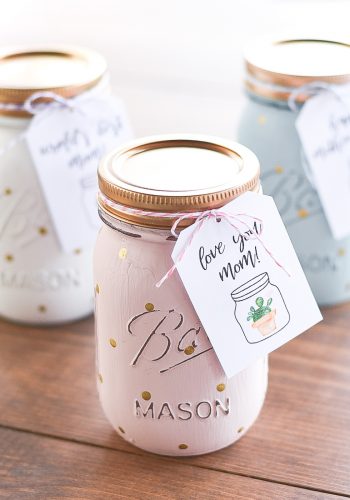
Mother’s Day Memories
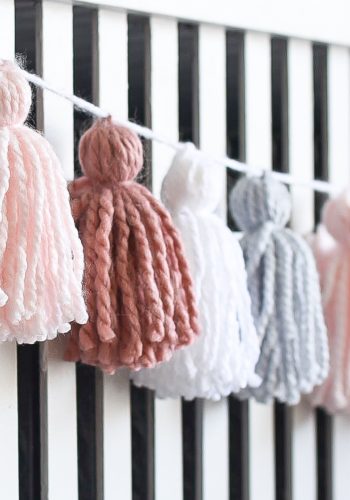
Yarn Tassel Garland DIY
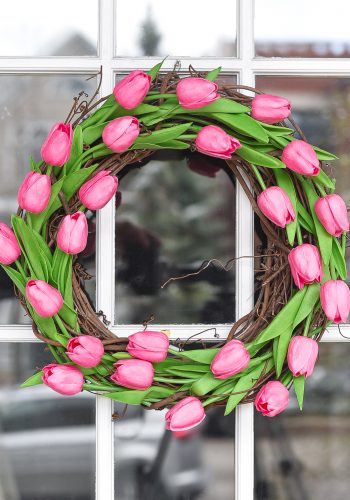
Tulip Wreath for Spring
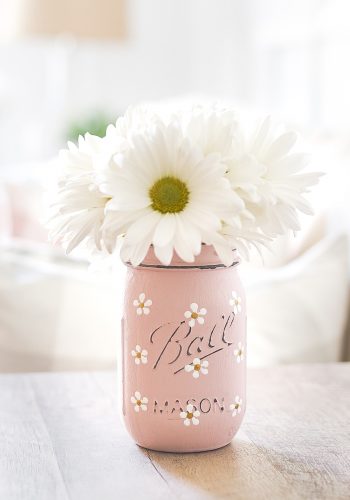
Painted Daisy Mason Jar
- 1
- 2
- 3
- …
- 13
- Next Page »