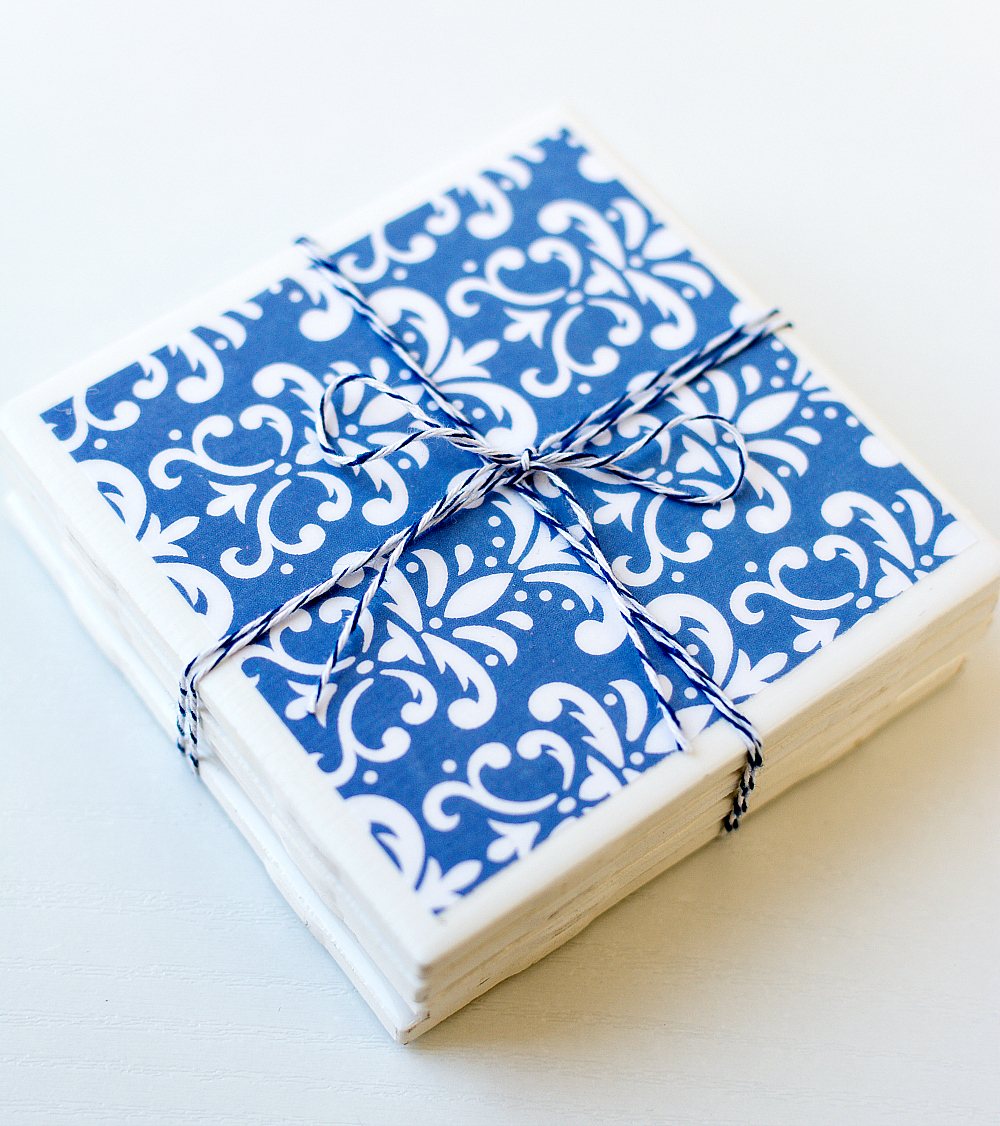
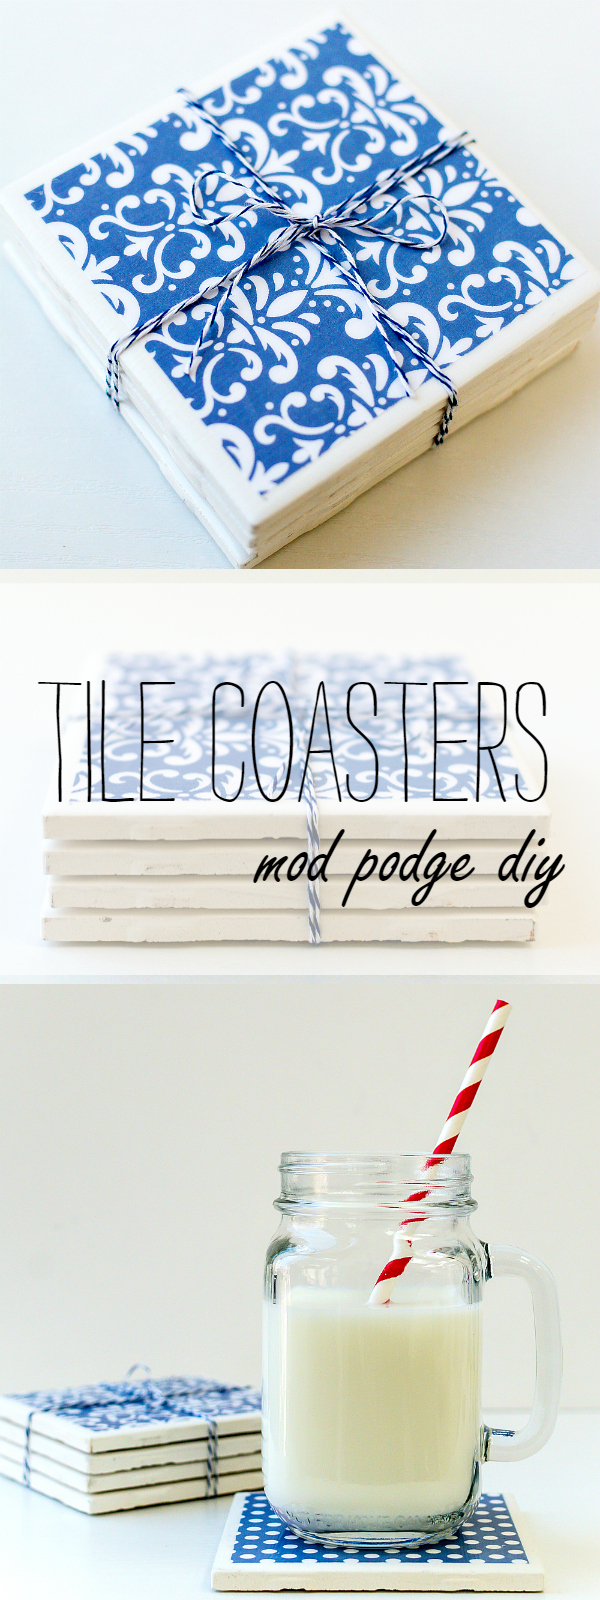
DIY Tile Coasters with Mod Podge & Scrapbook Paper. 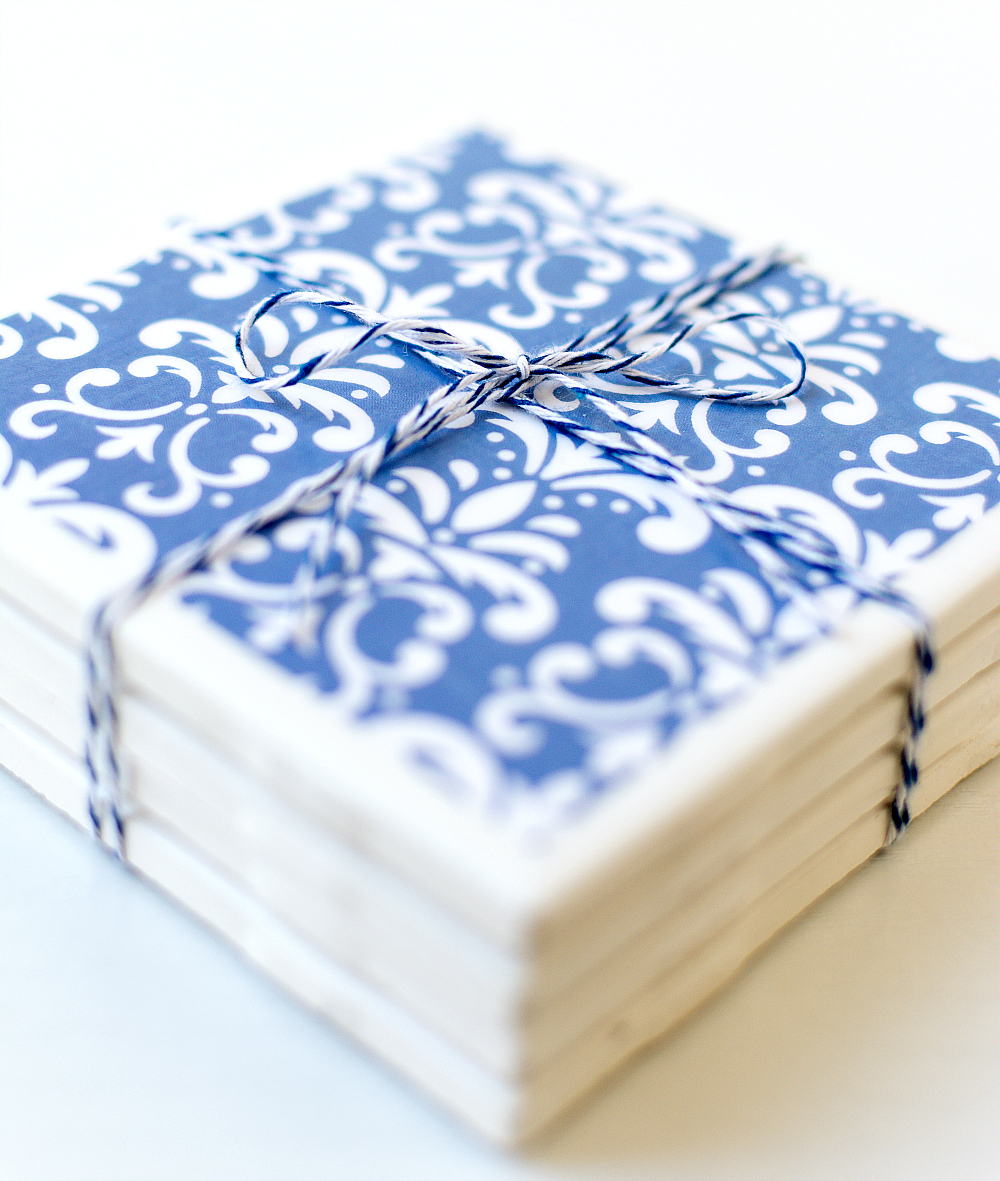
We are not fancy here at casa It All Started With Paint. In fact, we are the polar opposite of fancy.
Which, according to Thesaurus.com would make us plain, poor, simple, ugly, unadorned and/or unornamented.
Hmmm …
Thesaurus.com was not very kind to us unfancy folks. I mean, I get the plain, simple, unadorned and unornamented. But poor and ugly were low blows.
And, unlike Thesaurus.com, I was thinking more along the lines of we eat and drink on the couch in front of the tv or our screens unfancy. I’m definitely not one of those people running around placing coasters under everyone’s drinks. In fact, up until last week I didn’t even own any coasters …
But my unfancy ways changed after I poured my blood, sweat, and tears into my drum table makeover. It’s the table where I typically rest my unfancy eat-and-drink-in-the-living-room food and drinks. However, I was so enamored of the liming wax finish I created on said table top that I was worried about ruining the finish. Which meant I had to get my fancy on. With some diy tile coasters.
DIY Tile Coasters: How To Make
Supplies
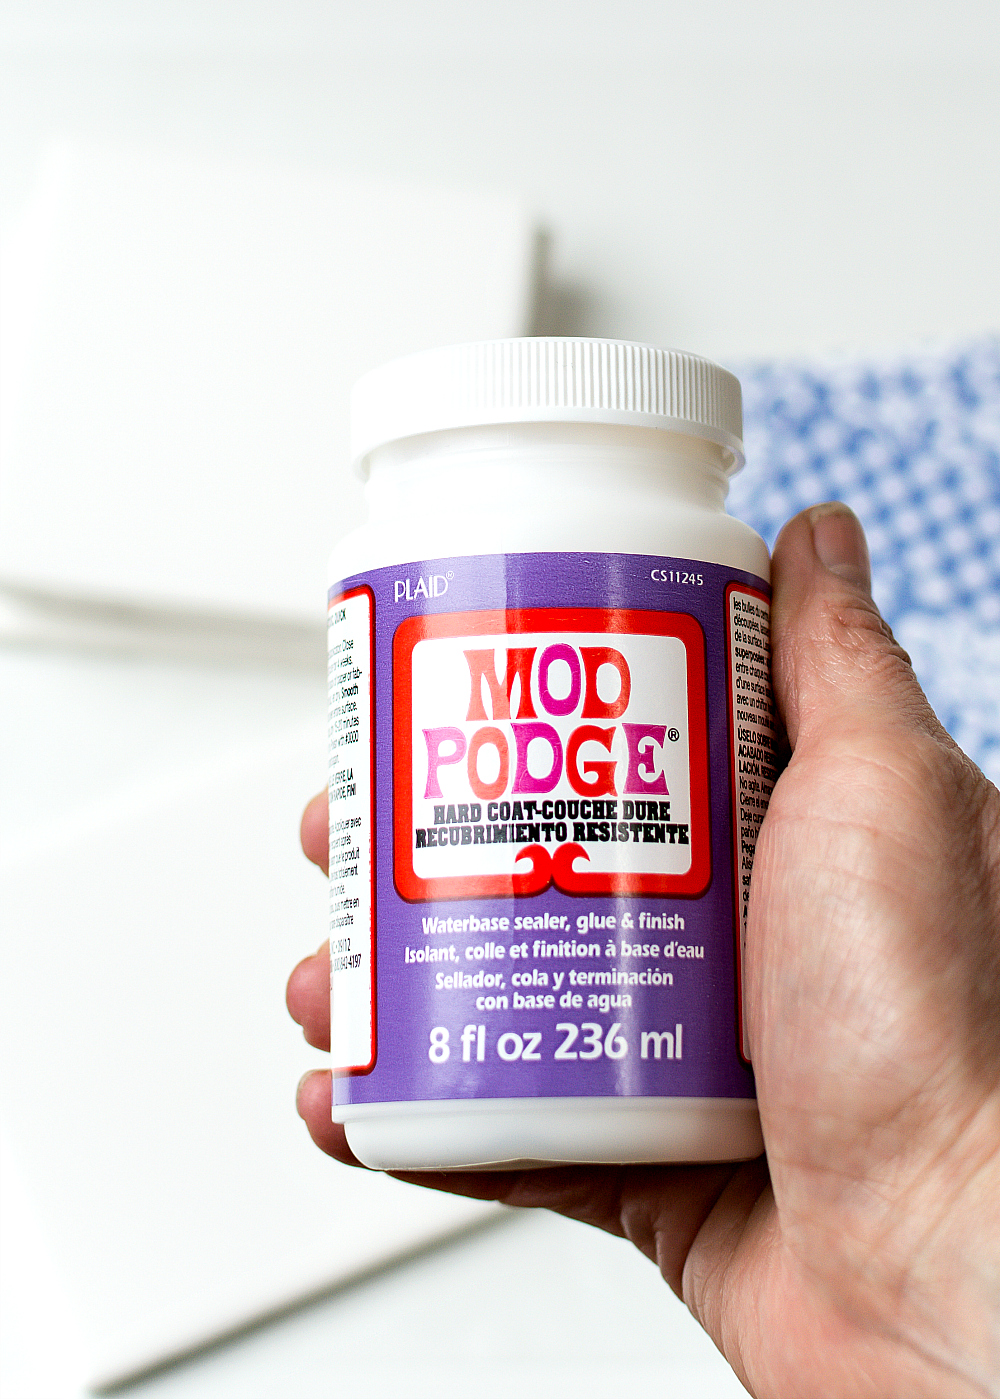
Mod Podge Hard Coat (found at craft store)
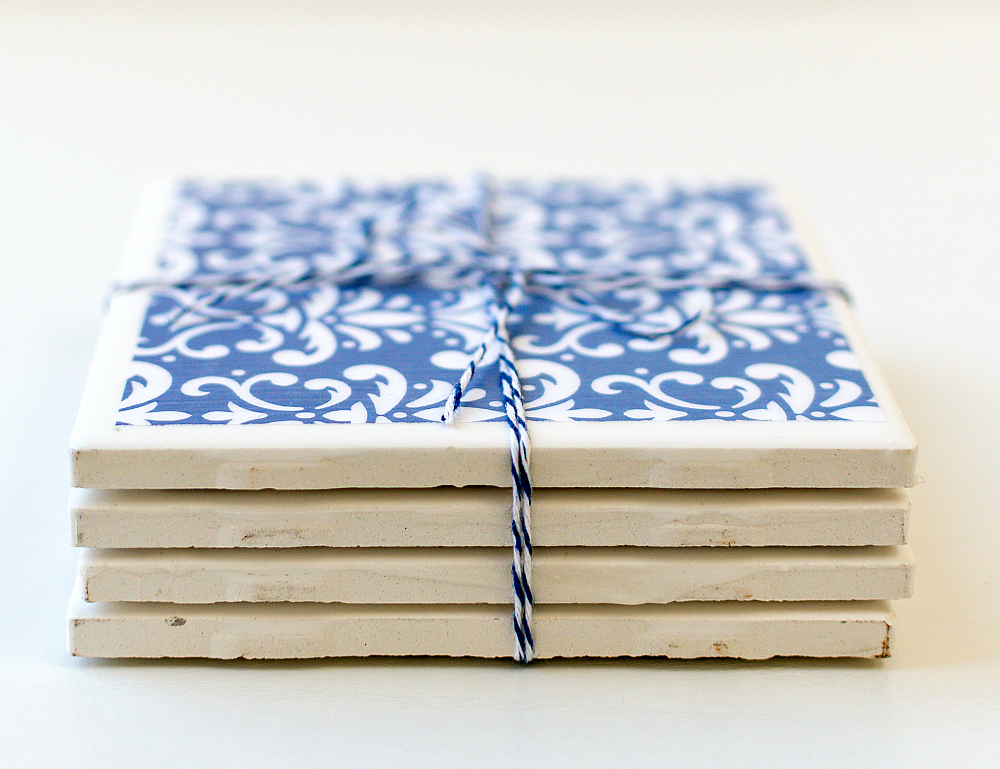
White Tiles (available to purchase individually for about 30 cents each at home improvement stores)
Scrapbook Paper
Scissors or Paper Cutter
Foam Brush
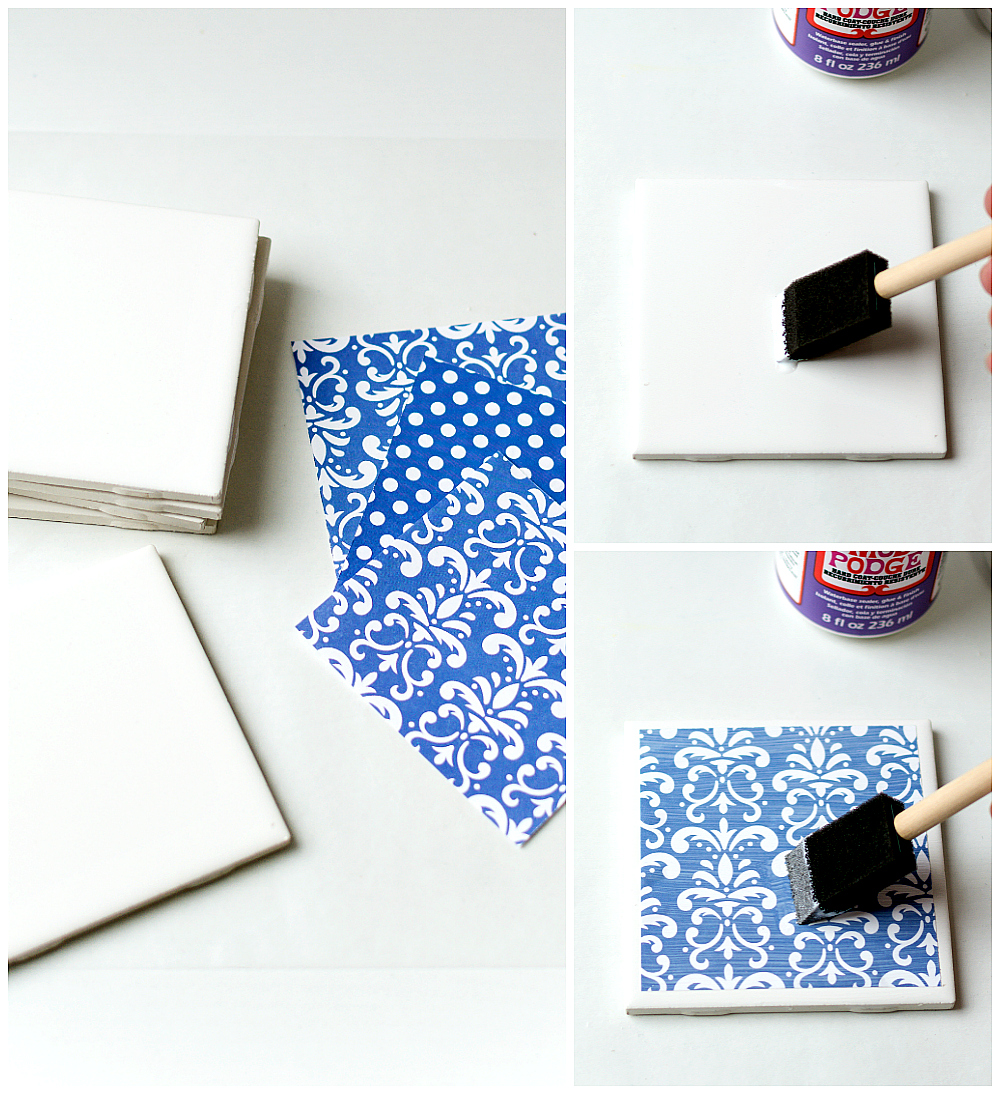
Step 1:
Cut paper to allow for 1/4″ boarder on all sides.
Step 2:
Apply generous layer of Mod Podge to tile.
Step 3:
Affix paper square on tile. Add Mod Podge to corners and sides as needed. Smooth out any bubbles with fingers.
Step 4:
Apply five coats of Mod Podge on top of paper. Let dry between coats.
Step 5:
Glue some felt and/or glue to the bottom corners so your new, fancy diy tile coasters don’t scratch your furniture.

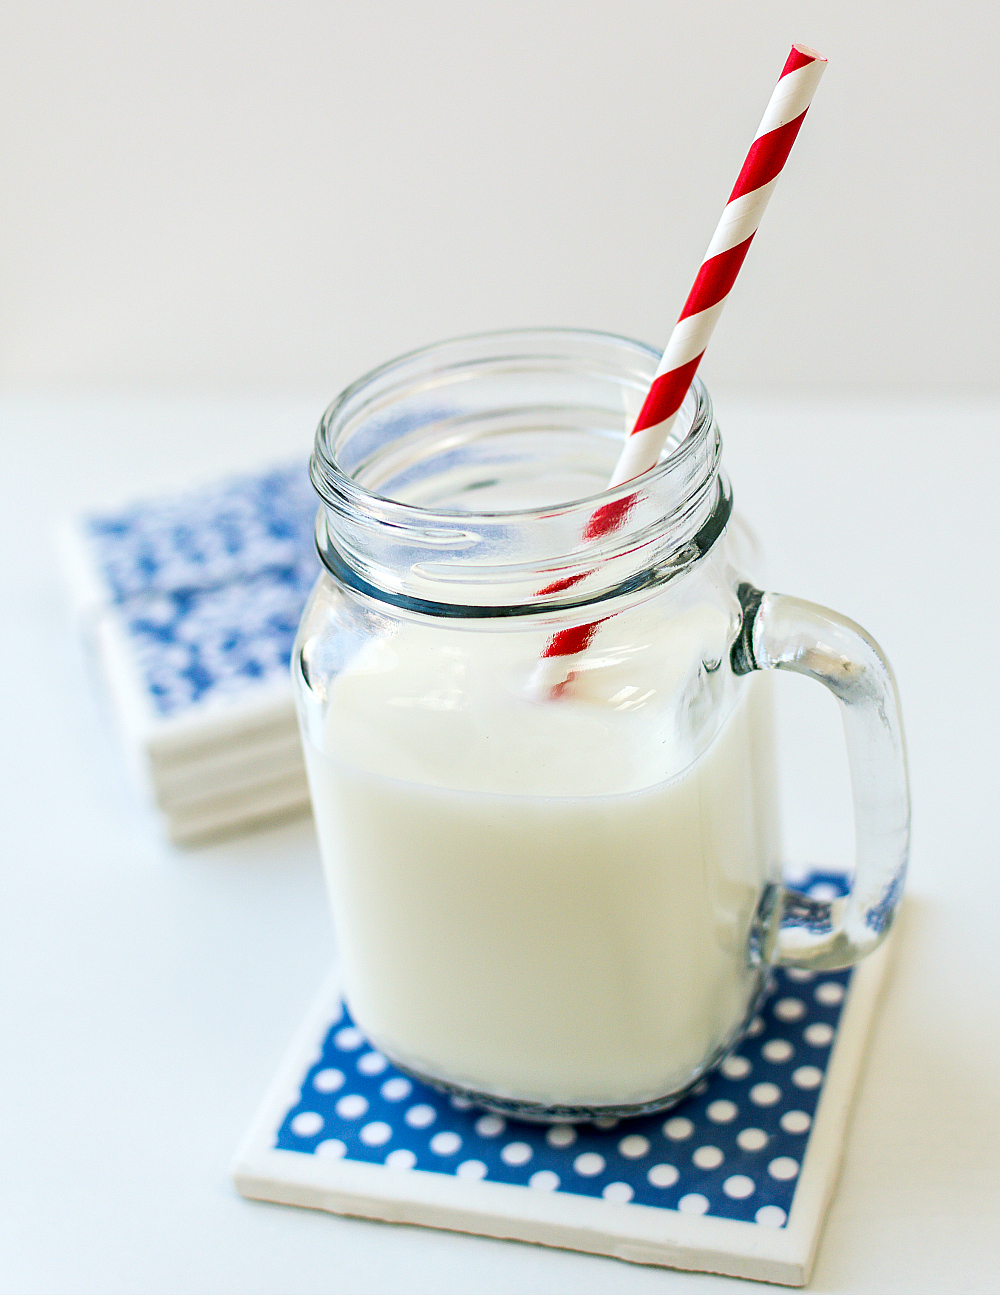

So now I have a tiny little corner of fancy in my home that is neither poor nor ugly. 🙂
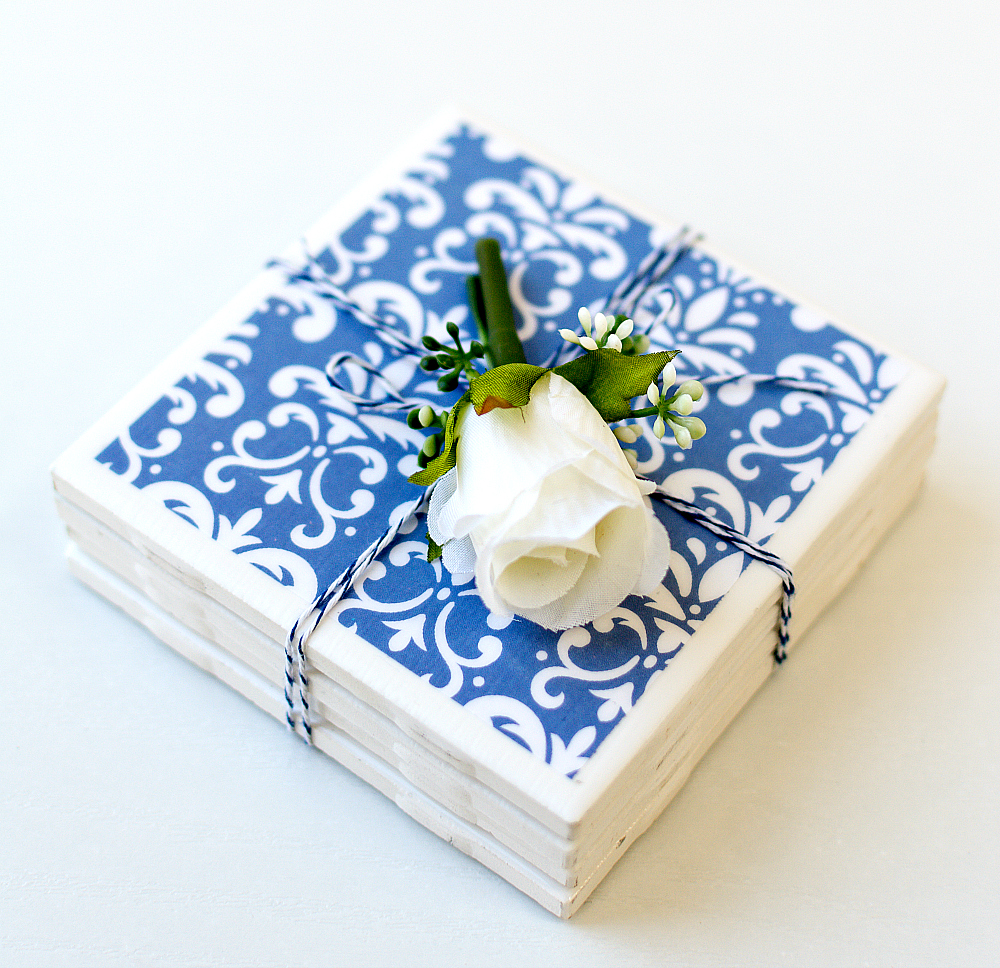
P.S. These DIY tile coasters could also make a cute housewarming gift. For your fancy friends. 😉

PIN IT!
You Might Also Like:
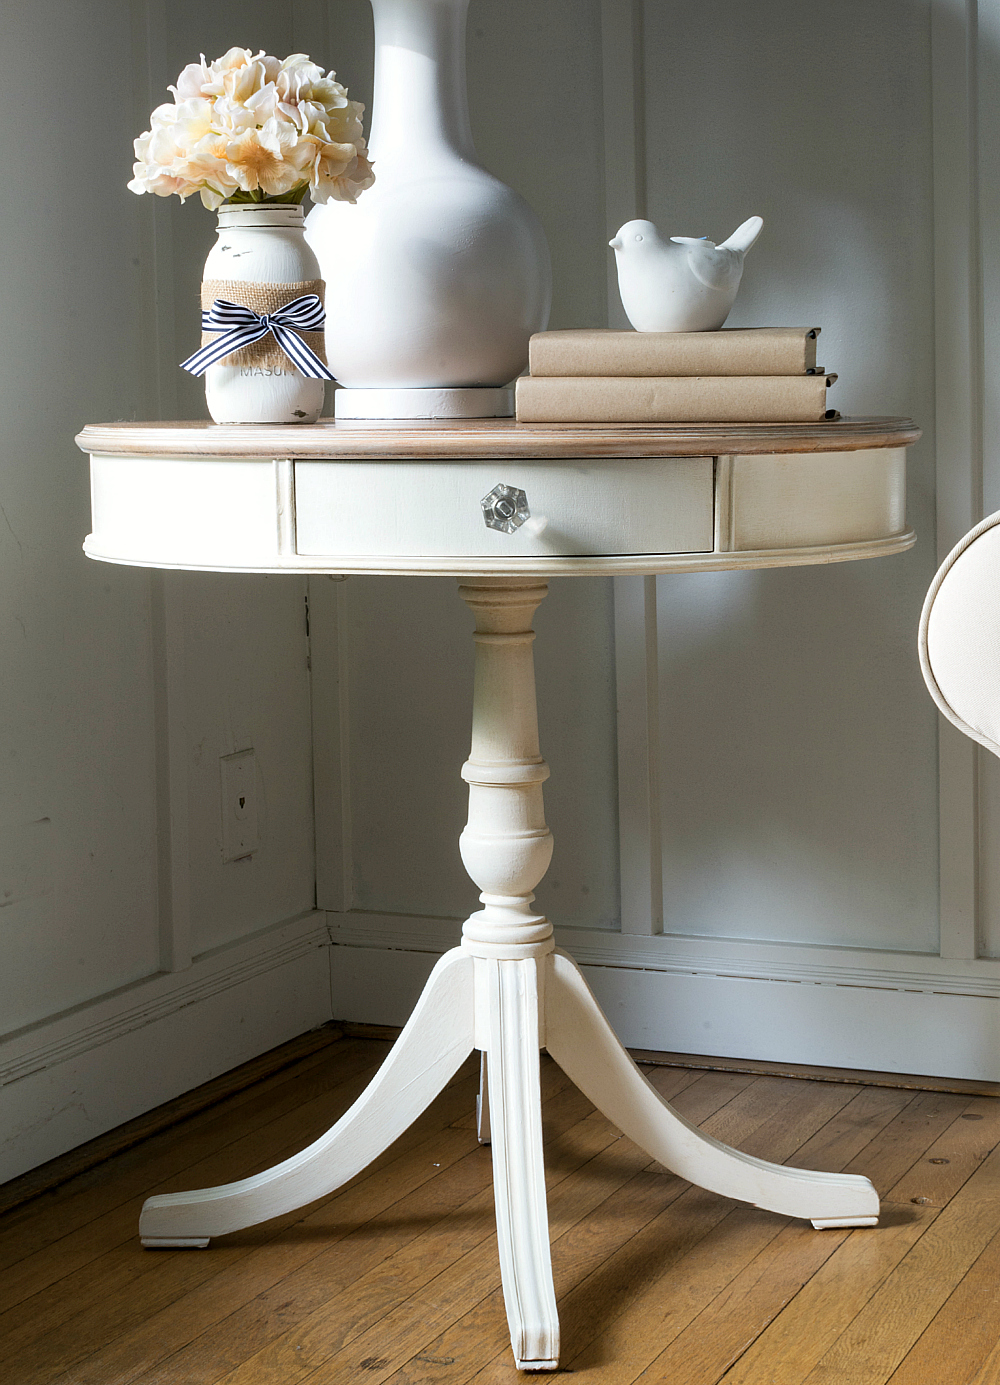
Drum Table Makeover (click here)
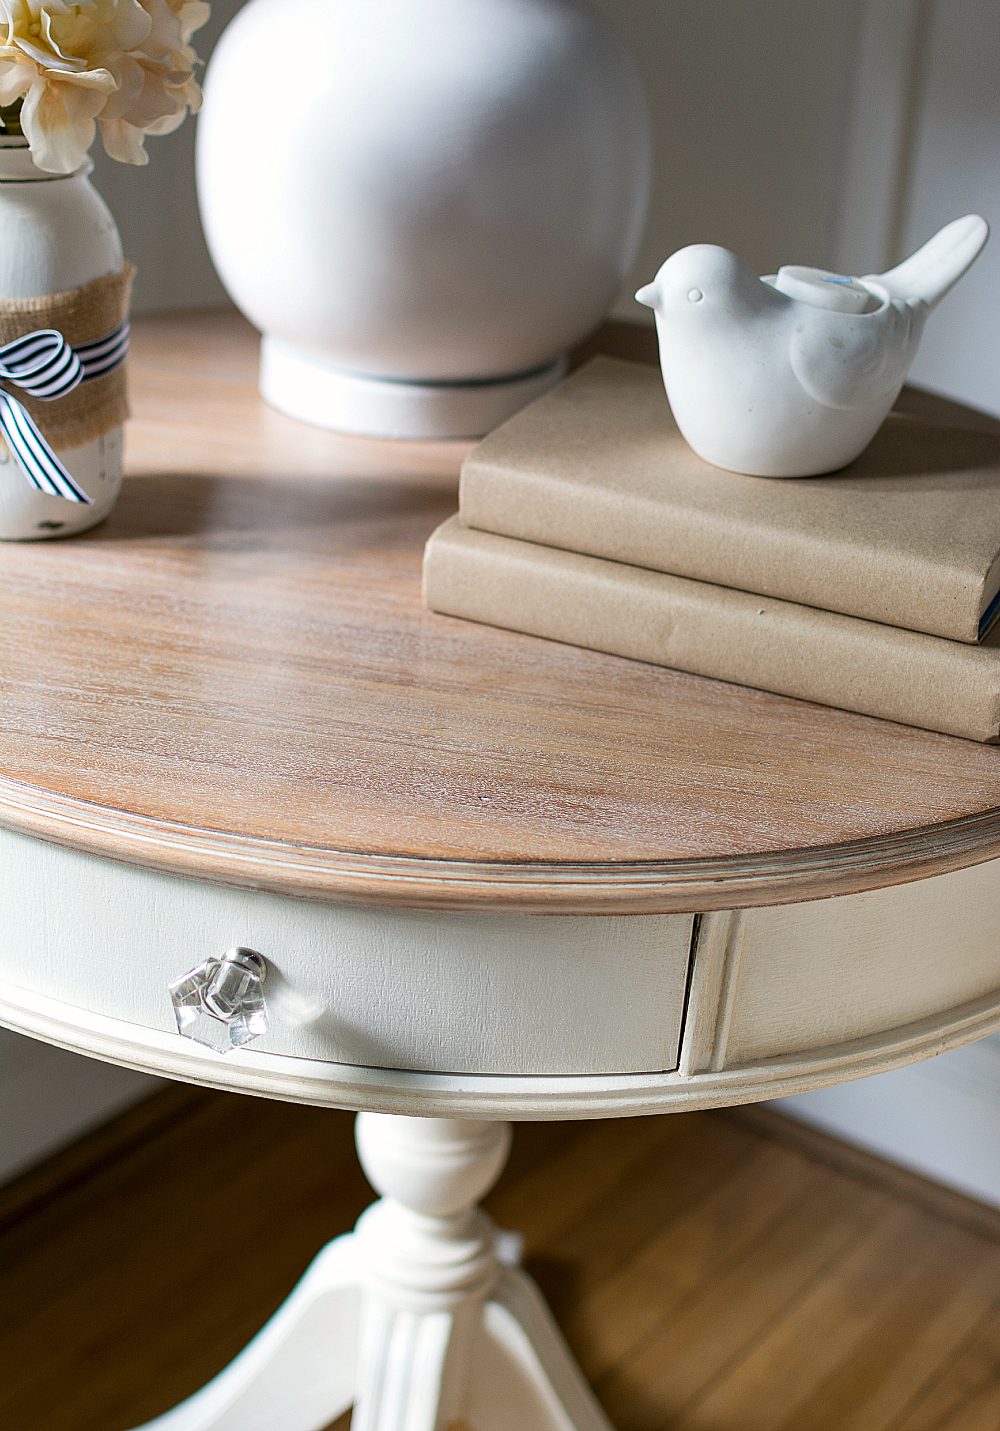
Liming Wax Table Top Tutorial (click here)
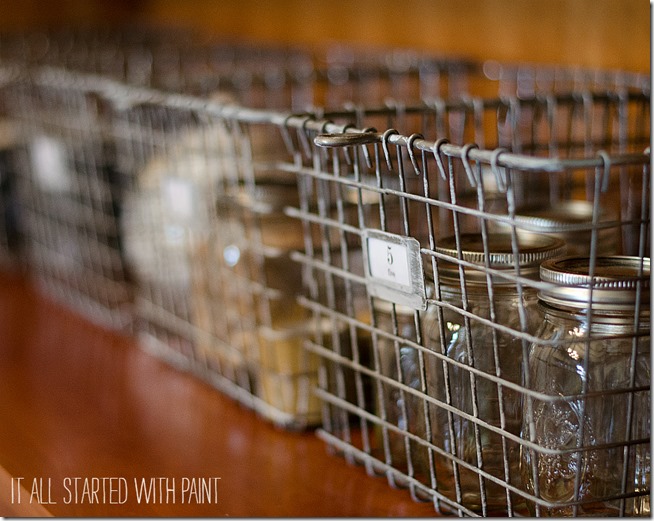
How To Age Locker Baskets (click here)
You can find my complete DIY & Crafts project gallery by clicking here …
Sharing:
| Link Party Palooza | Inspiration Monday | Between Naps on the Porch | A Stroll Through Life |
LOVE THESE! What a great idea! I have some slate tiles that I could use–a little felt on the bottom to keep them from being so scratchy.
Hope everything is good at your house!
Cute Linda!
This is such a great idea!. These would make lovely gifts. Thanks for sharing such a great idea. Donna (Just One Donna)
Thank Donna!
Well I beg to differ for you not being fancy! In step 3 for making the cute coasters you used the word “affix” for putting the paper on the tile.
Now if you were not fancy and if your readers were not fancy you would not have known to use that word “affix” and none of us would have known what it meant. So that book you read was “incorrect ” (my fancy word) .
I enjoy your blog so much and I am so glad you are not too fancy or I wouldn’t be able to be a reader.
Thank you for fun and keep them coming.
Love the colors you used and nice and simple too! My daughter is moving into her own place this summer and this would be the perfect little housewarming gift. Thanks for the idea!
Humphf, those coasters and that table look pretty fancy to me. Annnnnnd your photography is certainly fancy. Love it.
Thank you! I am feeling pretty fancy today with my diet Coke resting on my new diy coaster! Ha! 🙂
My your tiles are ornamented. How lovely and adorned they are giving the room a look of wealth and beauty.
I love this even for us nonfancy types.
I have a Paris themed living room and looked high and low for coasters years ago. If I ever found anything it was either not quite what I was going for or they were EXPENSIVE. I eventually did my own DIY (before I really got into DIY) and it was an amateur attempt but it worked for me. I got some cheap plastic coasters, painted the picture they had with red paint (my walls are red), then used my Eiffel Tower stamp with black paint. Once dried, I added some clear contact paper and – viola – Paris themed coasters on the cheap. The problem is they LOOK very DIY (and cheap). I like the idea of these tile coasters and using whatever image you want. They look much more, dare I say, fancy and professionally made. 🙂
Linda, I’m so amazed by you. Everything you do is a talent. I love it all, the baskets are darling the tiles are a perfect gift like you said and that table is just as cute as ever. People are so judgmental you just keep on crafting you are amazing at it!
Thank you so much for your very kind words! You made my day! 🙂 Linda
These are so pretty. I made them and glued square cork to the bottom. Has anyone had the problem with them sticking together? They’ve had more than enough time to dry yet they still seem tacky. Thanks in advance
I know this is an older post, but I’ll reply for those stumbling upon this project. I’ve made these coasters and they are really cute, but…they do stick. A hot cup of coffee will stick to the coaster. They aren’t very practical in that way, but with the many colored papers available they are very pretty. Also, they will stain after a while. I’ve thrown out some of mine that I made that had begun to look bad.
Thank you for the input and insight! Luckily this is a fun and relatively inexpensive project (especially if you happen to have extra tiles from a project).
Will these hold up with just the modge podge on top? You know when glasses sweat? Or should i put some kind of spray poly too? Thanks! They are super cute!
They seem fine for me. Though not sure I’ve really put them through a rigorous sweat test! 🙂 A poly spray couldn’t hurt …
I made these last year for my friends Christmas gifts.. they loved them! Kept a few for myself too😉