Foaming Soap DIY
Oatmeal and Honey Soap Recipe
Marbled Clay Dish Fail & Lessons Learned
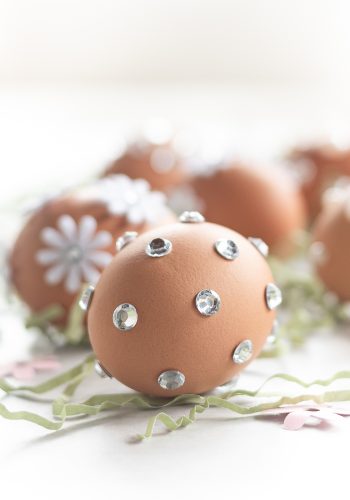
How To Decorate Easter Eggs with Rhinestones, Pearls & Flowers
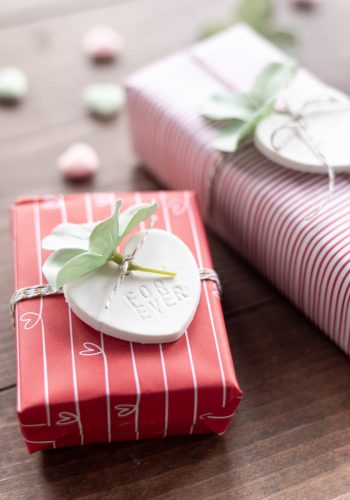
Conversation Heart Clay Gift Tags
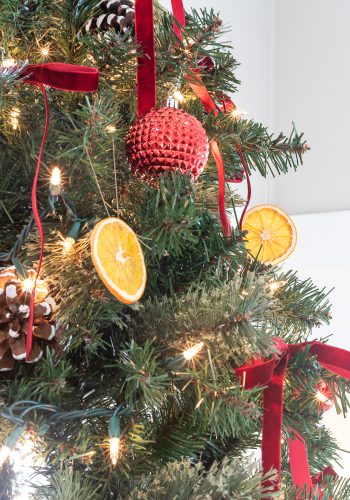
Dried Orange Slices Ornaments DIY
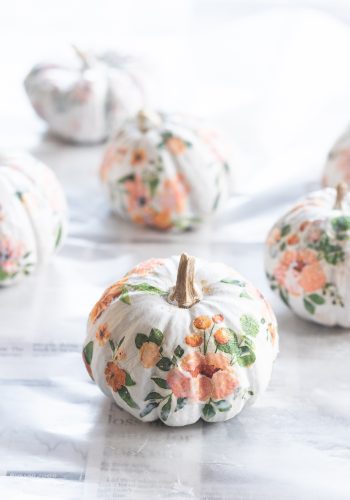
Decoupage Pumpkin Craft
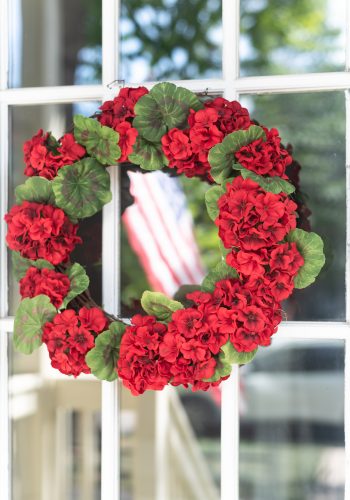
Geranium Wreath DIY
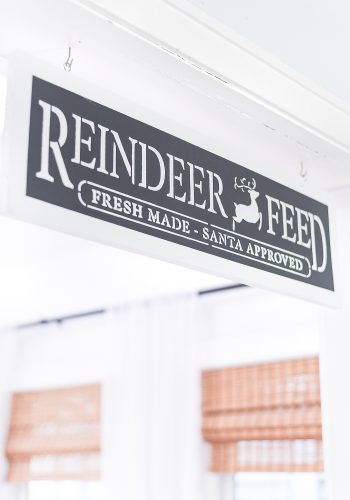
Vintage Christmas Sign DIY
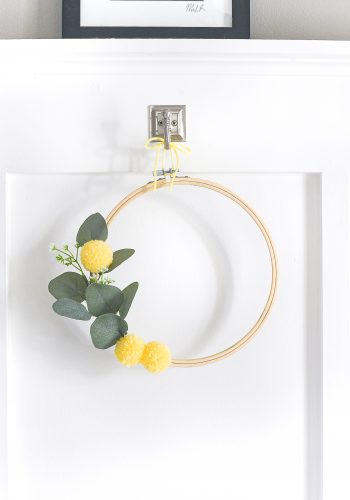
Embroidery Hoop Wreath with Faux Billy Ball Pom Poms
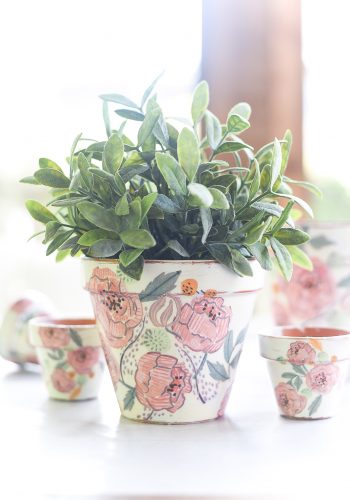
Decoupage Terracotta Pots
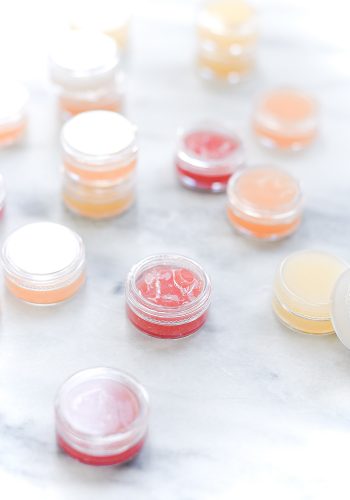
Homemade Lip Gloss with Jello
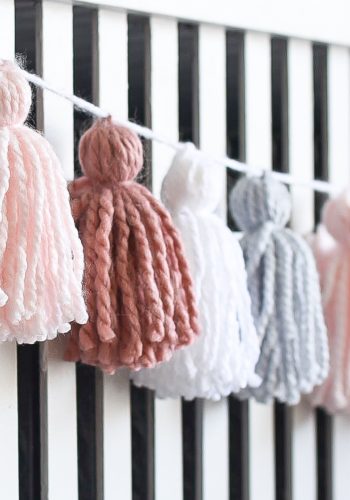
Yarn Tassel Garland DIY
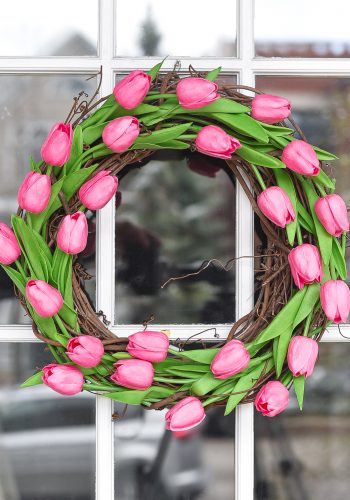
Tulip Wreath for Spring
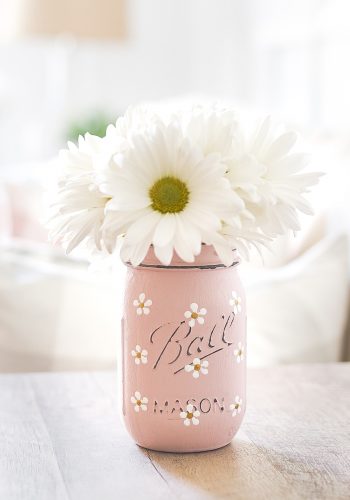
Painted Daisy Mason Jar
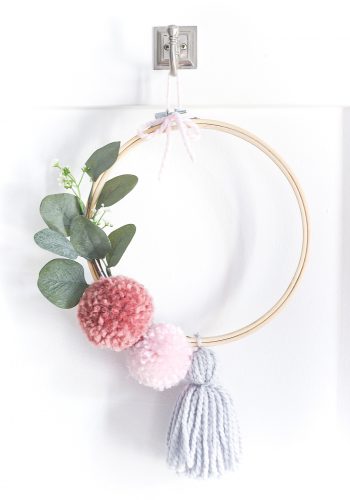
Pom Pom Embroidery Hoop Wreath for Spring
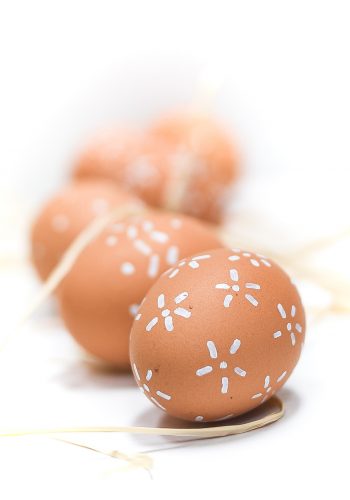
Easter Egg Decorating with Paint Pen
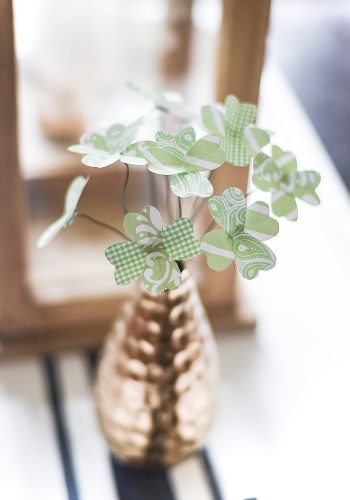
Paper Shamrock Bouquet
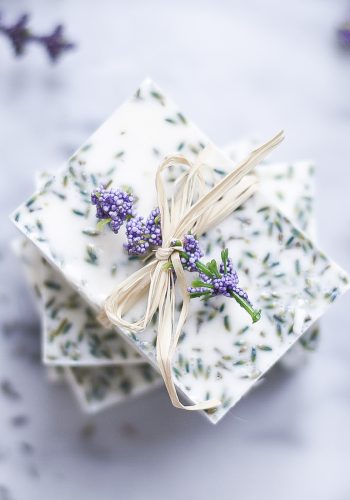
Lavender Soap DIY Recipe
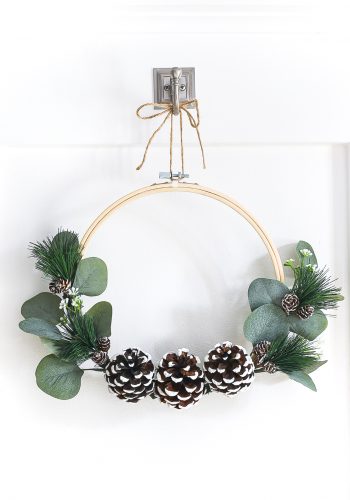
Embroidery Hoop Winter Wreath
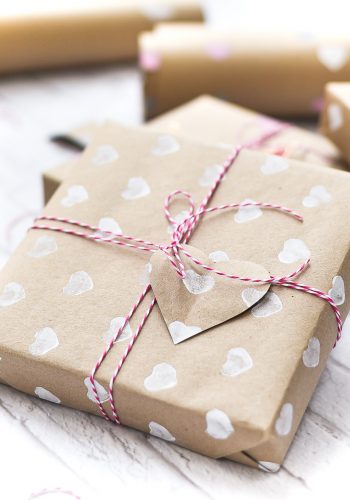
Valentine’s Day Wrapping Paper DIY
Tissue Paper Flowers DIY
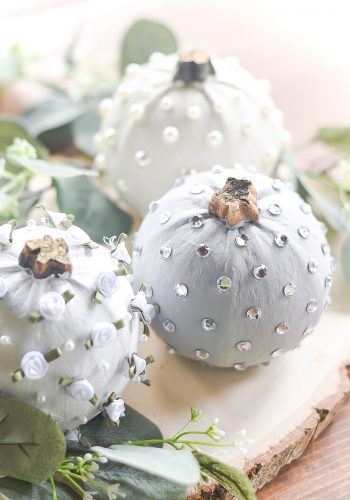
No Carve Jeweled Pumpkins
- 1
- 2
- 3
- 4
- Next Page »