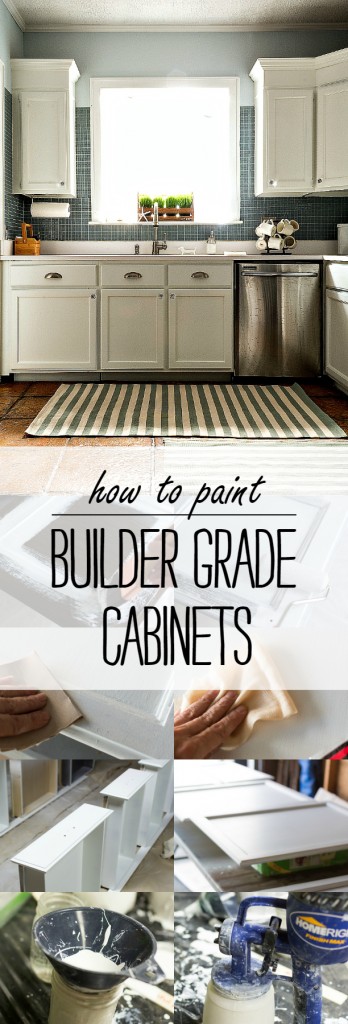
How to Paint Builder Grade Cabinets: A Detailed Tutorial.

The Kitchen Before.
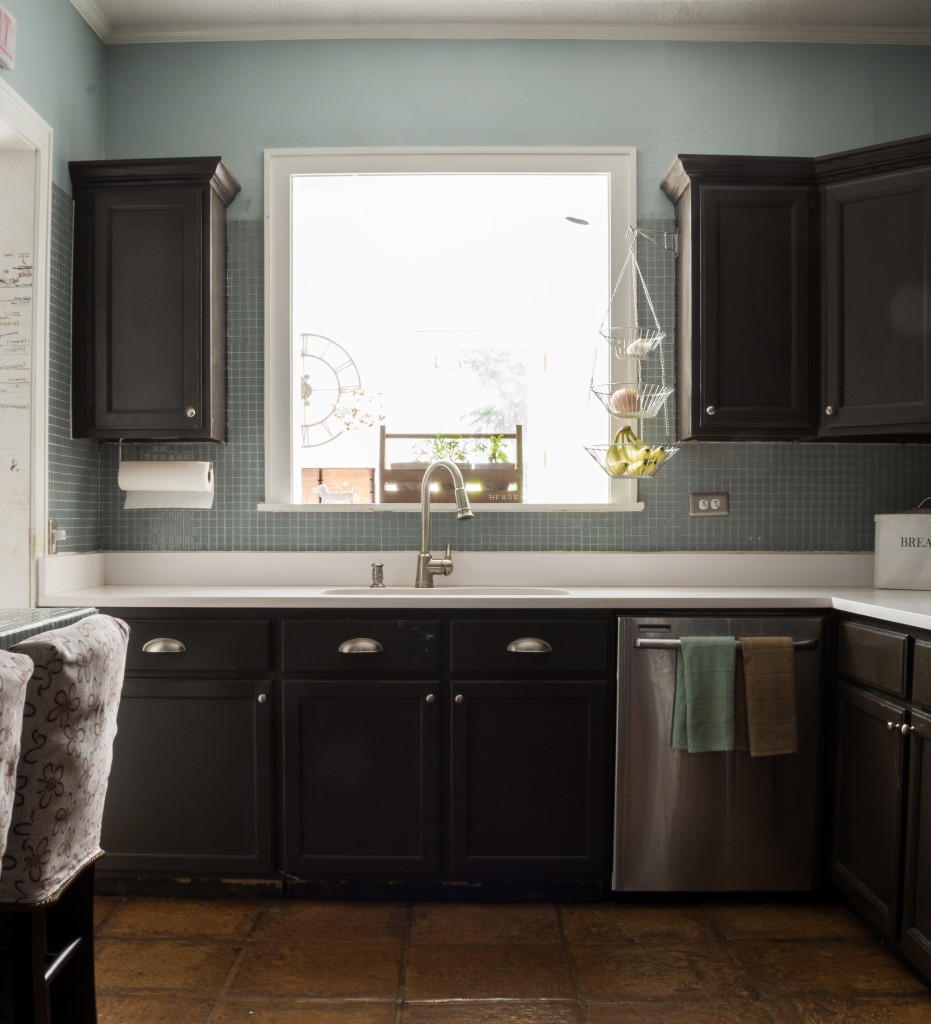
Let’s start this how to paint builder grade cabinets post with a reminder of the before. A before of the after the first time I painted our builder grade kitchen cabinets.
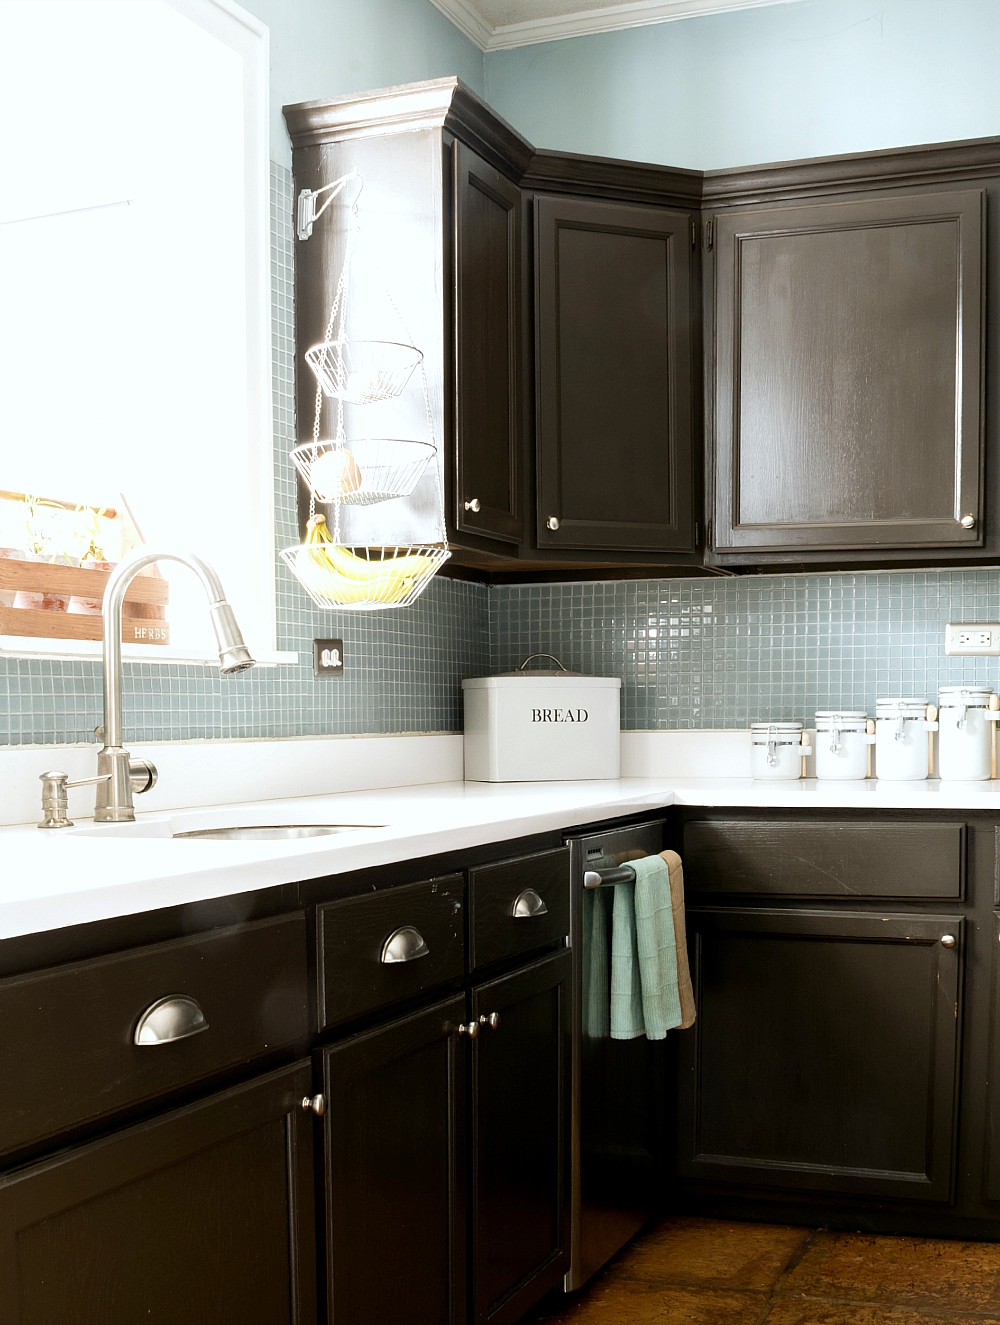
In chocolate brown.
That time around I used an oil-based paint. Which was messy. And smelly. And took forever to dry before I could rehang the doors and reinstall the drawers.
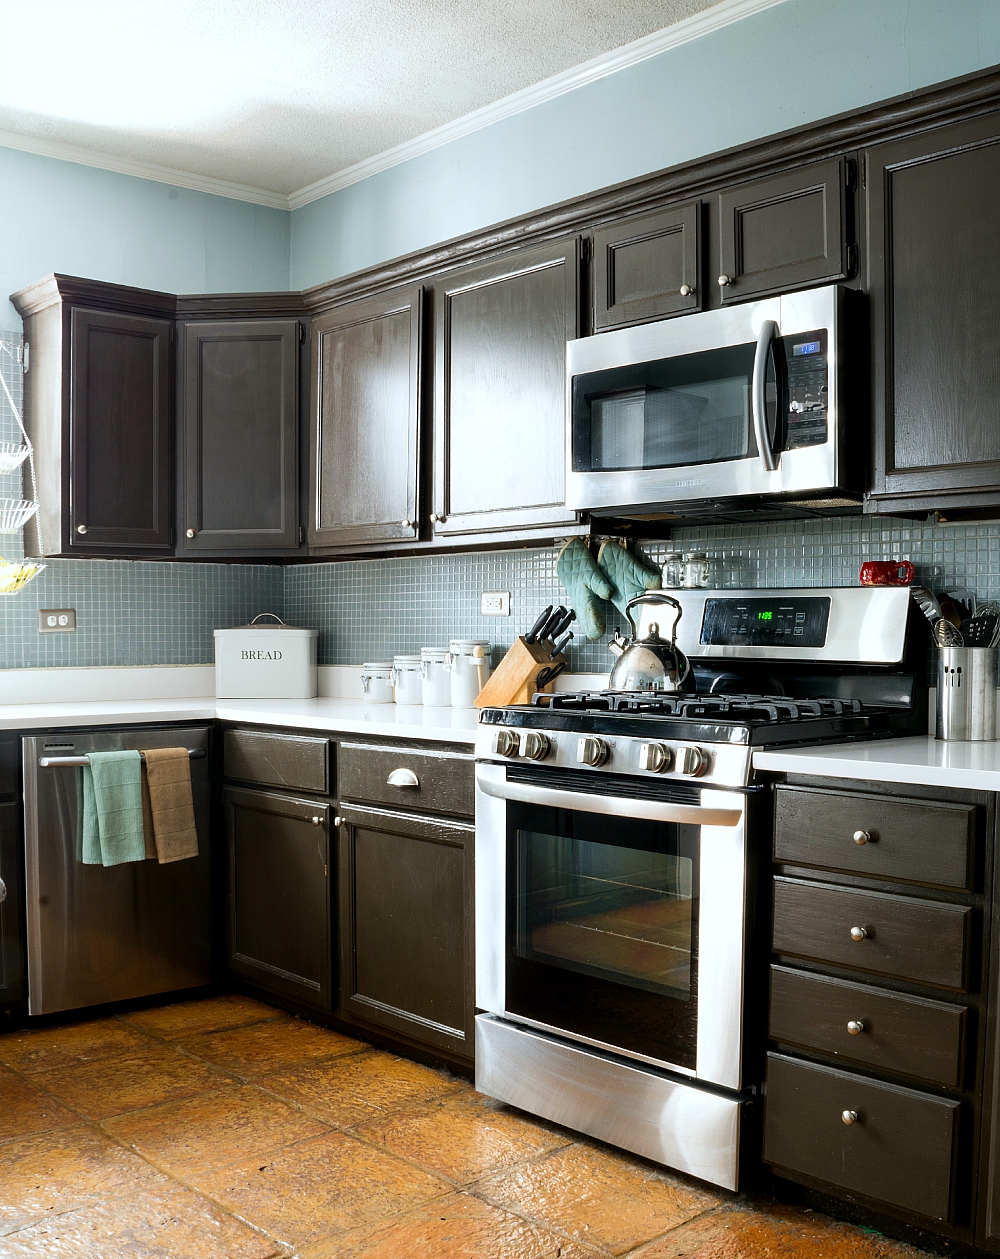
But it was a huge improvement over the before the before orange oak builder grade cabinets.
This time I went with white paint. In an alkyd formula. That was color matched to Clark+Kensington’s Chalk white.

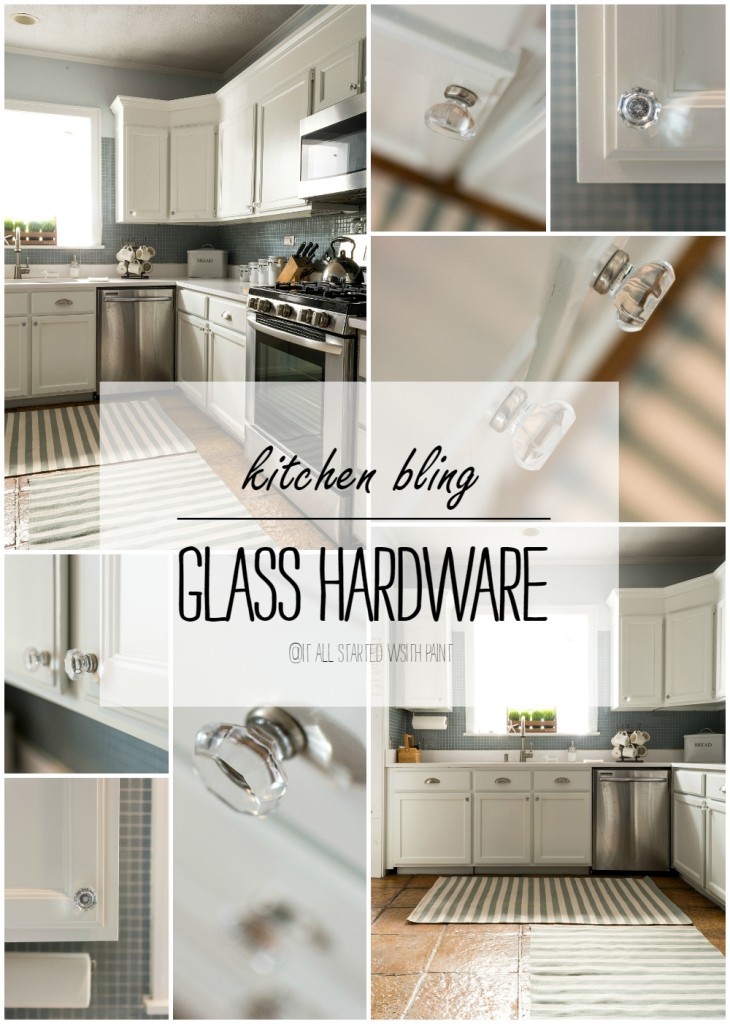
The Kitchen After.
How To Paint Builder Grade Cabinets
Step 1: Prepping the Surface
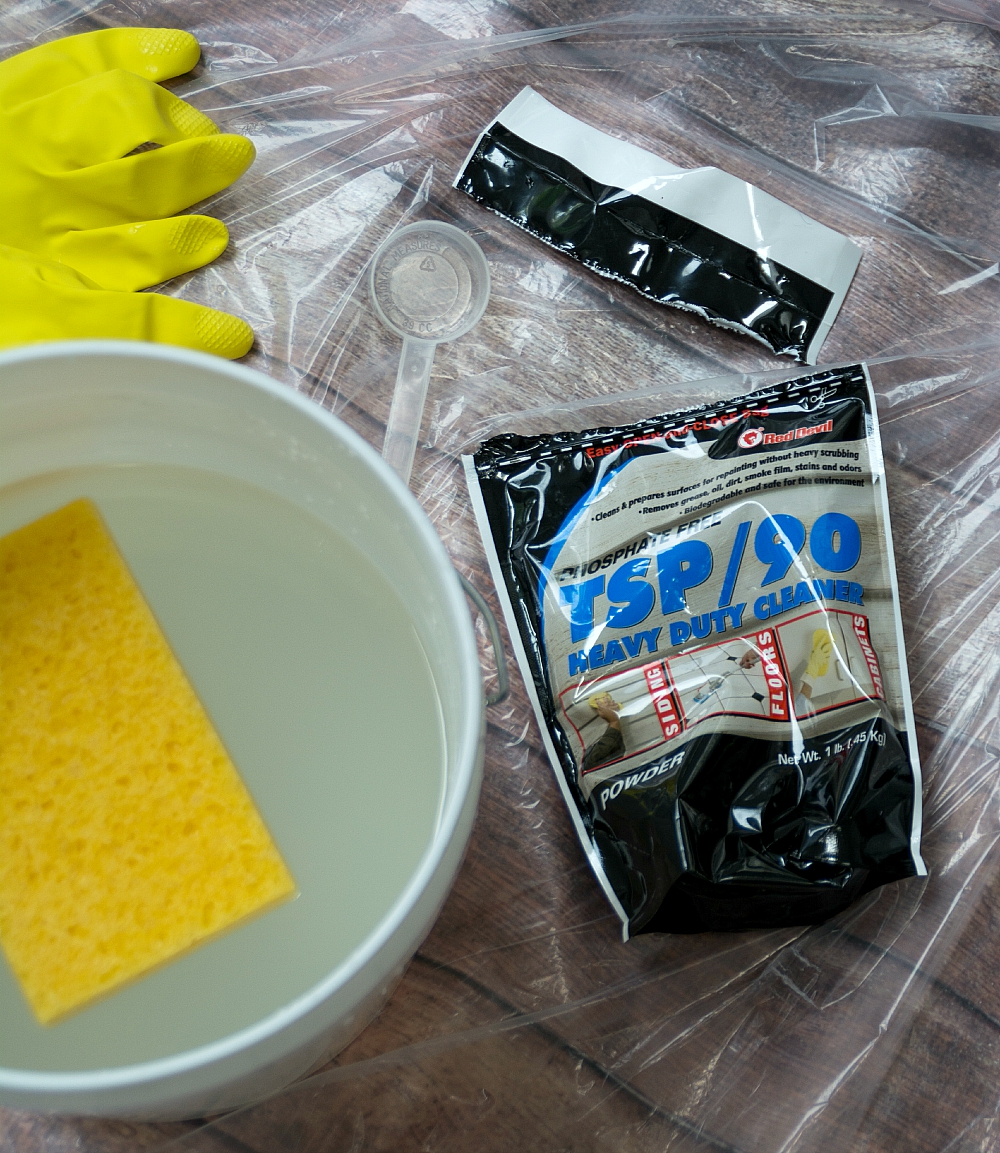
I used Red Devil 1 lb TSP/90 Heavy Duty Cleaner. It comes in a powder form. I followed directions and dissolved two heaping tablespoons in a gallon of water.
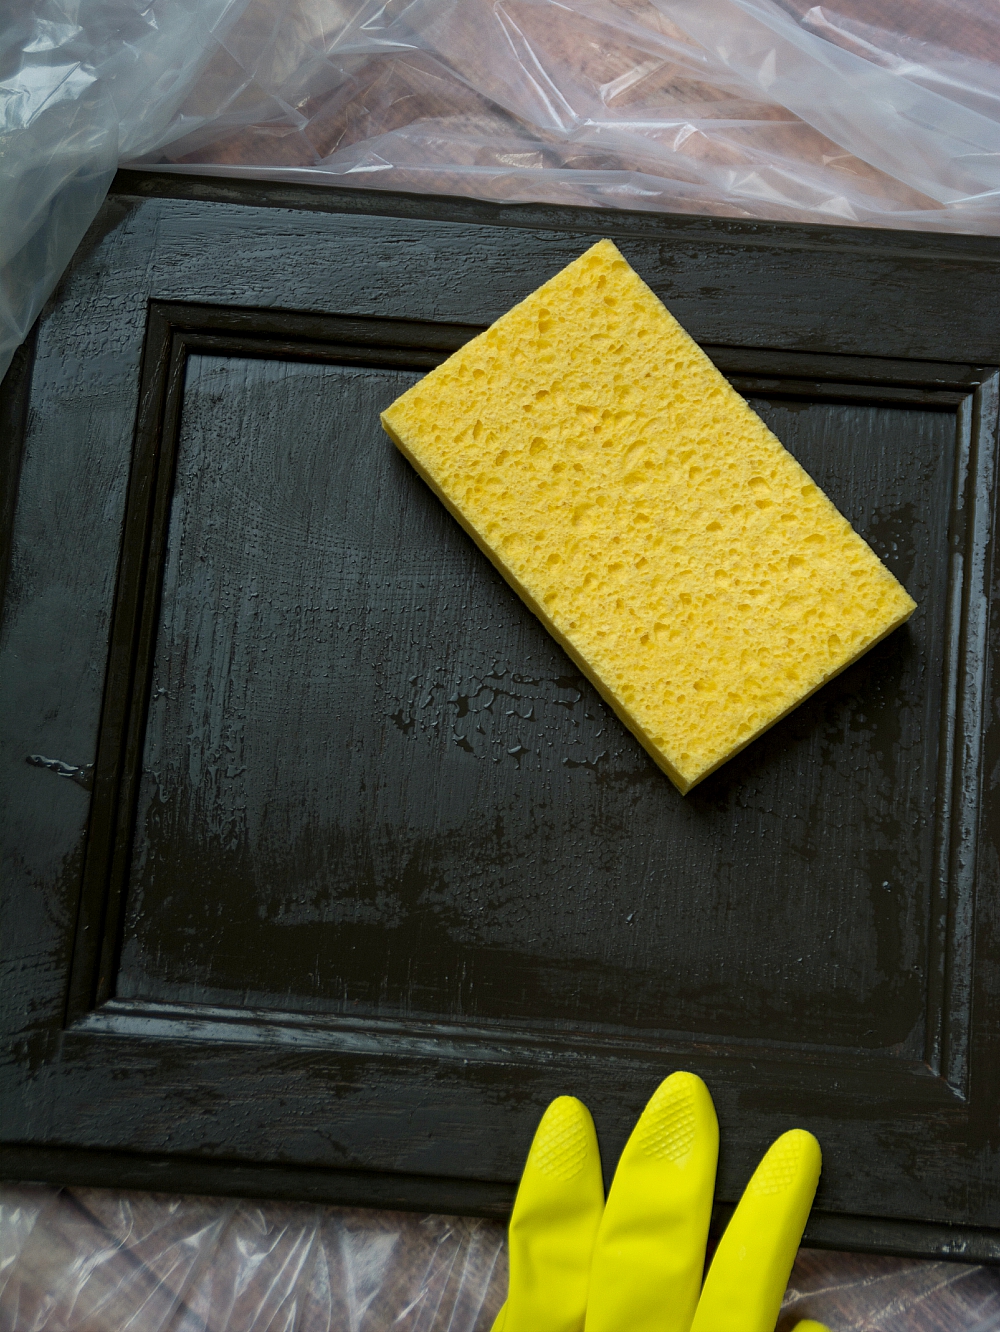
I simply submerged the sponge in the TSP solution and washed the fronts and backs of the cabinet doors. Then I rinsed the sponge thoroughly in the sink and washed again immediately.
After they dried completely (I gave them a day just to be extra sure), it was time to prime.
Step 2: Prime the Surface
I used Zinsser Bulls Eye 1-2-3 Primer Sealer Stain Killer to prime the cabinets …
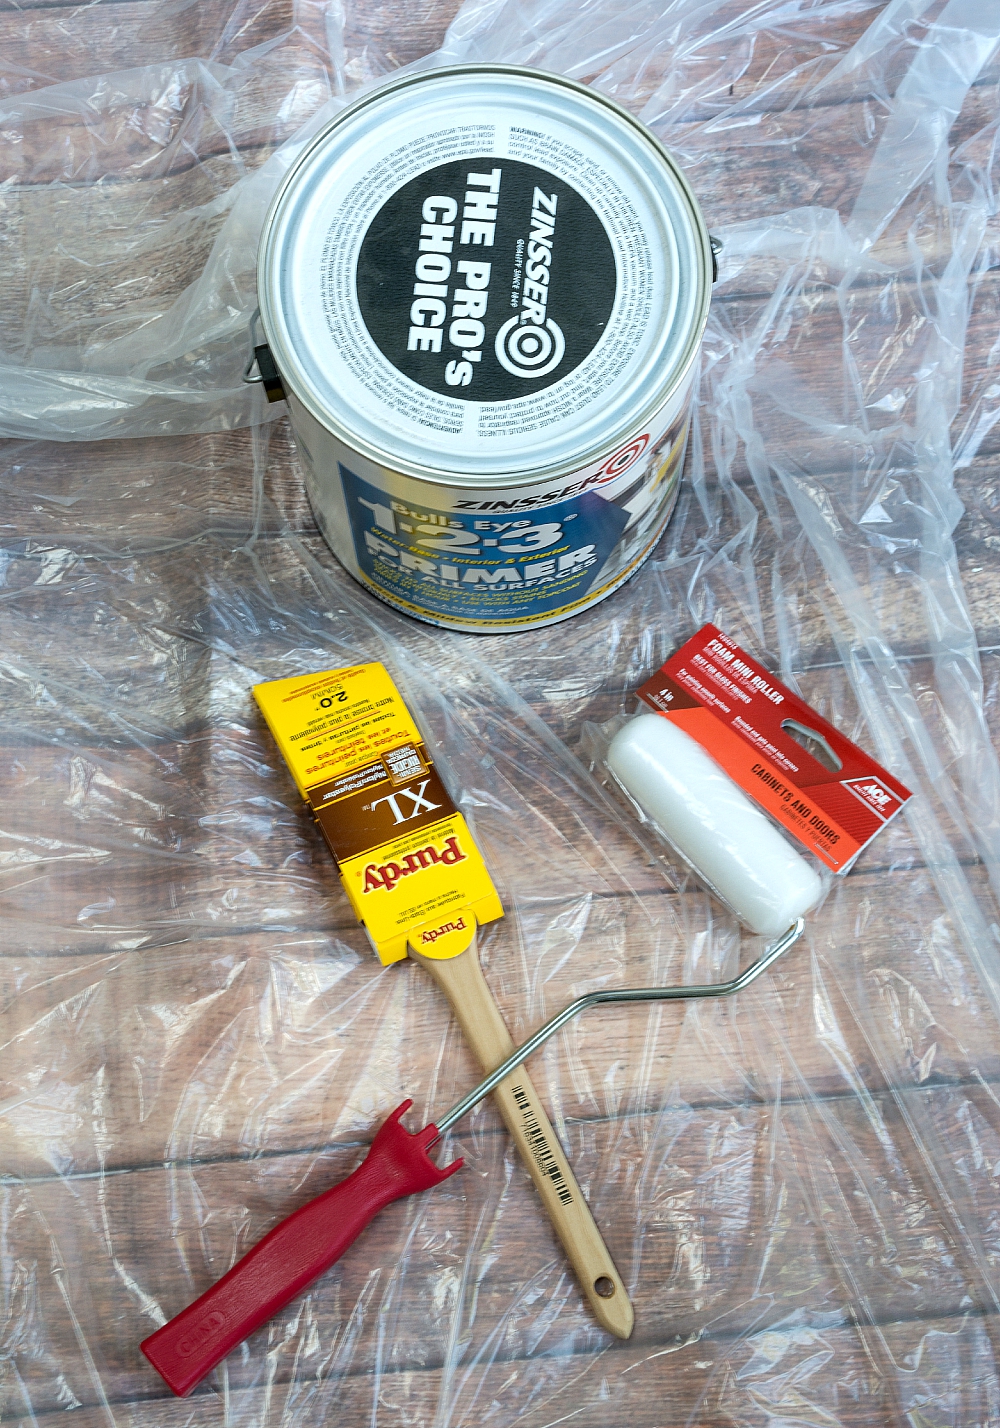
usin an angled Purdy paint brush & Ace 6in Mini Foam Roller With Frame).
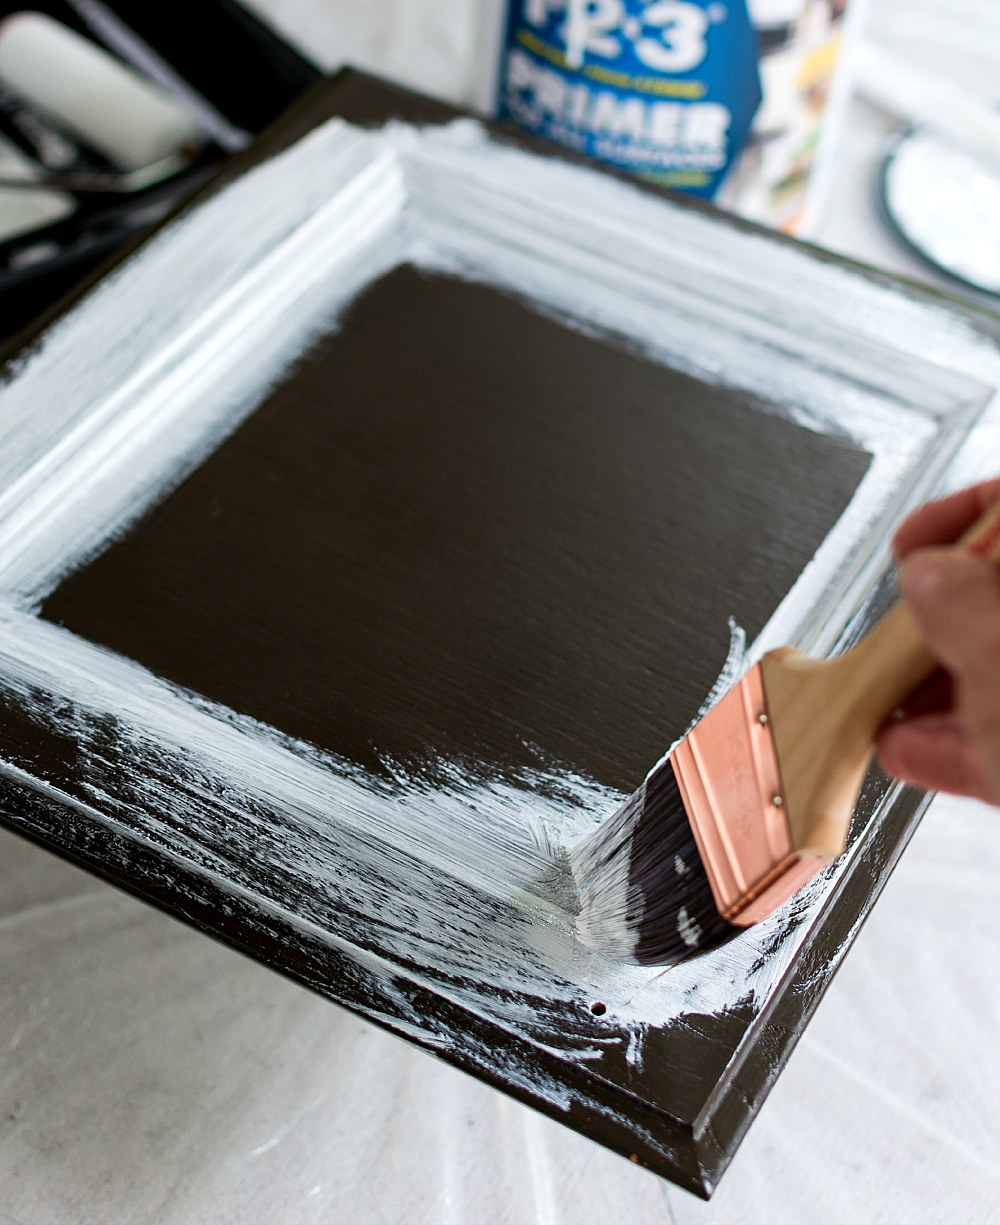
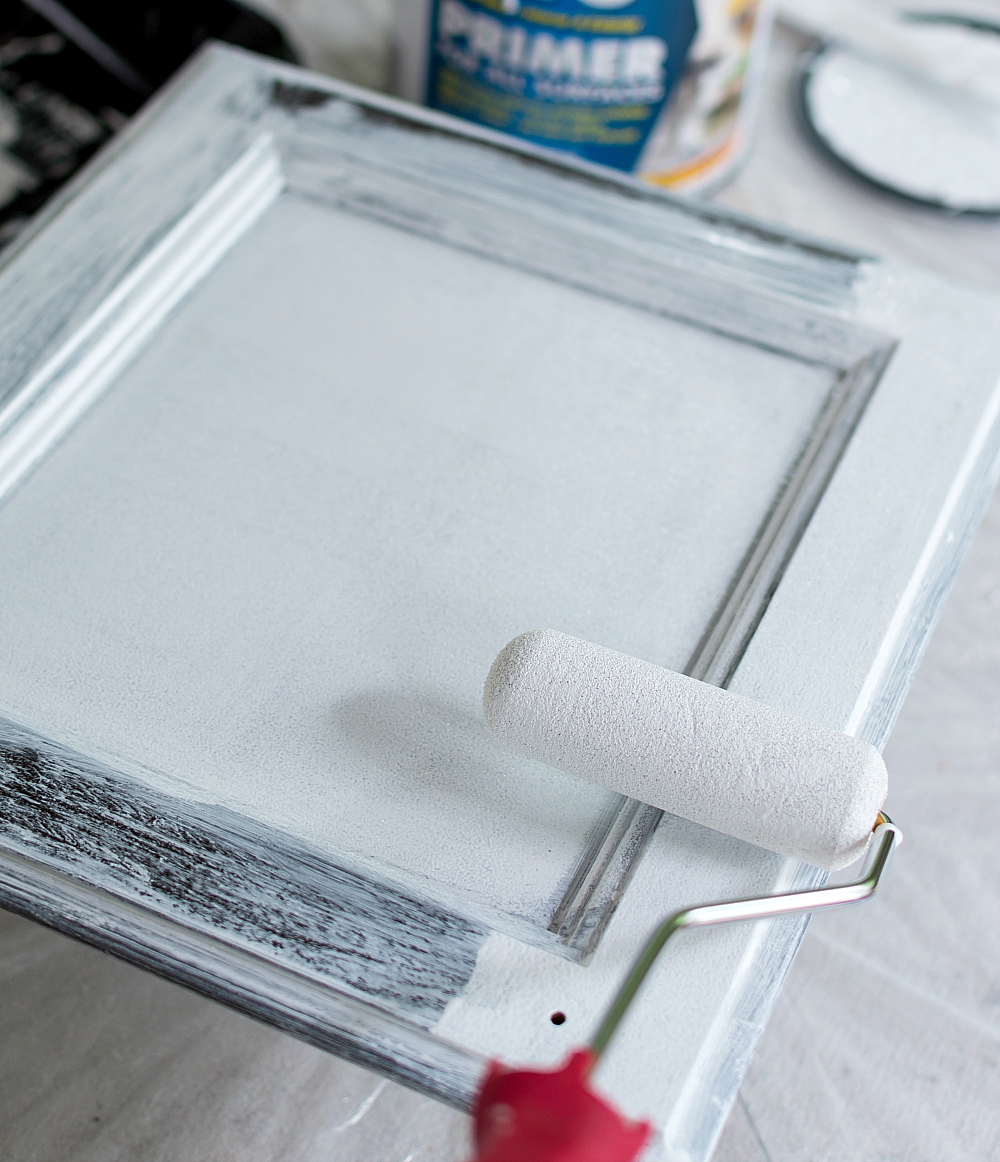
I started with the backs of the doors and, using my angled Purdy brush, applied a thin layer of primer at the points where the recessed panel met the raised edges.
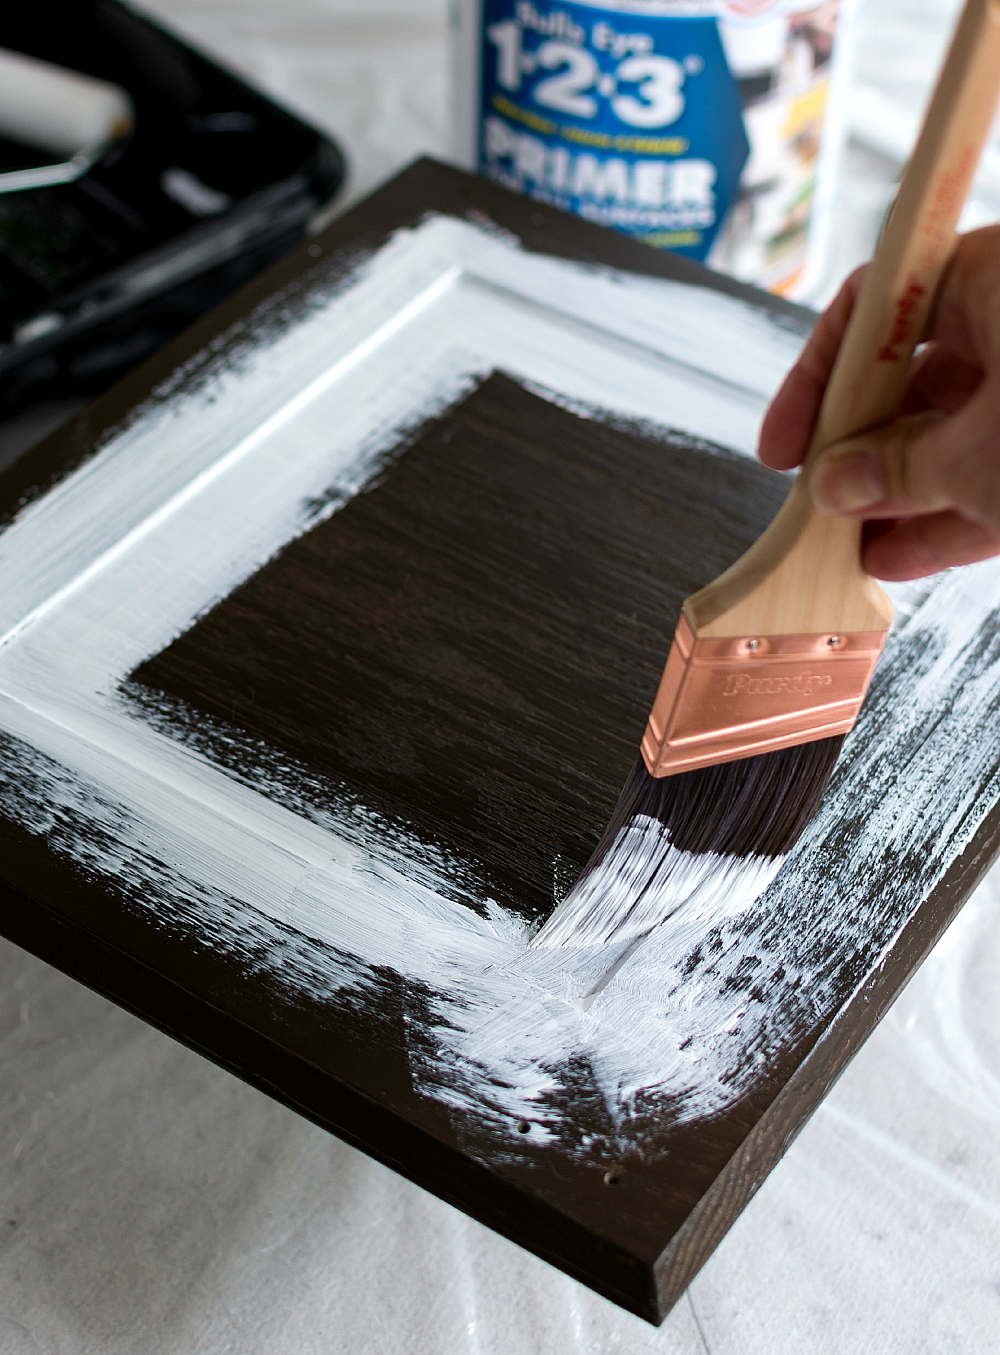
And then I used the brush to feather it out.
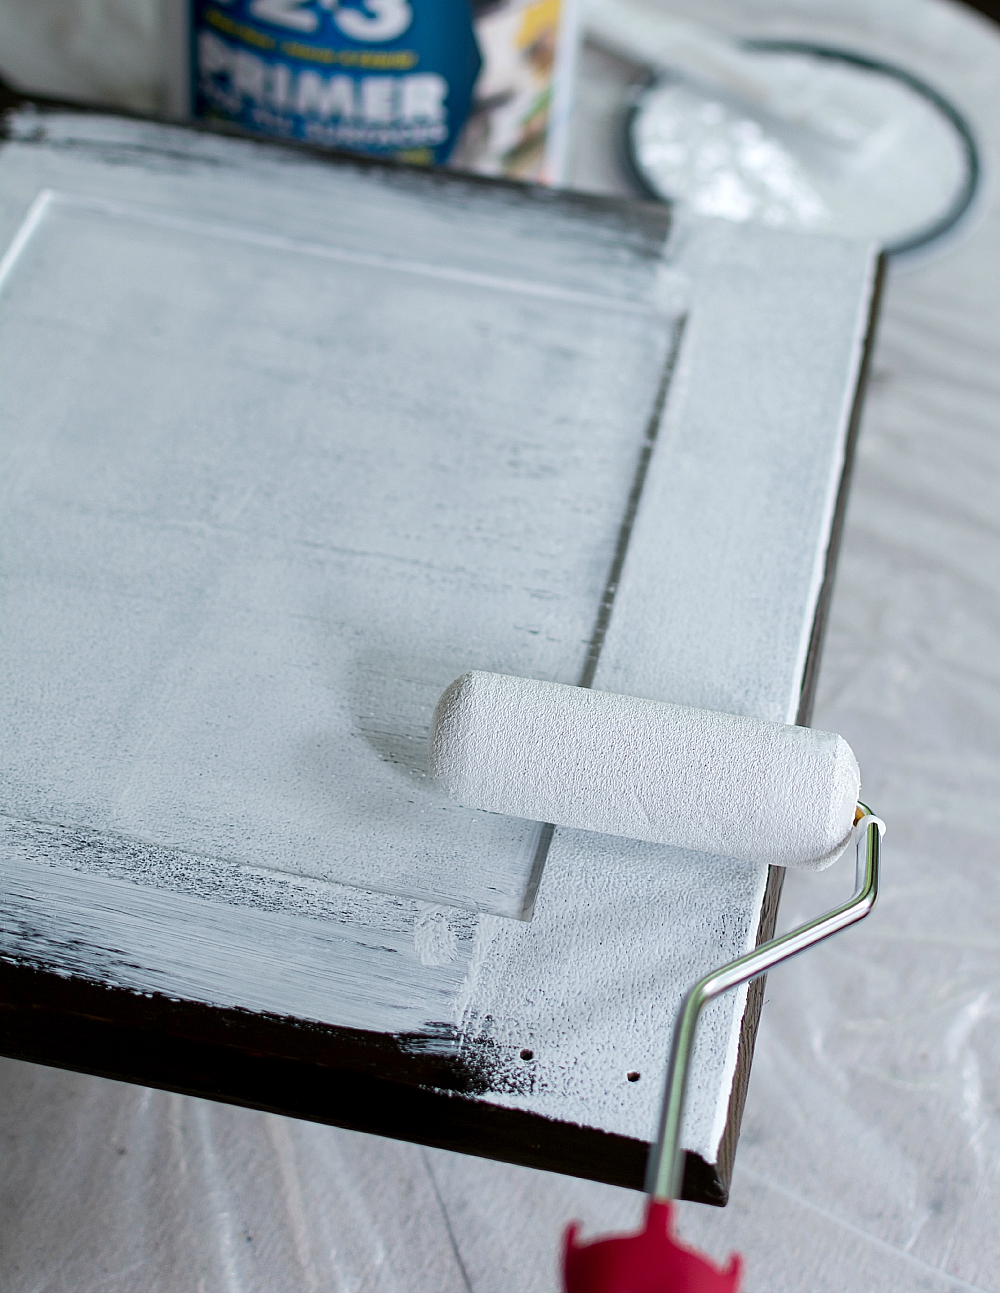
I immediately followed up with the small foam roller. You want to work with the paint while it’s still wet. And be sure to roll with the grain of the wood.
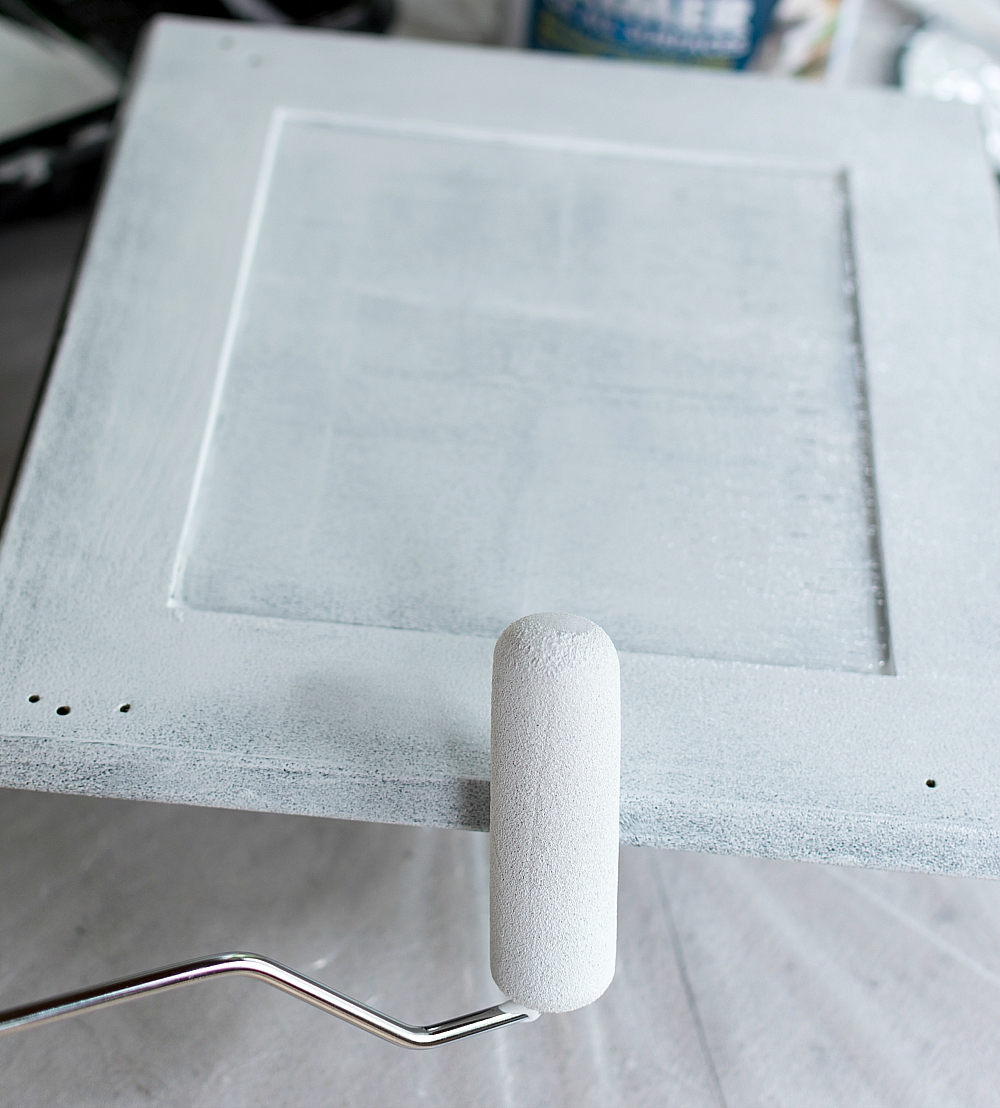
I also used the roller to add a thin layer to the edge of the door.
I gave them 24 hours to dry.
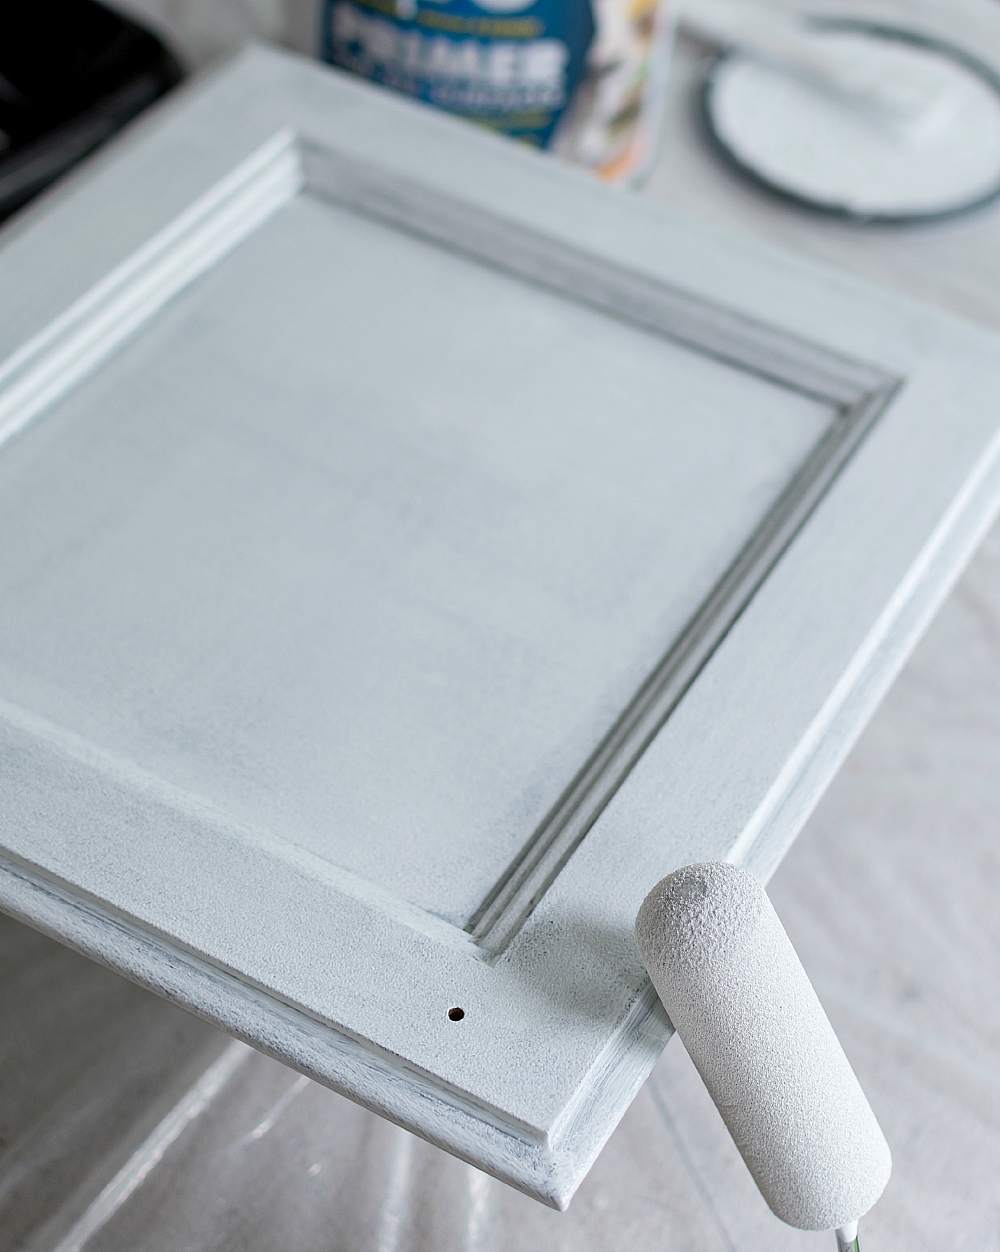
On day two, I flipped them over and used the same technique on the cabinet door fronts. Using the brush, I applied a thin layer of primer along the edges where the recessed panel and raised panel met.
I also brushed primer along the edges.
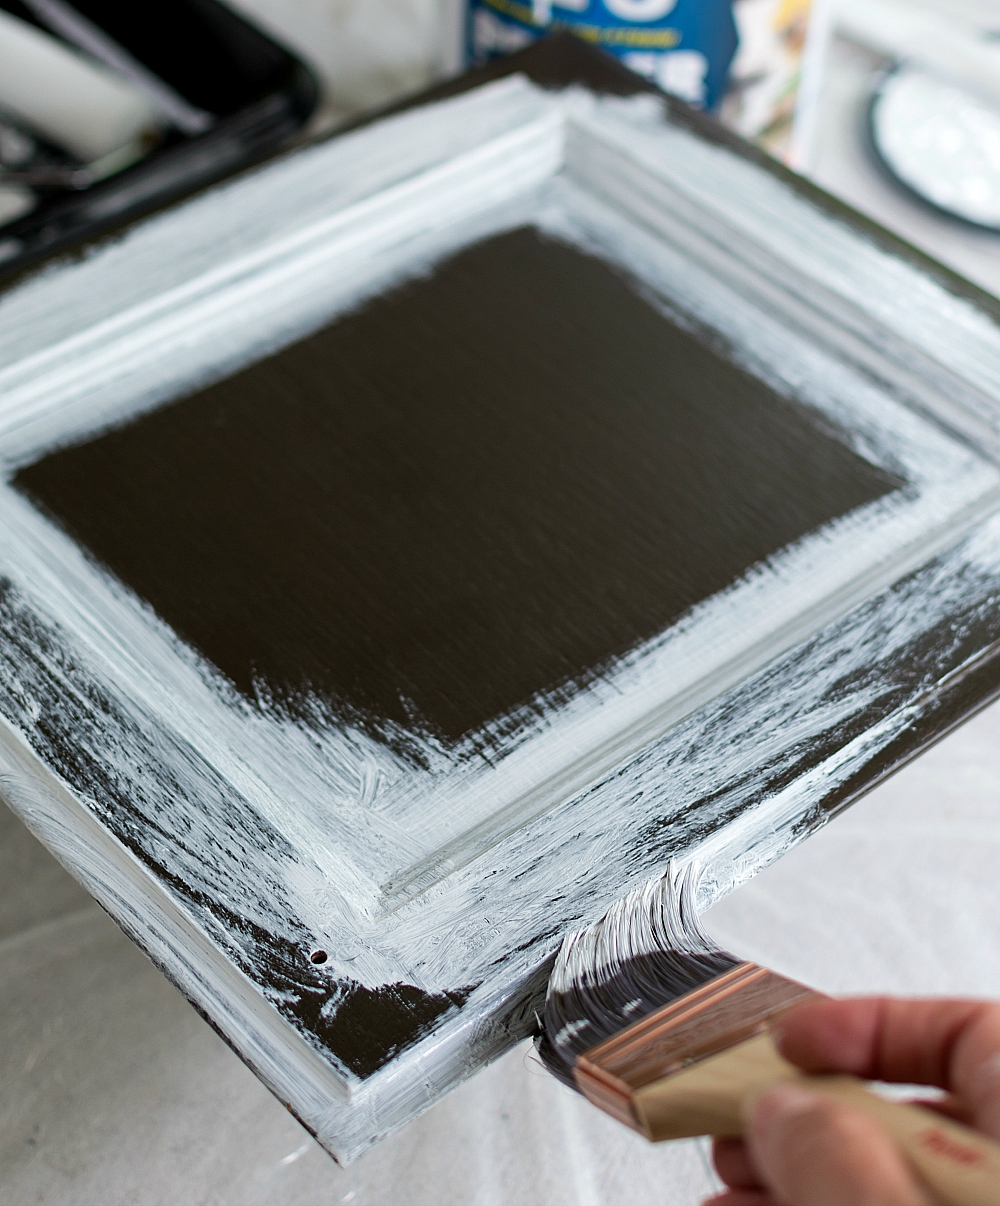
And followed up immediately with the foam roller.
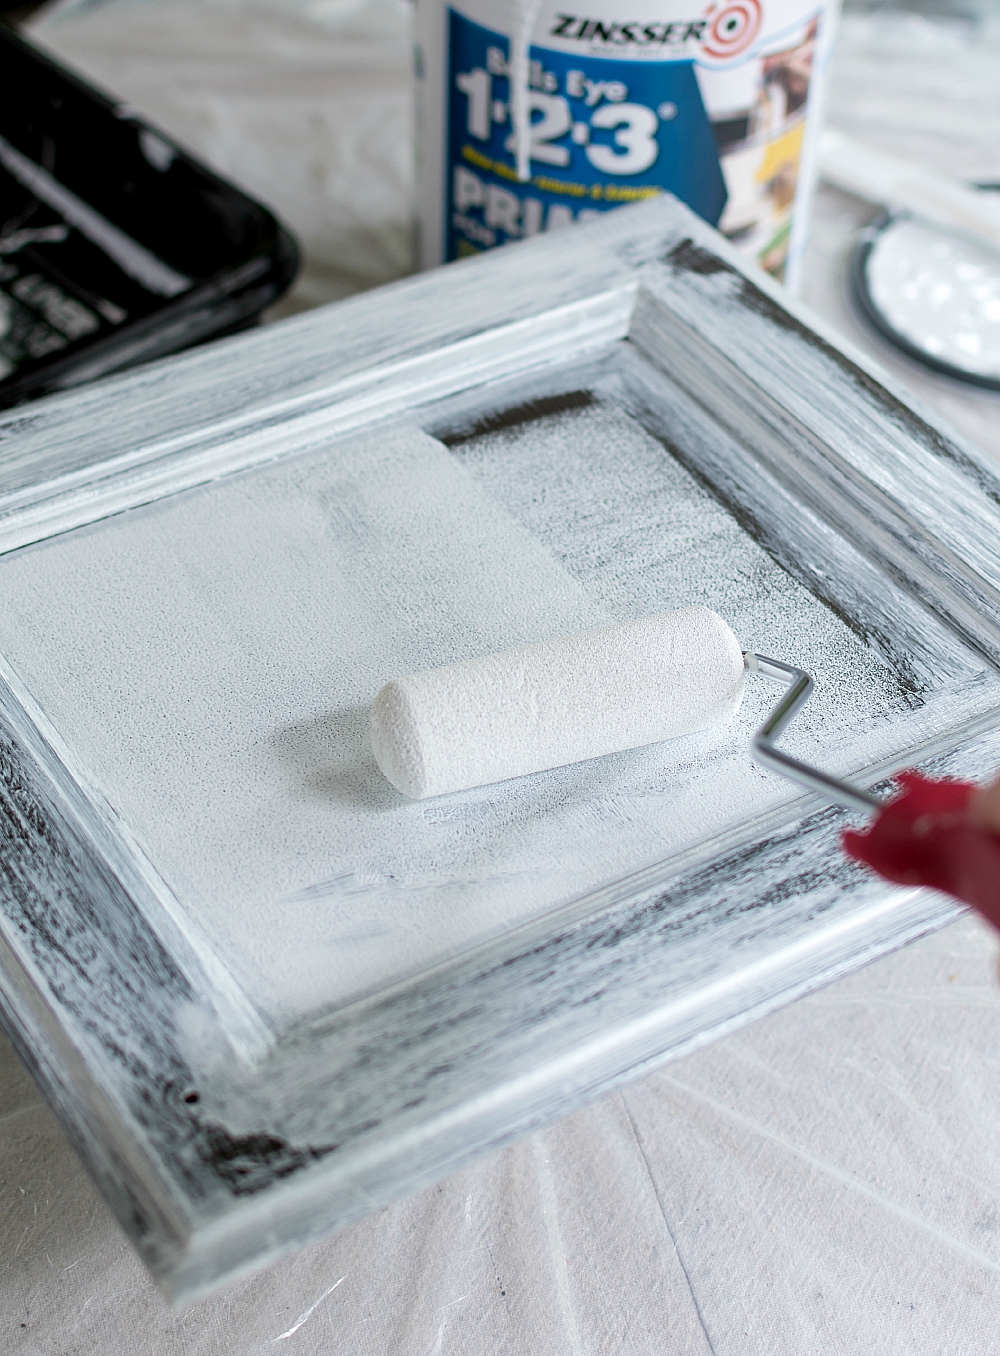
Rolling in the direction of the grain of the wood on the inside panel.
And outer panels.

And inner …
… and outer edges.
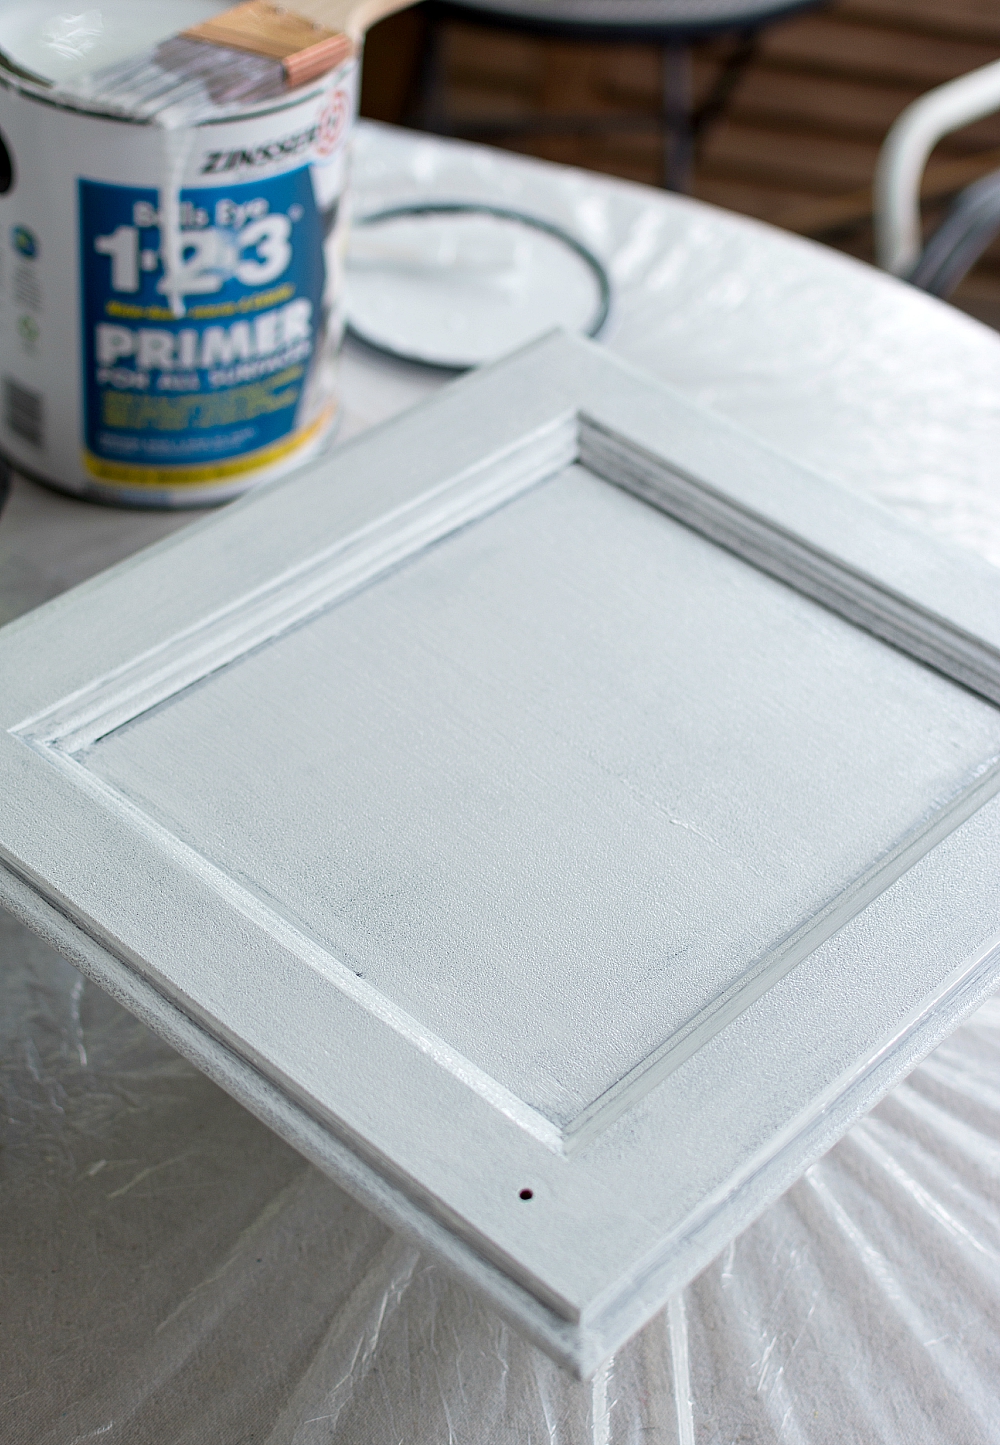
And now I’ll give them 24 hours to dry before lightly sanding and then painting them white.
Step 3: Sanding the Surface

I used a 220 grit sandpaper to give them a light sanding and then used a tack cloth to clean them before proceeding to the next step: painting.
Step 4: Spraying the Surface
I decided to use a paint sprayer (that I won through a blogging friend’s contest) on the drawers and doors. I definitely sped up the whole process, even it it was a big messy getting the sprayer set up and cleaned up …
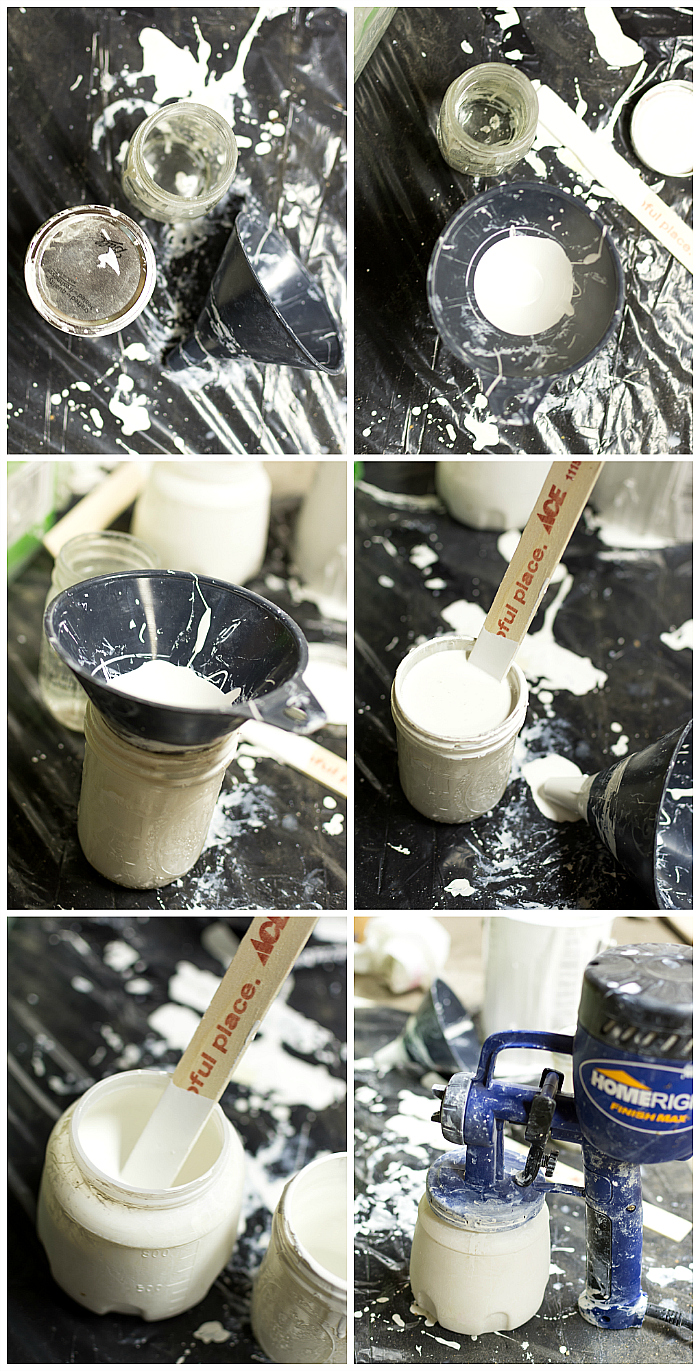
The paint needed to be thinned a bit before it would go through the sprayer. I used a mason jar and a funnel to thin the paint using a (approximate) six parts paint to one part water ratio. Be sure to stir well. Then transfer to the paint sprayer and mix again. Oh, and make sure you thread it on tight to prevent any drips and dribbles.
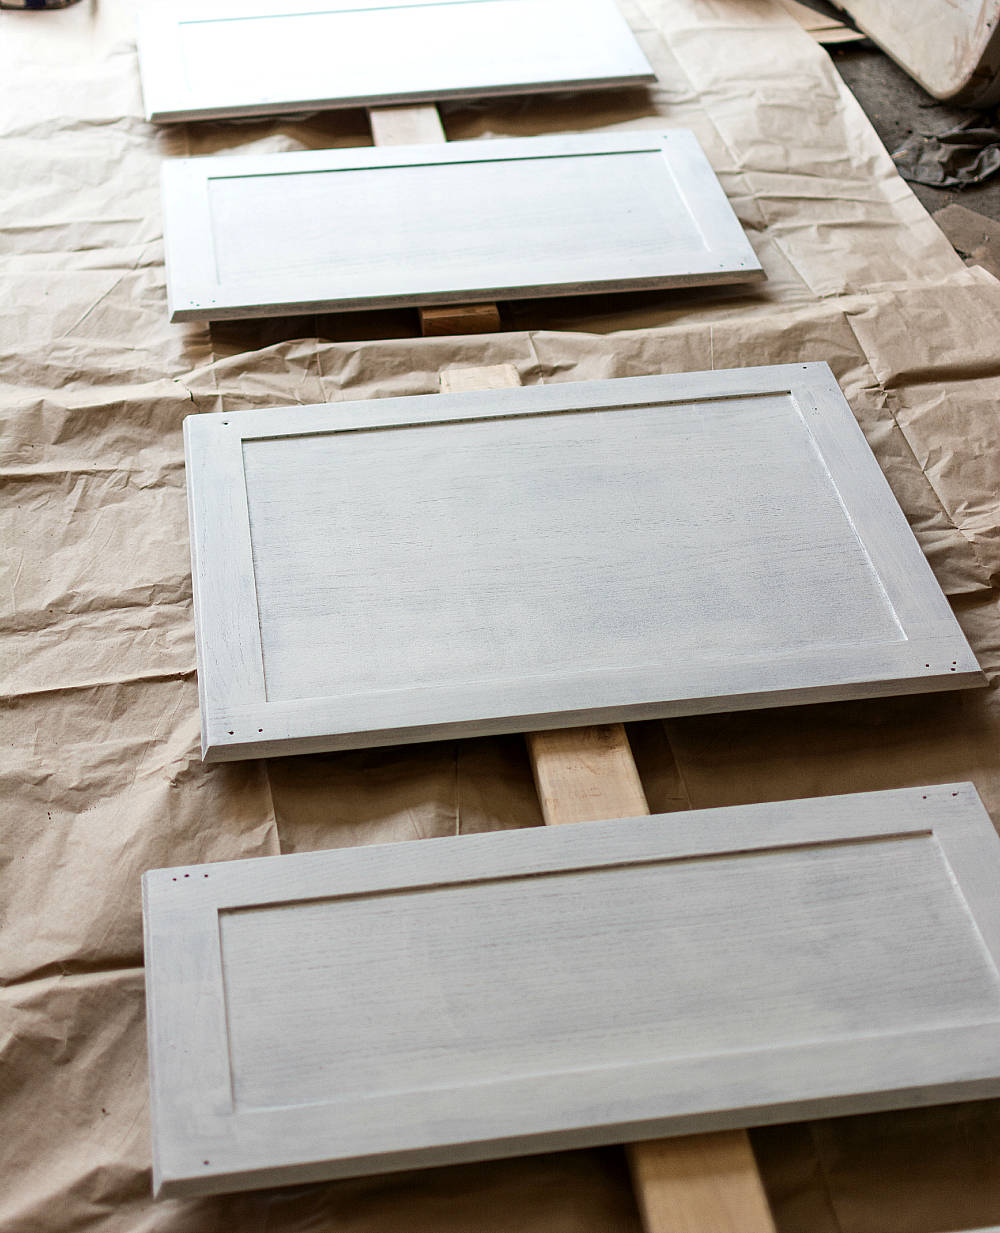
I laid the doors out on 2 x 4’s to elevate them off the garage floor.
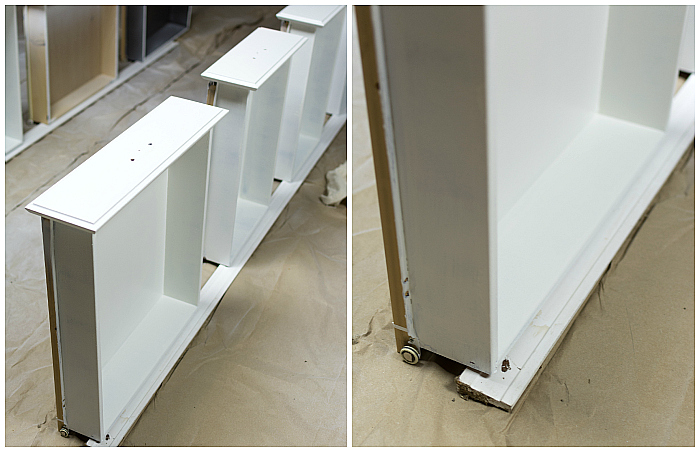
The drawers I propped up on an old piece of moulding.
Since this was my first time using a sander, I started with the back sides first to perfect my technique. I gave them 24 hours dry time before flipping them over and spraying the fronts.
In all, I gave the backs two coats and the fronts three coats of paint.
Step 5: Prepping, Priming, Painting the Inside Boxes
For the boxes inside, I followed the same prep and priming steps. For the paint, I used a brush and roller. Again, they received three coats of paint.
For the full kitchen transformation reveal, click here …
Kitchen Project Posts:

How To Add Height to Kitchen Cabinets
Kitchen Makeover (Previous Version)
Perfect timing! I really want to paint my kitchen cabinets, just wasn’t sure exactly how to go about it! Now I do! So glad you went first! I am pinning so I won’t forget!
Hi there! This looks amazing! I painted my oak cabinets black several years ago using a BM oil based paint. Now I want white. I was told I couldn’t cover them with a latex primer and paint. Have you had any issues with the paint sticking to it or peeling off?
Thanks! I was painting over BM oil based paint too. The key is using a good primer first. I haven’t had any issue with peeling and it’s been over a year now. Hope that helps!
Thanks so much for replying! Did you only sand after priming? Or in between coats of paint also?
When I used a brush I sanded between layers and you can’t tell they were brushed on.
Excellent tip!