If, like me, you’re cursed with cheap, orange-hued, builder-grade oak cabinets, don’t despair.
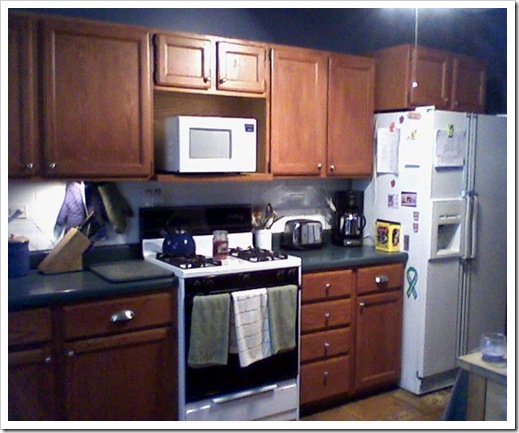 |
| BEFORE |
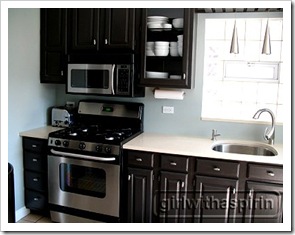
There’s hope in a can of paint.
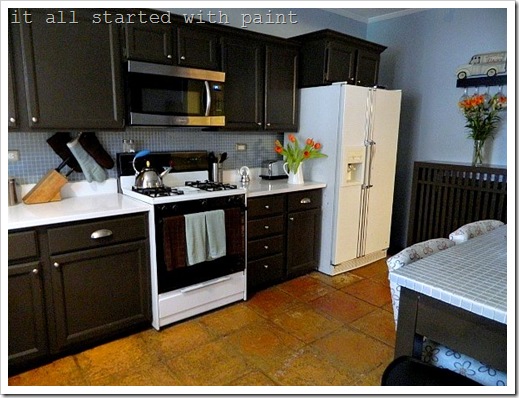 |
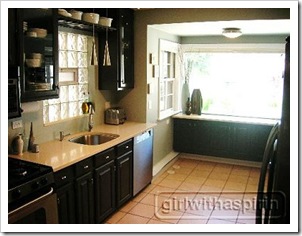
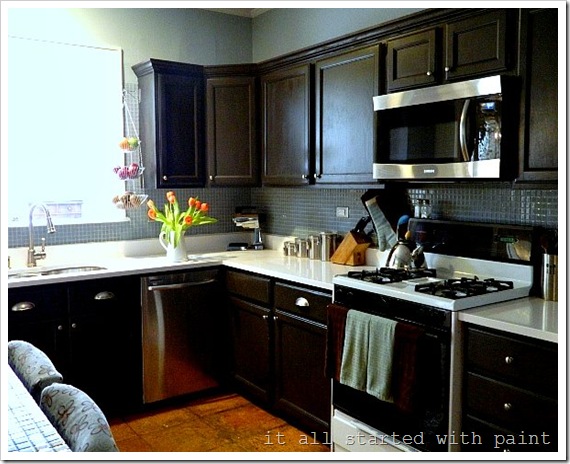
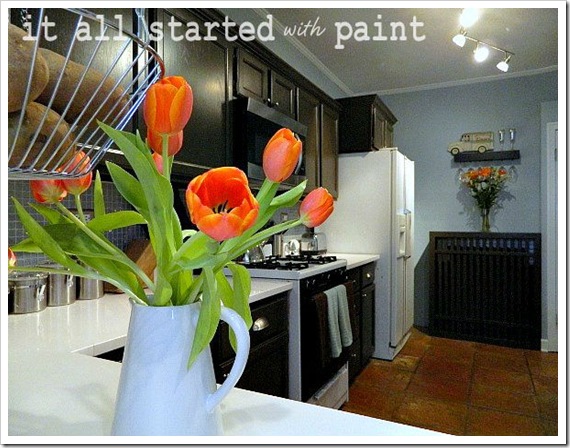
| AFTER |
When I decided to diy my kitchen (more on that story here), I crossed paths with a 2008 blog post from “Girl with Aspirin” that was linked up to a garden web forum.
… I was obsessed.
I followed Girl with Aspirin’s instructions to a tee … and now I will recreate them for you here (I’d share a link but can’t find an active Girl with Aspirin blog).
Details:
1. Cabinets: original oak cabinets, painted in Benjamin Moore Bittersweet Chocolate Satin Impervo Alkyd (oil-based) paint
2. Faucet: MOEN Lindley Single Handle Pull-Down Sprayer Kitchen Faucet in Spot Resistant Stainless ($218.00)
3. Walls: Benjamin Moore Yarmouth Blue (blue-gray color)
4. Backsplash: 1” blue-gray glass mosaic tiles found at Tile Outlet Ltd. in Chicago for $3.99/square foot
Painting Supplies:
- BM Satin Impervo Alkyd (oil-based) in Bittersweet Chocolate
- Purdy angled brushes
- Small foam roller brush
- Thick plastic drop cloths
- Sandpaper and electric hand sander
- Tack cloths and rages
- Mineral spirits for clean-up
I followed these instructions in stages because I didn’t have room to paint all the drawers and doors at the same time. I also did some of the painting indoors (which I don’t recommend) but made sure the family was out of the house. I opened the windows and doors and never, ever turned on the stove around those flammable fumes.
Finally, since I used an oil-based paint I skipped the priming step.
Painting Instructions:
1. Remove doors and drawers.
2. Clean doors, drawers and outside of boxes with soap and water.
3. Lightly sand outside edge of boxes. I wiped them down with damp paper towels and let it dry.
4. Paint the outside edges of the boxes. I used the foam roller at first and then went back with the Purdy brush to pull through and even it out and give it more of a “wood grain” look. I didn’t paint the interiors and have no regrets! Oh, and open all doors and windows and order take-out for dinner.
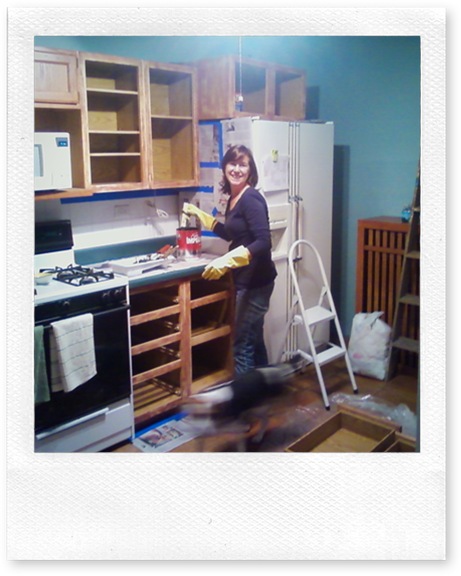 |
| There’s no turning back now … |
5. Sand doors and drawers (I only sanded the fronts). Wipe clean.
6. Paint the backs of doors and insides of drawers first. I first rolled on with a small foam roller and then immediately pulled through with the Purdy brush. Use thin coats to avoid drips. It also lets some of the wood grain show through, which I liked. It almost looks more like stain than paint.
7. Be patient. Let the doors dry for — at a minimum — a full day. If you can wait, give it a few days to avoid smudges when you flip them over.
8. Turn doors over and paint fronts the same way. Since I had inset frames, I first used the brush to paint where the inset met the molding. Then I rolled and pulled through with the brush.
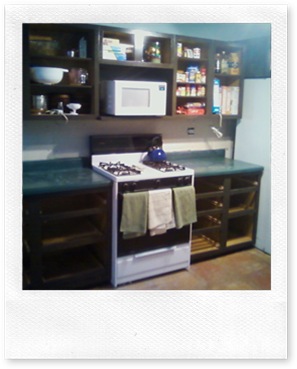
9. Let cure for as long as you can stand it. A week or more would ideal. We lived like this for awhile:
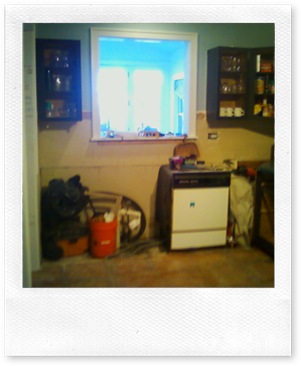 |
| The sink basin had serious water damage so we replaced it with a new cabinet. |
10. Rehang doors. We did ours in stages. I had cabinet doors and drawers strewn about the house for weeks.
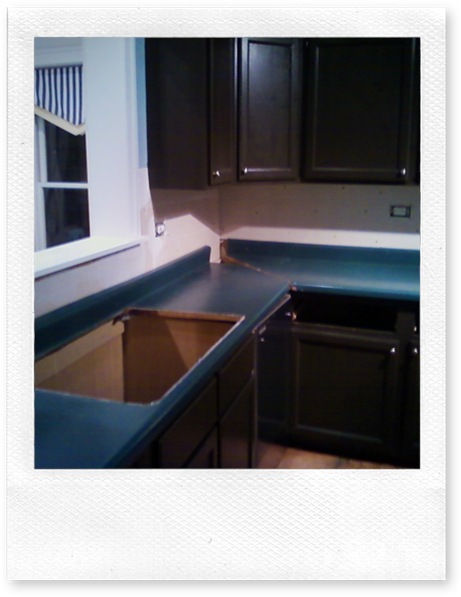 |
| Just waiting on the new counter-top … |
11. I kept the paint can and brush handy for the next month or so for touch-ups.
I ended up only doing one coat and then going back here and there for some touch-up. Just be careful not to overwork or you’ll end up with some weird brush stroke patches.
It’s been a year now and the cabinets have stood up really well. I was a bit worried since I skipped the primer.
To “Girl with Aspirin” – wherever you may be – I send out a giant thank you!
Linking up with:
The Shabby Nest
Miss Mustard Seed
Lolly Jane Boutique
Under the Table and Dreaming
Home Stories A 2 Z
Savvy Southern Style
Domestically Speaking
Remodelaholic
Funky Junk Interiors
Addicted 2 Decorating
Dittle Dattle
Tatertots and Jello
Sisters of the Wild West


Thank you for these specific details of painting and sanding. I do have a question about your microwave above the stove….it loos fantastic up there. Do you have an extraction fan in your kitchen and does the microwave shelf get in the way when you cook?
Did you do the mosaic tiling yourself? It looks fabulous!
Wow – I am seriously so impressed. It looks like a high-end kitchen now! LOVE it! You should come and enter my Vanilla Bean Paste giveaway http://eatcakefordinner.blogspot.com/2011/11/vanilla-bean-paste-giveaway.html
Great tutorial – it’s a real-life project, not a ‘see how awesome I am, this was done in one day’ type of post.
Just sent this link over to my sister…who’s been waffling about painting her cabinet FOR.EV.ER! This (and my free labor) might help her get in gear 🙂
-Jill
It looks great.
I think builder grade oak cabinets should be banned.
~ Christie
Sleek, modern, and lovely:) I am hosting my first ever link party this weekend and I would love it if you popped over to link up some of your cutie stuff!
Thanks, Kim
http://kim-toomuchtimeonmyhands.blogspot.com/2011/12/get-schooled-saturday-1.html
Looks awesome!What a huge difference, great job 🙂
Me! Me! I’m cursed with builder’s grade oak cabinets! I think about painting them all the time. People like you just might inspire me to do it one of these days 😉 Gorgeous transformation!
What a beautiful kitchen! I love that you updated it on your own, and that you chose a dark color. I love the look of white kitchens, but I’m not sure I’m up for the maintenance they require for my family of boys (and I admit I’m not the cleanest cook!). Thanks for sharing!
I have those awful oak cabinets too and I am dying to paint them. (In fact, the paint chips have been taped to them for almost 6 months now but other projects are jumping ahead on the priority list.)
I am also glad to see someone else installing a tile backsplash above the pre-installed counter backsplash. I was scared I would be able to remove mine but didn’t know if anyone else just ignored it and tiled above it. Yours looks great.
I love the change.. it is so gorgeous!
i love that your hope in a can was a dark colored hope, and not white. white is good, but it isn’t for me, and i need to see some pretties, too.
I cannot believe how beautiful those cabinets are; and with only one coat. I too like how wood grain shows through paint; I am anxious to try this in my bathroom cabinet remodels; I like our oak cabinets, just need to brighten up the spaces with a lighter color. Thanks for the step by step.
Ill give you a 9.8 your old kitchen sucked. This new kitchen makes me want to slit my wrists after my kitchen renovation I am so jealous.
Great job Linda,