Vintage Look Crate DIY – How To MakeUnfinished Wood Crates Look Vintage.

I made a very important discovery this week.
Was it earth-shattering?
Not really.
Did it rock my world?
Not quite.
Will it forever change the way I blog?
Perhaps.
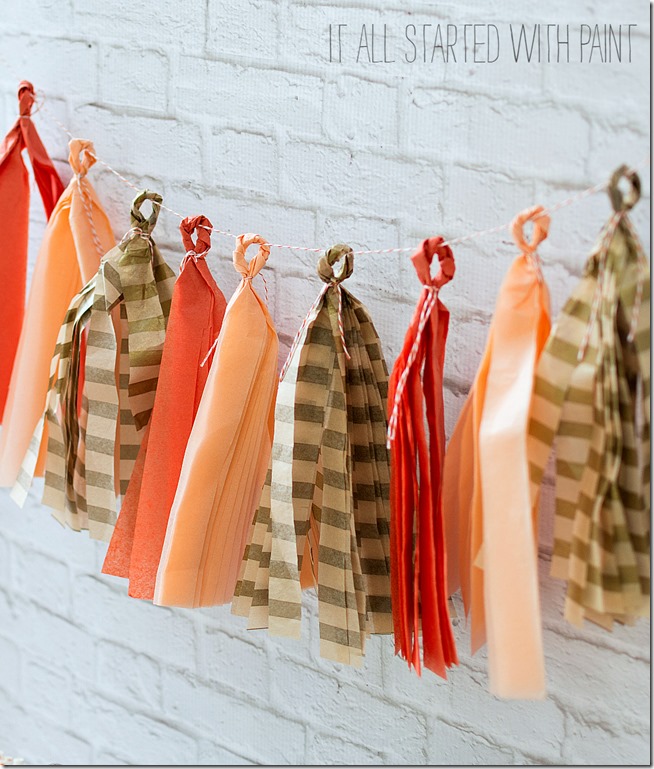
You see, I discovered that just about anything looks so, soooo much cuter with a tissue paper banner hanging over it …

Don’t you agree?
I made this banner to use for a different photo shoot for a different project. (You can find my banner tutorial here …)

But when it was time to take pictures of my finished vintage-look-crate DIY, I thought they would look cute in the background.
And I was right …
right?
I fear I may have to style each and every project from this day forth with a tissue paper banner. Using different color tissue paper to compliment the project …
It could be my ‘thing.’ You know, say you’re cruising Pinterest and you see a picture with a tissue paper banner in the background, you would immediately know it’s mine …
… because of the soon-to-be-iconic It All Started With Paint tissue paper banner prop.
Or maybe not. Maybe it’s just my thing this week …
![]()
But enough about the banner. Let’s talk about what’s hanging below that banner. My vintage look crate DIY …
Vintage Look Crate DIY Tutorial
Materials*
Unfinished Wood Crate (16″L x 12.25″W x 9.25″H)
Varathane Wood Stain in Early American
Vintage-Look Knobs (found mine here at World Market)
Clean Rags
Sandpaper (120 grit)
Plaid Crafts Martha Stewart Adhesive Alphabet Stencils
Black Acrylic Paint
Drill & Screwdriver
*some affiliate links included.

I started with some basic unfinished crates I found on Amazon (here). I also spotted very similar crates stocked at Michaels last week.
I started out by asking my husband to drill some holes in the front for the vintage-look knobs (found here at World Market). Then I lightly sanded around the drilled holes.
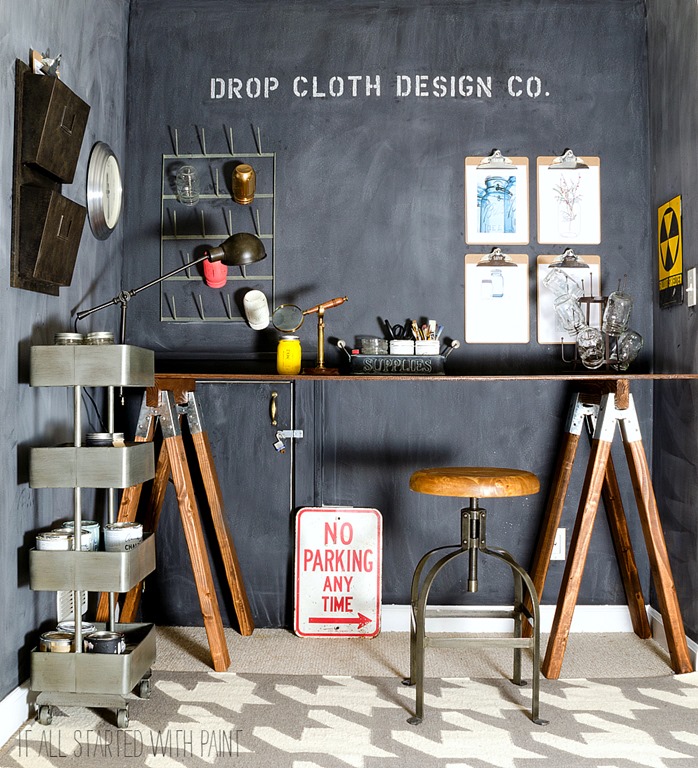
I used the Varathane Wood Stain in Early American that Rust-Oleum sent me (thanks Rust-Oleum!). It’s the same stain I also used on my sawhorse desk.

I brushed on a thick layers of stain. Let it sit for about 10-15 minutes, and then wiped it off with a clean rag.
I stained both the insides …

… and outsides.

And I’ll be honest, that took a while. And it was messy. Mostly because I’m a messy stainer …
Once dry, I gave them a a quick sanding. To make them look a bit aged.

Then it was time to stencil. I used black acrylic craft paint and Martha Stewart self-adhesive stencils (I found mine at Michaels but you can also buy them online at Amazon).


Since I wanted my crates to look like they’d been around the block a few times, I attacked the stencils with sandpaper.
But I went too far …

So I grabbed a clean rag and dipped it into the stain. I rubbed it on and immediately rubbed it off.
Aaahhh. So much better …

So, so much better …

I really love how they turned out.

Really and truly.

I may even love them more than those tissue paper banners.

And now I have two more to make. For the Etsy shop workspace.

But first I have to tell those little village people that Christmas has been over for a month now and they really need to take down that tree in the town square …
![]()
Linda
You might also like …
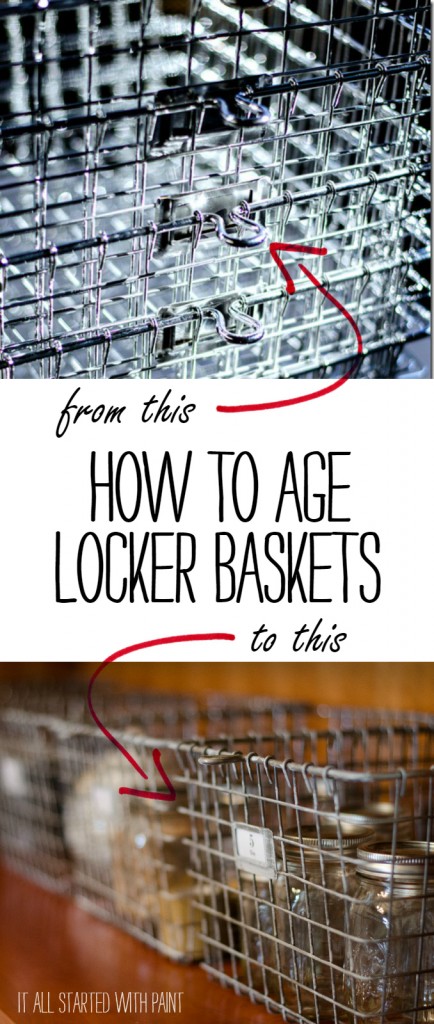
How To Age Locker Baskets (click here)
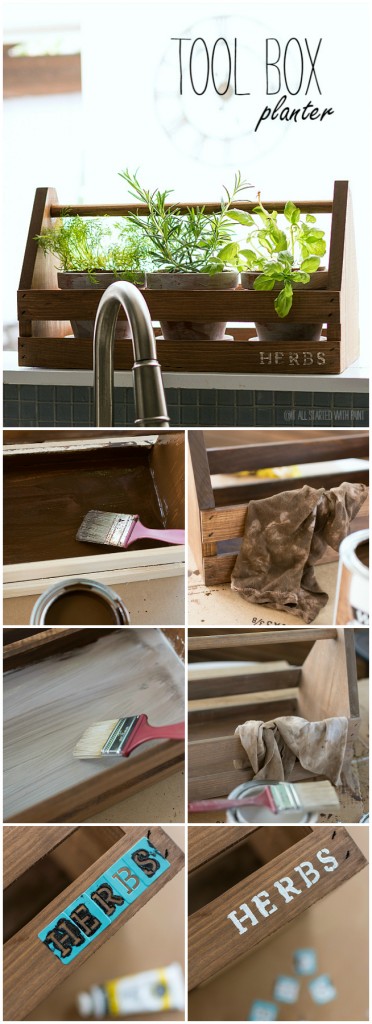
Turn New Toolbox to Vintage, Rustic Look {click here}
You can find my full gallery of DIY & Craft projects by clicking here …
Well after the village people finish at your house please send them to mine.. The crates look great!
Linda! These are just amazing! I’ll be making these. Pinning and featuring them on facebook. YOu are one creative gal!!!!
Thank you for all the love, Yvonne!!! 🙂 Linda
These look amazing! I have a couple of these crates that I hadn’t decided how I wanted to beautify them yet. I think I just found my answer. 🙂 Awesome job!
I’m so happy to help!!!!
Your crates look great! I bought 2 sizes of crates with 50% off coupons & finished them with blue IKEA paint/stain that matches my grandson’s dresser. Hung on his wall, the large one holds favorite books & the smaller one above, holds a vintage toy truck, box of tissues, etc, with a clock propped on top. My d-I-l thinks they’re wonderful, which is almost as good as a tissue paper banner!
From the sound of it, I think your crates sound just fabulous! Love the idea of hanging them on the wall! And your DIL’s reaction is so, so much better than a tissue paper banner! 🙂 Linda
Oh my…these are awesome!
(I have a story about Molly. MY Molly. Molly was the baby that my friend Leslie was supposed to have –I named her Molly and gave her some of Libby’s clothes. Instead, Leslie ended up with an Evan and we gave the clothes to a mutual friend with the understanding that they were for her if she had a Molly. AND SHE DID!!! That Molly is now 22. I am old.)
I love your Molly story! And just think, the Molly crate would have been the perfect place to store your Molly’s clothes while waiting for the next Molly to be born … 😉
Linda these are so great. They look awesome. Love this creative idea. Your tissue banner is too cute too!!!!! It is funny how little things like that just make us smile. Have a great week.
Kris
Thanks so much Kris!!! You are too kind! 🙂 Linda
Loooooove those crates and of course the banner too, adorable!
Thank you so much Cristina! 🙂 Linda
I really like your crates with their cute stencil and knobs. Intrigued by the banner….maybe I’ll try one and see if it makes my pictures look awesome.
LOVE this! Your stain looks awesome, and I love how the distressed stencil looks! Fabulous!
I can’t decide if it’s the crates or the tissue that I like the best.
Love these! Such a great idea!
Thanks Debbie!
Ummm yes the tissue paper banner is awesome, and the crates are just perfect! I love crates and these are so fun!
Great idea, pinned. Wow. Love the aging look. Visiting from Cozy Little House.
Joy
Thank you so much & thank you for the pin!!! 🙂
I love these personalized crates, and of course the tissue paper banner in the background too. Thanks so much for sharing at Vintage Inpspiration Party. I’ll be sharing and featuring on my Facebook page this evening.
That’s fabulous! Thanks so much for the share!!! 🙂 Linda
Wonderful! How creative and they turned out just beautiful! This was a great project and I am wondering where I could use these. I am sharing these over at Facebook and Twitter and pinning these! I would love it if you would stop by Celebrate it Sunday and share these! I know my readers would love them!
Love your DIY “vintage” look crates … I collect old boxes and crates for display and shelving in my vendor booths at seasonal shows, mostly Fall and Christmas. They are starting up this weekend, so I will head over to Michaels to see about getting a few to do to add to my stash!
I also love the tissue tassels banner ~ it would be a real attention-getter at shows, especially if made in bright colors for each upcoming Season!
Love your work, and easy to follow instructions! Thanks for being a generous Blogger, sharing your info!
I love the look of vintage. You did an awesome job.
I an in the process of doing my creates i have here.
What I’m doing so not to make a mess is I am staining the create with a rag instead of a paint brush, then going over it with a clean rag. Very satisfied with the look.
Jost dab the rag in the stain a little at a time, rub off excess on the can as you stain sqeeze the rag a little at a time for the ends.
Where I can’t get, I will take an old artists paint bruch and touch up the parts I couldn’t get the rag into.
My create is 3/4 of the way done on the outside, 1/4 done on the inside.
I’m letting this dry right now.
No mess. I also am wearing surgical gloves to k eep my hands clean from stain as well.
Thank you for this tutorial! I don’t know what I’m about to get myself into :/
LOL! Good luck! It’s a bit messy with the stain but not too hard!
Hi Linda, these look great and I want to try and do something similar. I’ve found a stain which is a ‘satin’ finish. Will this work in your opinion??
Yes, absolutely! Just stay away from the glosses. But Satin has a very low sheen — and, in fact, I’m pretty sure that the stain I used was Satin. There really aren’t many flat/matte stain options. Good luck with your project! 🙂
Thank you! 🙂
These are super cute, Linda! I love that they are all personalised too!