Remember yesterday when I was working on part 1 of my drum table makeover and I shared how I was told by the creative genius who is Amy Howard to put down the sandpaper when painting furniture?
Well, today I’m picking it back up. In 60, 120 and 220 grit.
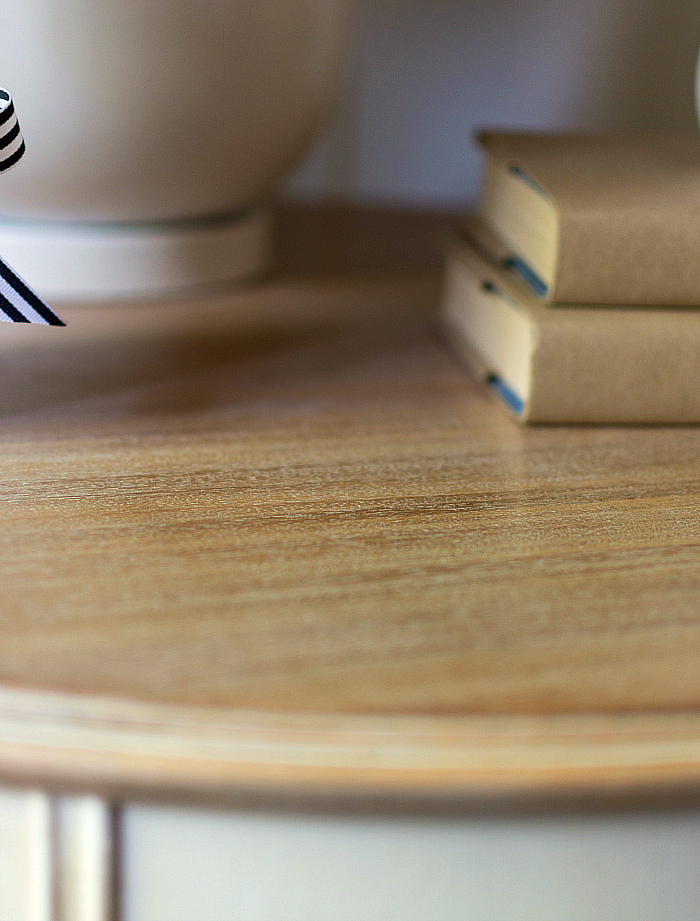
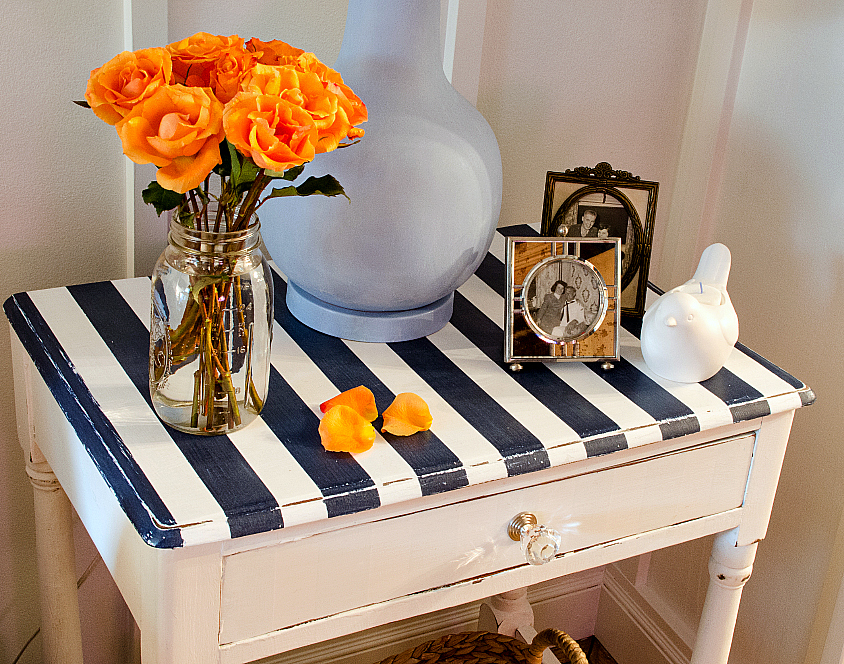
But it’s not to create a faux finish. It’s for the prep for the liming wax finish. You see, I started with a surface that looked like this …

and there’s not enough liming wax in the world to make that look better without a little prep.
Prepping The Wood Surface
Materials*
Sandpaper (60 grit, 120 grit, 220 grit)
Tack Cloths
Let me start by saying you don’t have to strip the surface of the piece your working with. In fact, if you like the finish — whether stained or painted — but want to add a lime wash, skip to the “How To Whitewash With Liming Wax” section.
I toyed with the idea of first stripping the top, but that’s messy. And a hassle. Plus, if we can believe what I found on the bottom of the drawer …
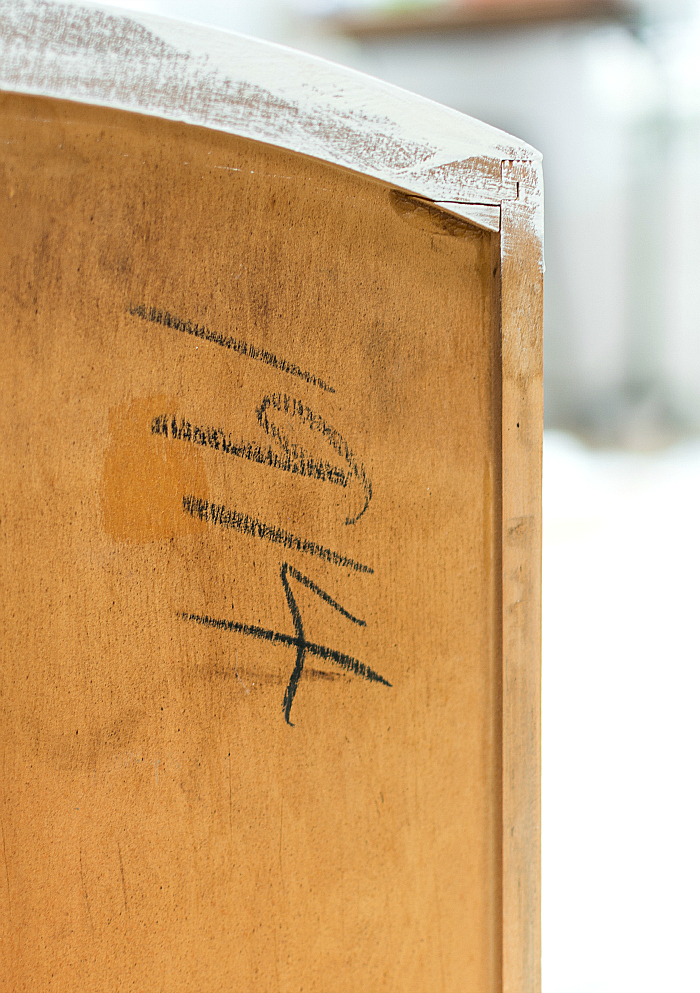
this piece is old.
Really old.
It’s been in my home for 20+ years. It was with my husband for 10 years before that. And it came to him from an aunt. Or grandparent.
Which leaves me inclined to believe 1914 is a true indication of age. Which also means, 100+ years later, any varnish top coat had been completely worn away.
So I decided to attack it with sandpaper.

Which worked perfectly for me. I started with 60 grit. Followed by 120 grit. Then 220 grit. Followed by a tack cloth to thoroughly clean the surface.
Next up, I needed to open the grain. Which I did using a wire brush.
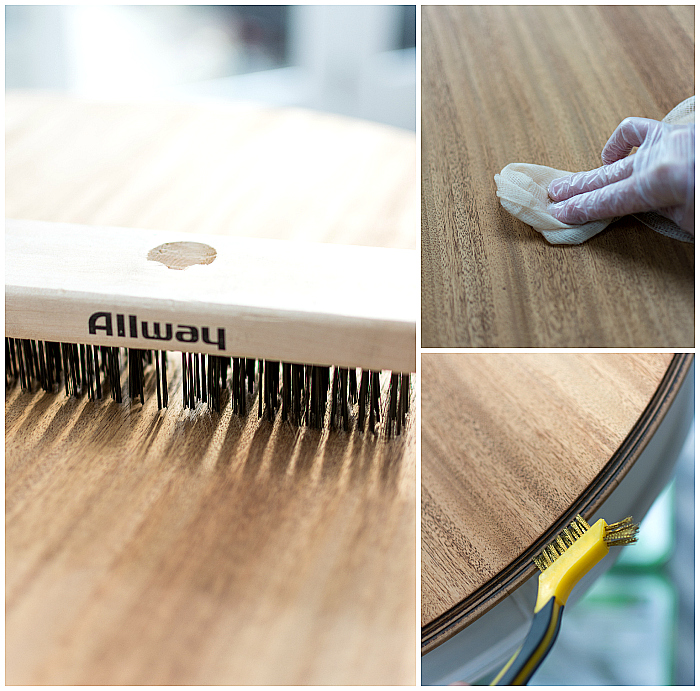
It’s very important to go with the grain. Otherwise you’ll create scratches in the wood. Use a tack cloth to clean off any residue and debris before moving on to the next step.
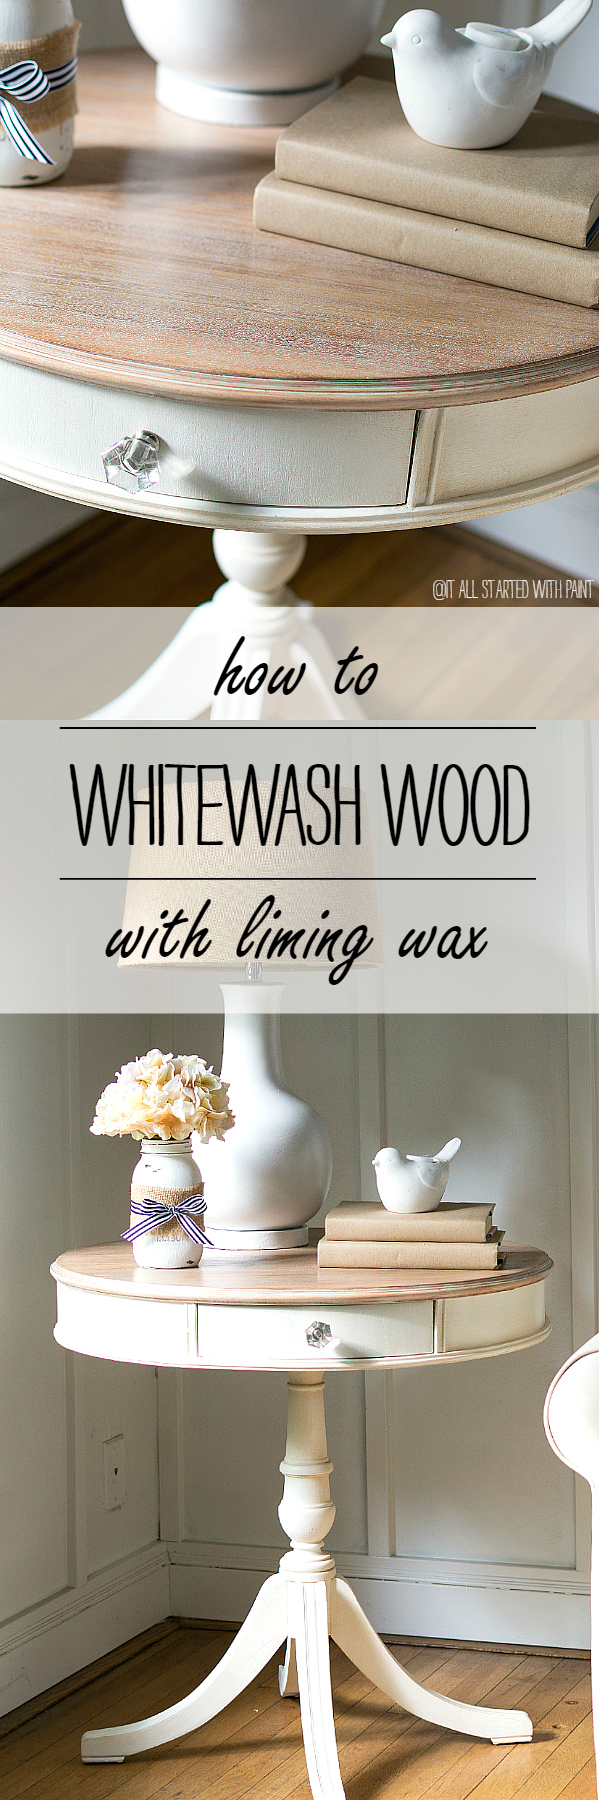
How To Whitewash Wood Using Liming Wax
Materials*
Amy Howard at Home Dark Antique Wax
Spackle Knife (Plastic)
Sponge
Lint Free Rags
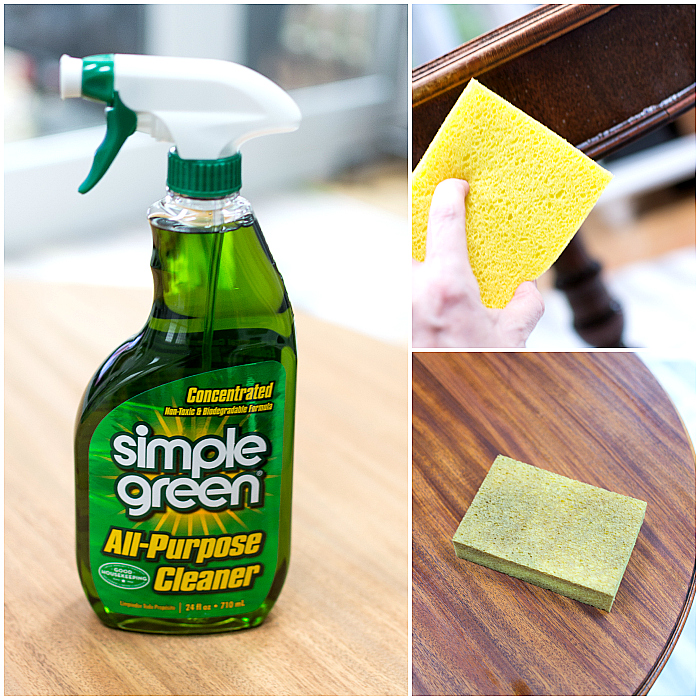
Clean the surface with an all-purpose cleaner. I used Simple Green – but you need to dilute the solution first according to instructions on the back of the bottle. I went with a 10 to 1 solution. And be sure to wipe it clean a second time with a wet sponge to remove any residue.
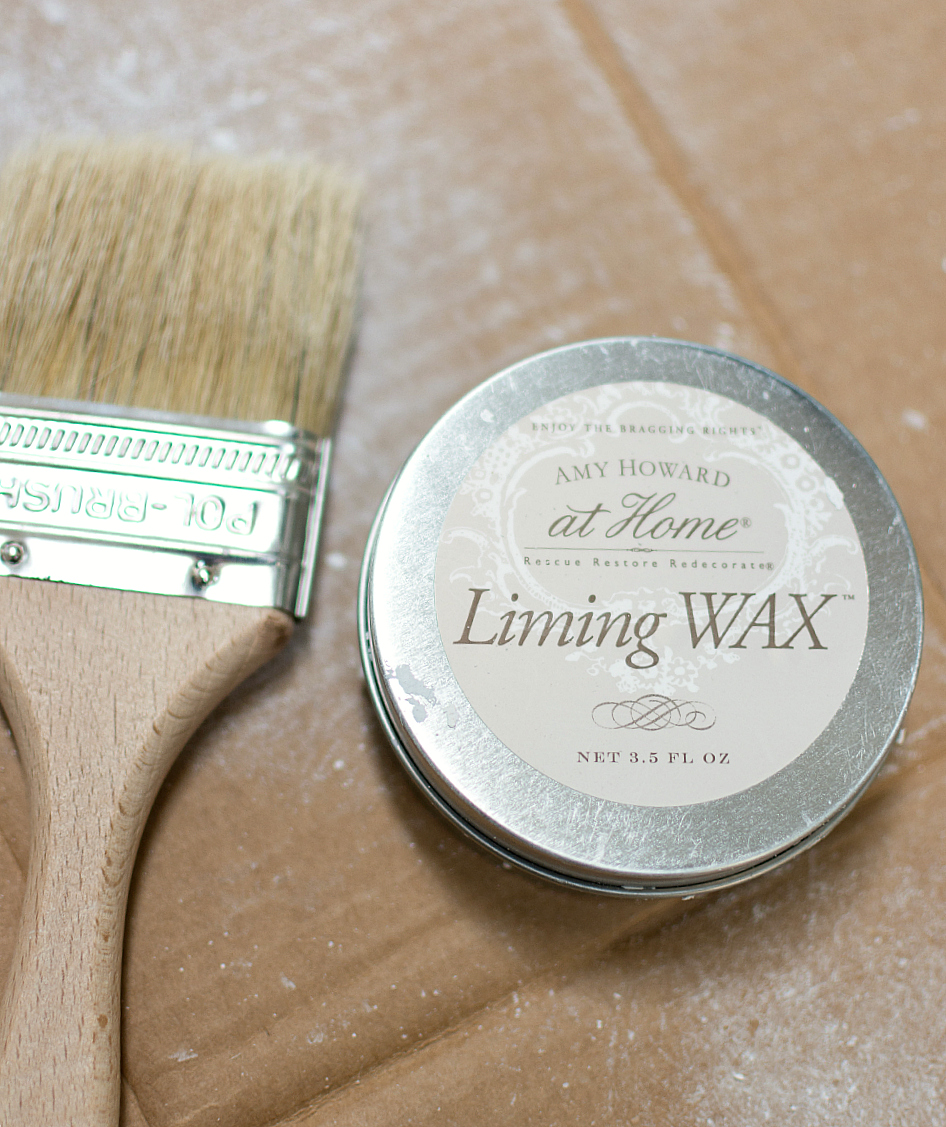
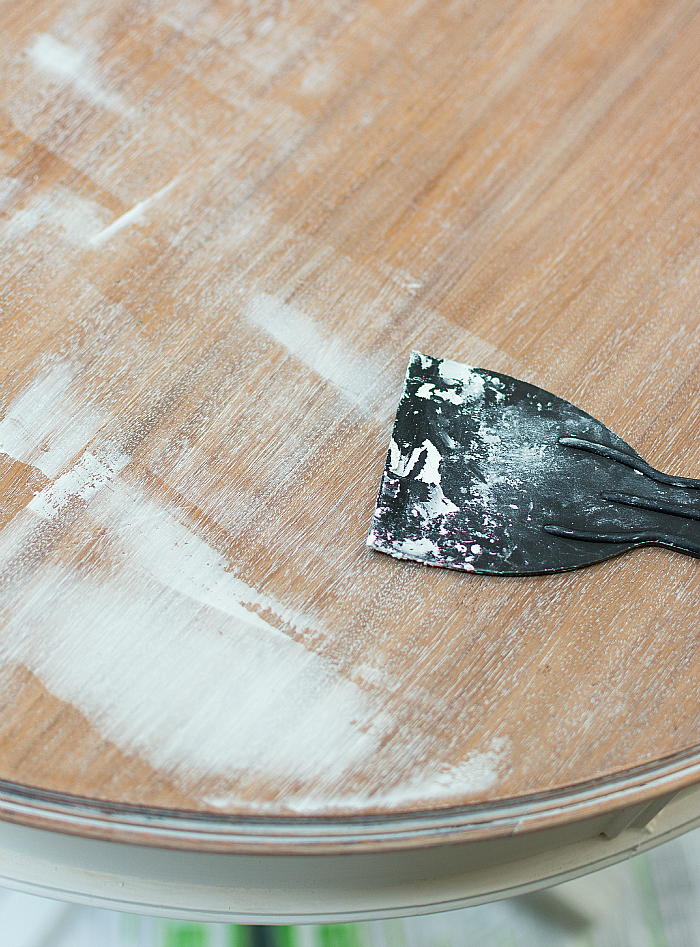
Now it’s time to apply the Amy Howard at Home Liming Wax. For my first application I used a plastic spackle knife.

I put a generous portion of wax on the end of the knife. Working in 4-6″ widths across the table, I pushed the wax into the grain and immediately came back and pulled off the excess with the clean side. Much the same way you would apply spackle to a wall. As I worked my way across the table, I followed up each section with a lint free rage to buff away any extra wax without pulling it out of the grain.
*As a side note, this is when I started to panic. Wondering if perhaps I made a mistake. If perhaps I was waaaaay over my head. But I took a deep breath and charged on …
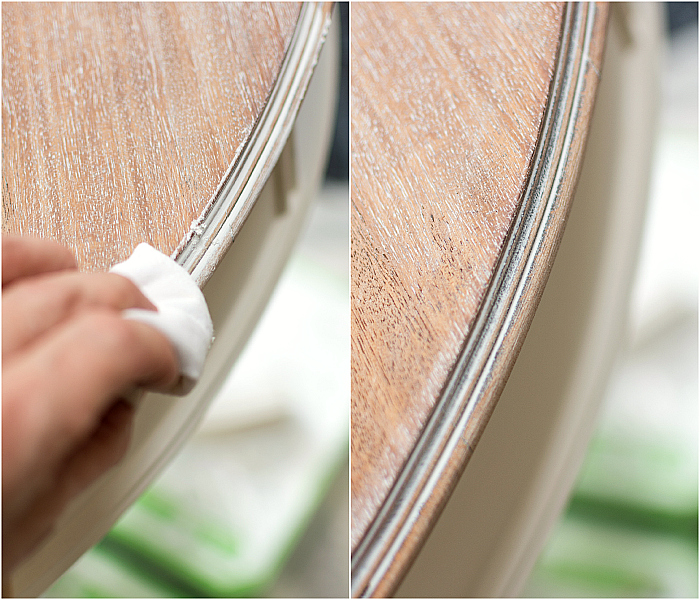
For the edge of the table, I loaded up wax on a lint free rag. Working in small sections, I pushed the wax into the crevices and immediately came back and wiped away the excess.
The first pass of the liming wax spackle technique didn’t give me the deep whitewash finish I wanted, so I took a second pass with the spackle knife and lint free rag.
Spackle. Wipe. Spackle. Wipe.
As Amy will tell you, it’s all about the layering.
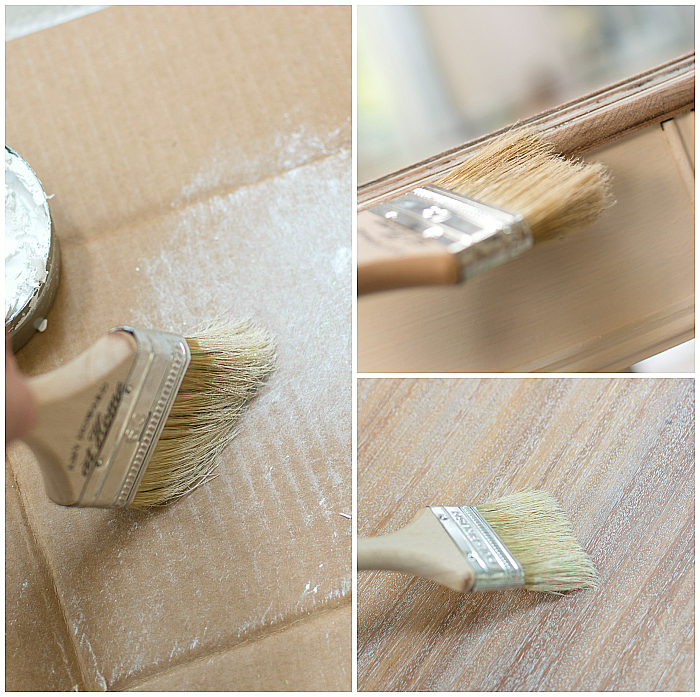
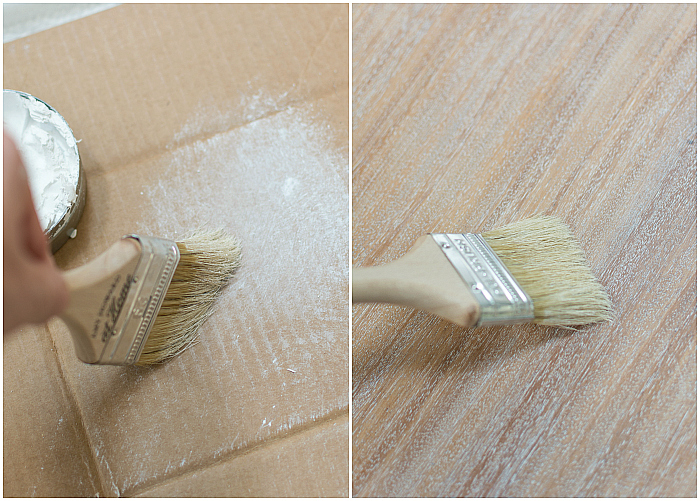
For the third layer, I used Amy’s 2.5″ bristle brush. I loaded up the brush with liming wax and then offloaded most onto a piece of cardboard. Then using a cross hatch motion, I moved the brush along the table top and the edges.
At this point, I realized I needed to knock down the bright white a bit. Mostly because the wax application on the base of the piece gave it a richer, creamy look.
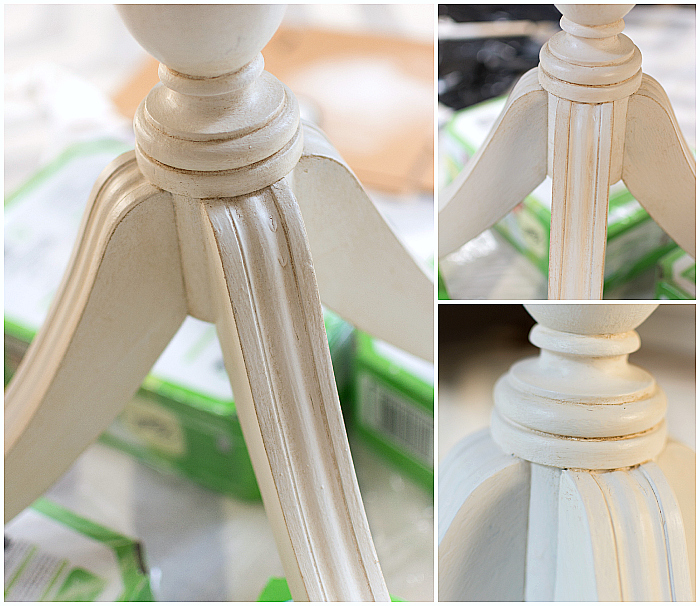
Leaving the starker white top looking mismatched with the bottom. Like they belonged on two different pieces.

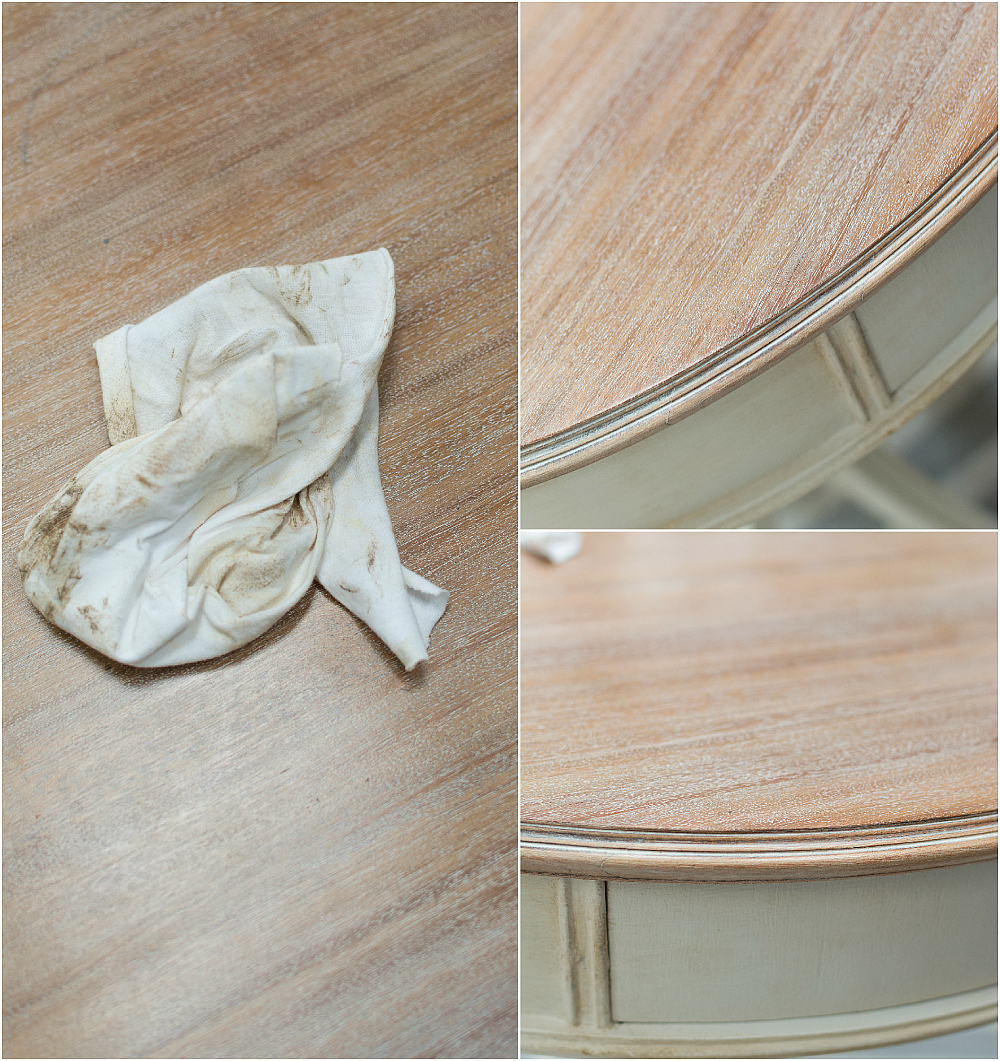
I waited about 15-minutes for the liming wax layer to “come to tack” — not fully dry but not greasy — and then added a fourth layer of Amy Howard at Home Dark Antique Wax. I loaded up my bristle brush with wax and offloaded almost all onto a piece of cardboard. I very, very gently added dark wax detail along the edge of the table (and immediately followed up with a clean, lint free rag). I also did a very gently cross hatching technique on the top. Again, working with a very light layer of wax and the lint free rag.
When the piece “came to tack” again (about 15-minutes), a fifth and final very light layer of liming wax was gently cross hatched across the top and edges.
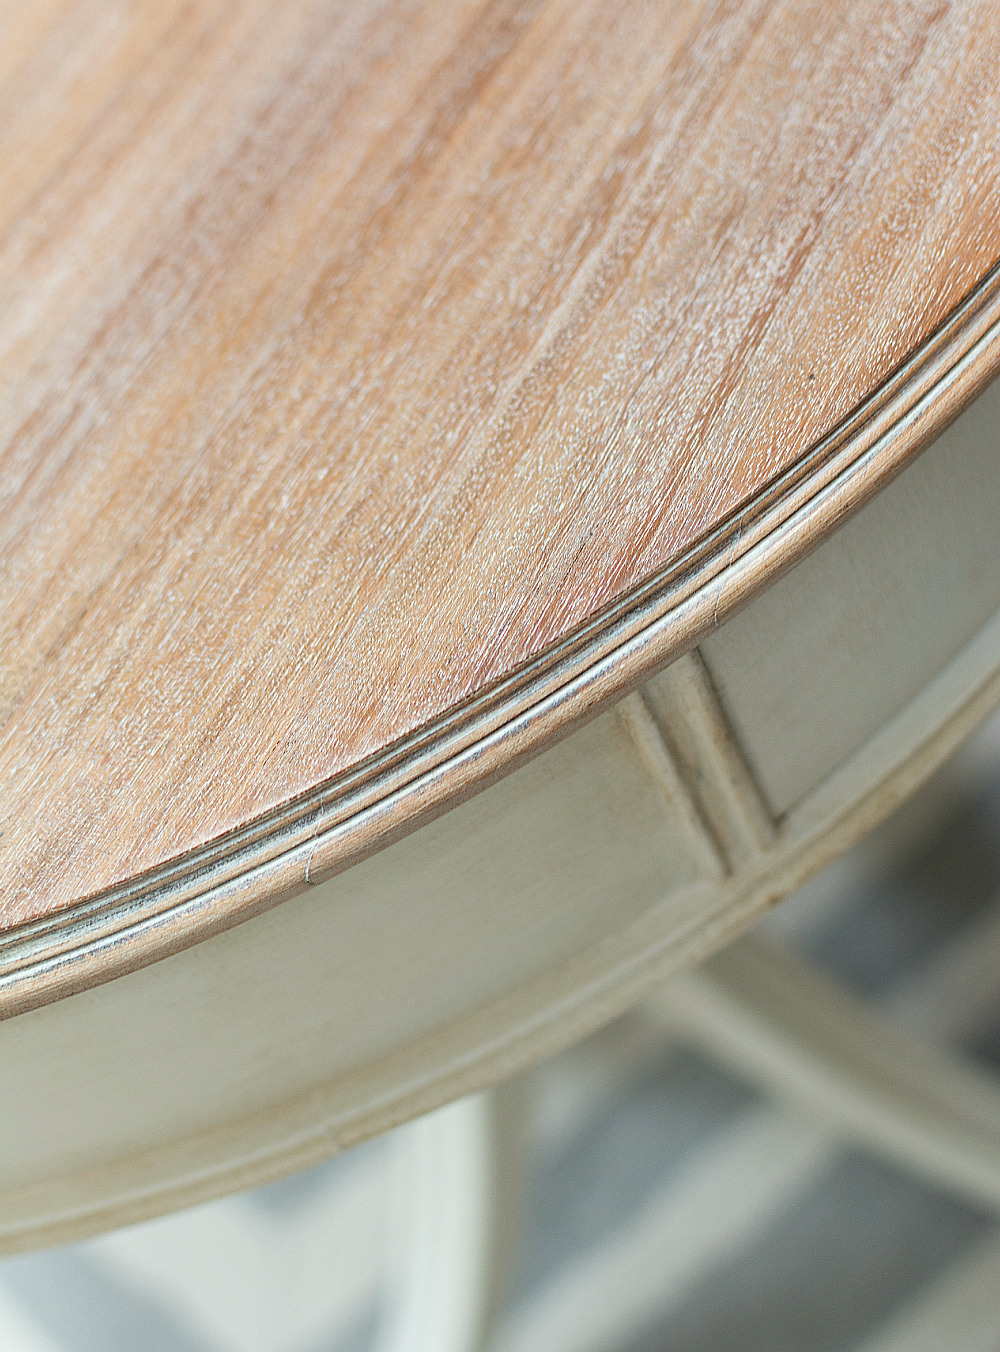
After 39-45 minutes dry time, I came back one last time with a lint free cloth and buffed the top.
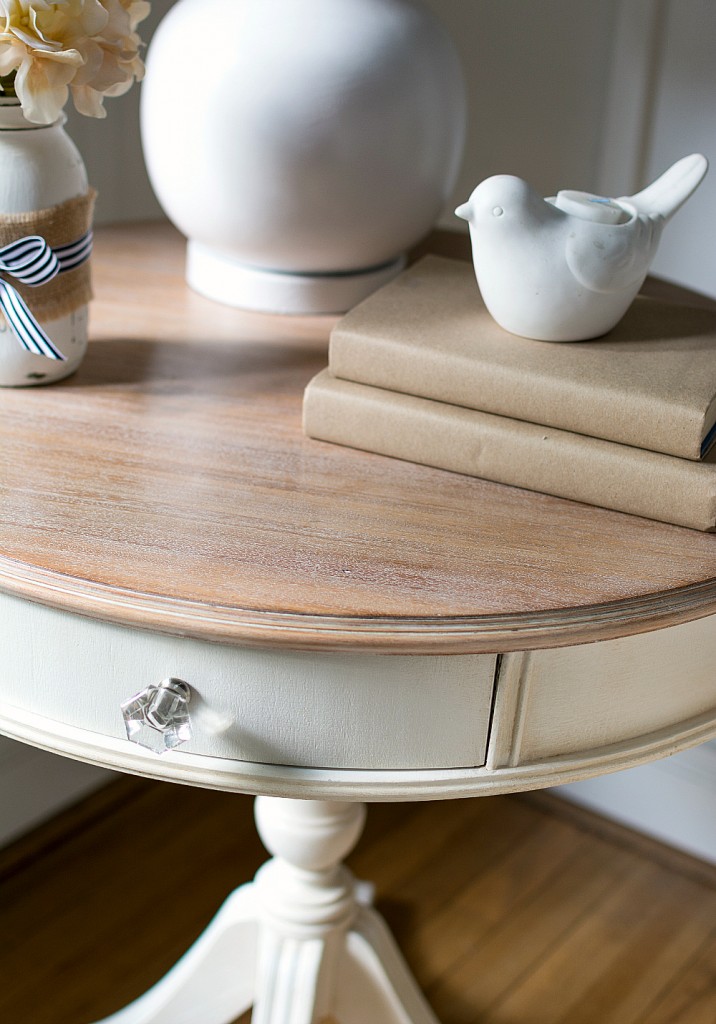
Ahhhhh ….
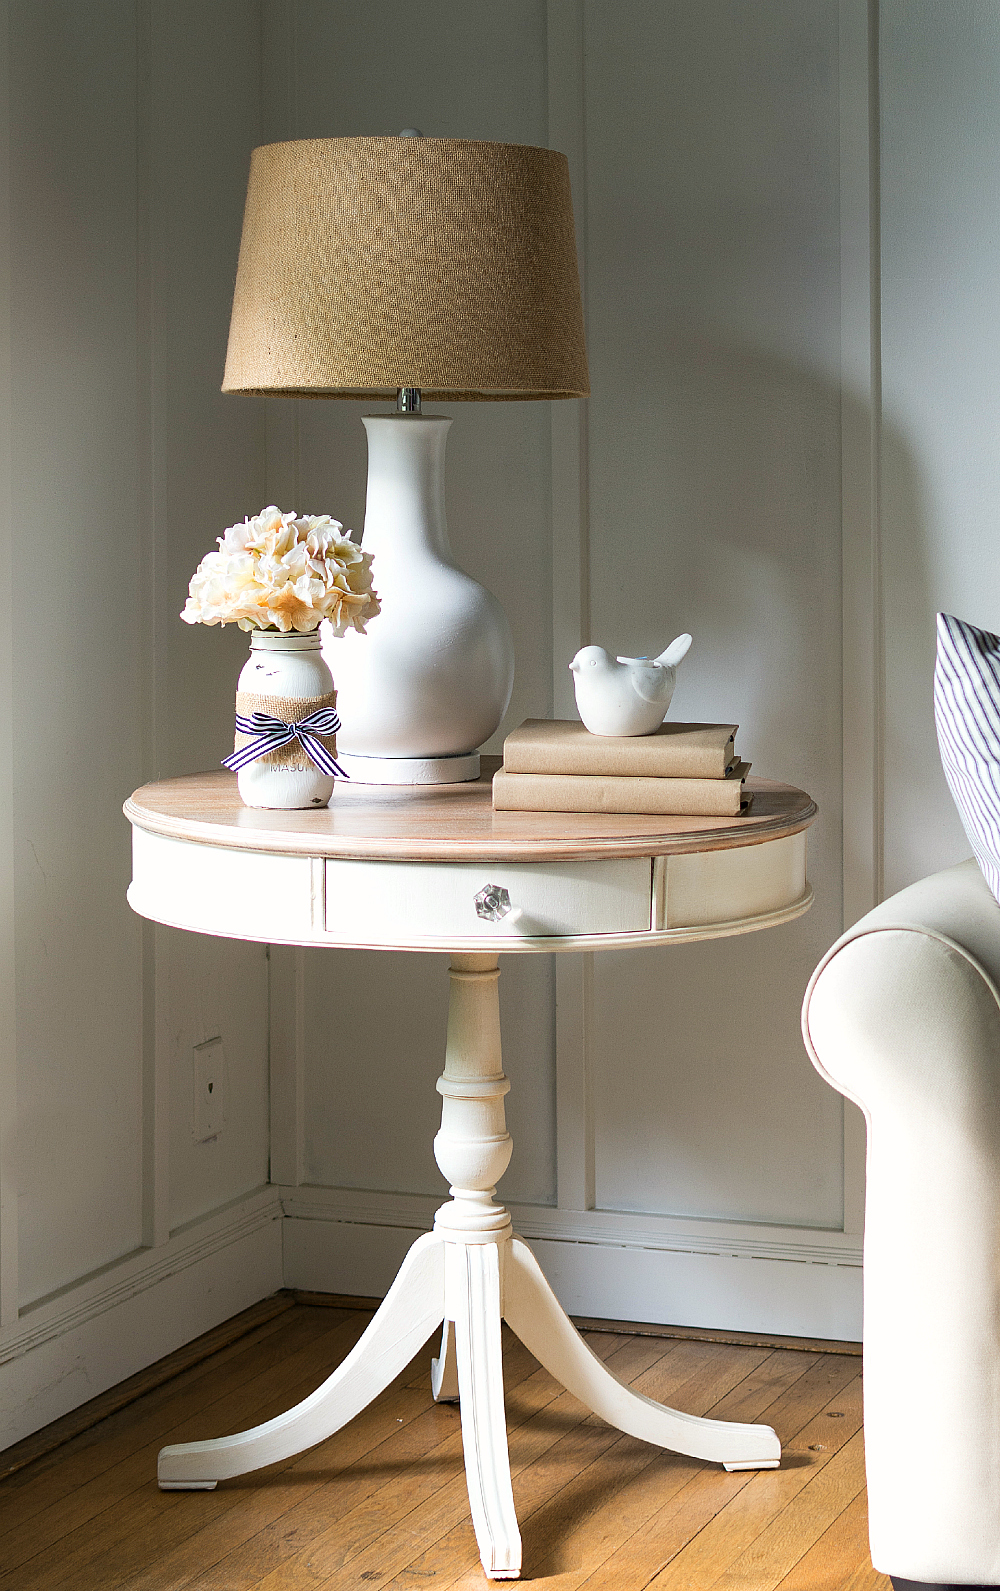
I’m in love with this finish. I only wish these photographs could do it justice.
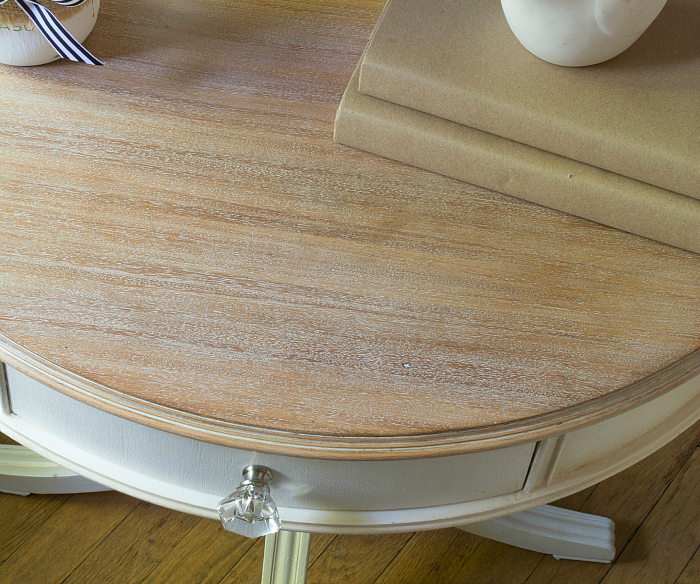
The play of light and shadows is deceiving.
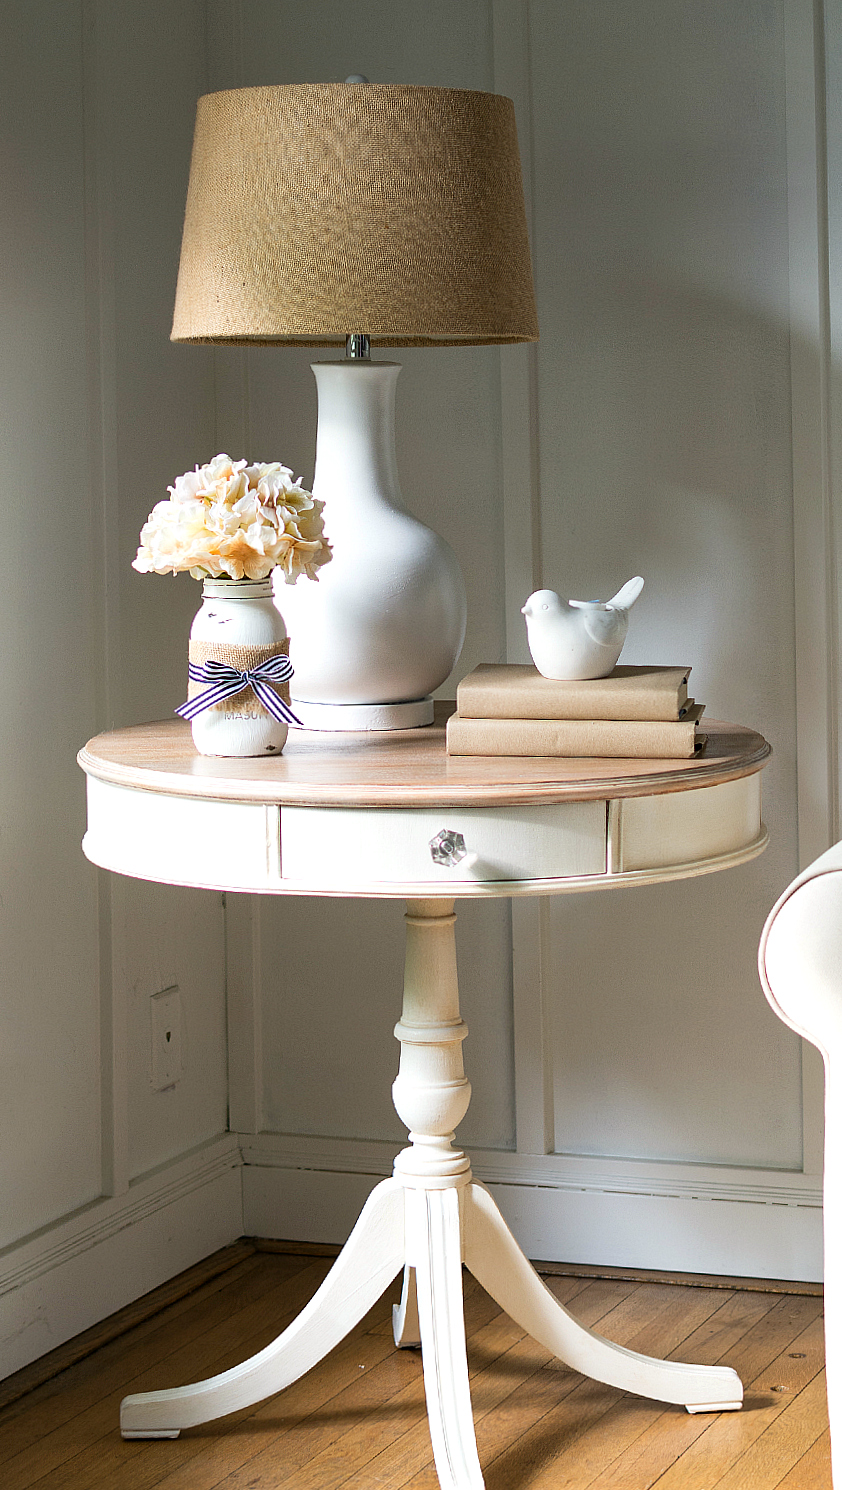
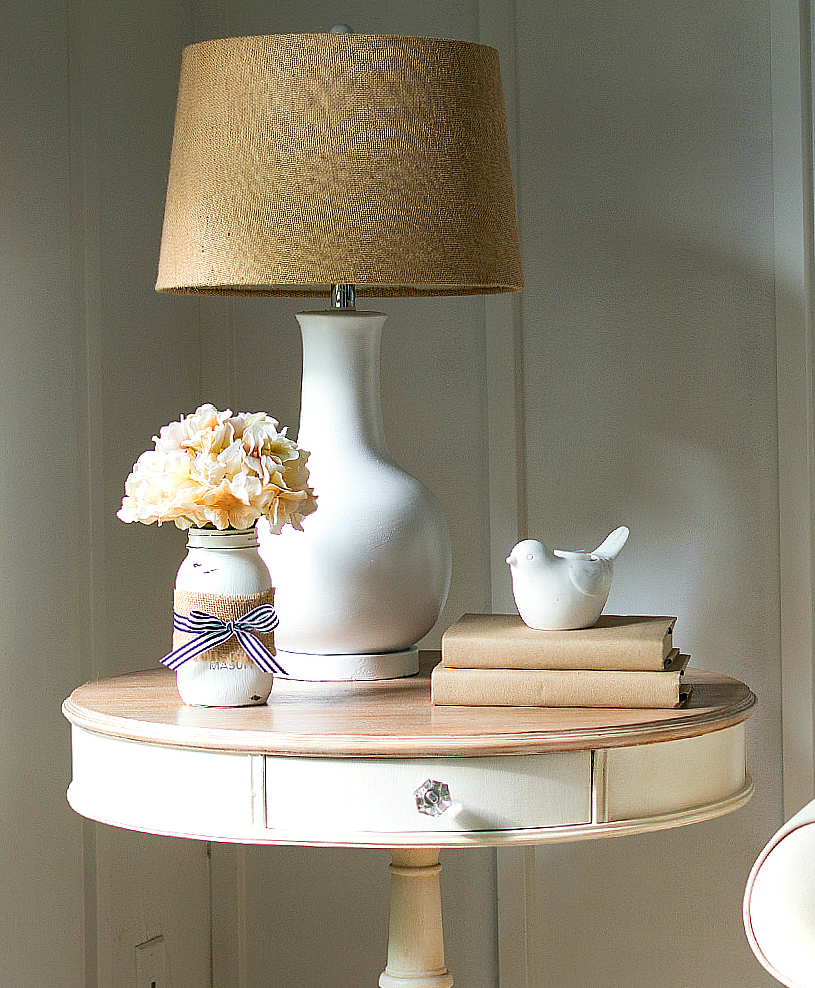
The finish is dreamy. And coastal. And perfection. I work on my laptop sitting next to this table and can’t get over how much I love the finish.
Pre-Amy Howard at Home, this table was a dumping ground for papers and a holding place for my tea cup or Diet Coke can or wine glass. But now I can’t imagine covering it up. Or marring the surface with sweaty cans and glasses.
It might be time for me to craft some coasters.
I wonder if I can come up with a coastal coaster idea using liming wax …
🙂
P.S. I’m giving away a $100 Ace Hardware Gift Card. Click here to enter …
P.P.S. I want to send a shout out to Amy Howard and her staff for giving me the confidence to tackle this furniture project. It’s much more detailed and layered than anything I would have even tried in the past. I’m truly enjoying the bragging rights … 🙂
For the tutorial on how I finished the base of the table, click here …
You might also like …
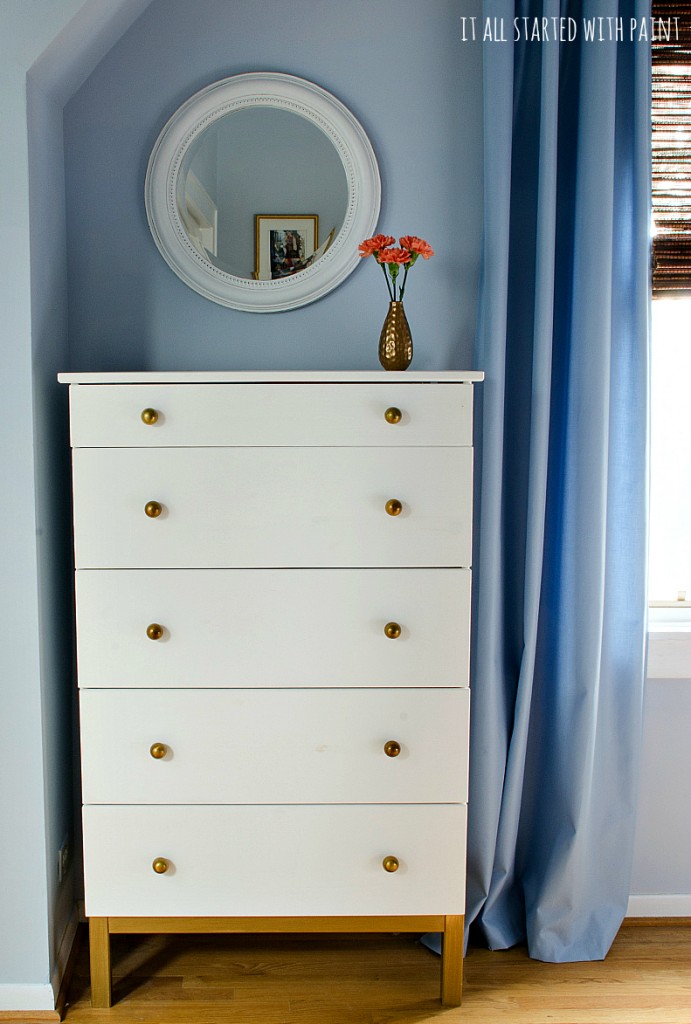
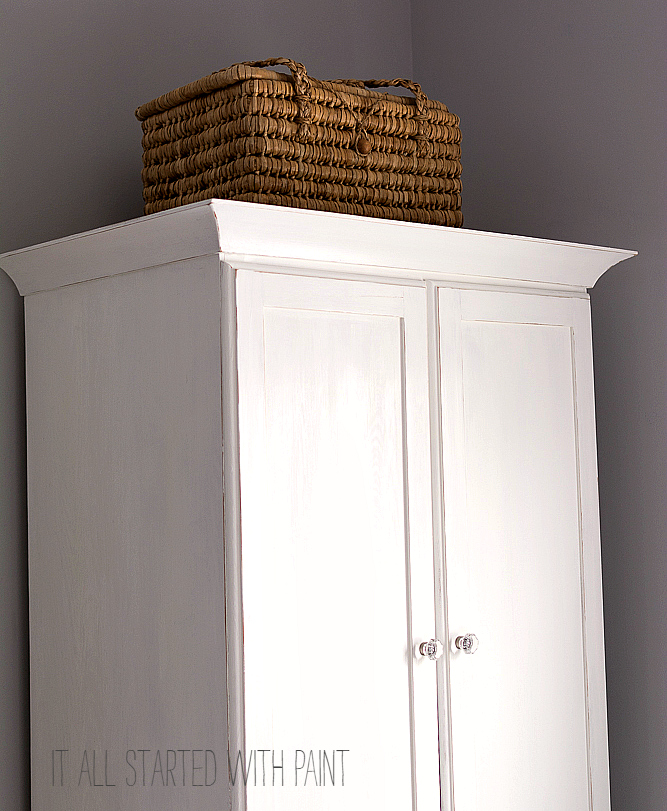
Armoire Makeover with Chalk Paint (click here)
How to Paint Stripes on Table (click here)
Today’s post was written as part of my role as an Ace Hardware Blogger. I was compensated by Ace for this post and for the products used, but all opinions about the Amy Howard at Home products used, liming wax, and Ace Hardware are my own.
*some affiliate links included.
It turned out stunning. It looks like a high end piece. And 1914?! How cool! I’ve been trying to find something to lime ever since her workshop. It is such a cool technique! Good job Linda!
Thanks! And excuse my juvenal humor, but ‘something to lime’ sounds dirty! Tee hee … 🙂
That top is absolutely stunning, Linda! I’m dying to give the liming wax a try myself – now I need to cook up a new project!
Thanks Brynne!!! I see more liming in my future. I’m hunting down a small oak dresser that I could use in my living room as end table … 🙂
I’ve always loved this finish, thanks for the easy tutorial.
Your work is beautiful…the table looks amazing!!!
Thank you for sharing your technique, I am eager to try it.
Thank you so much!! I love the finish more and more each day and can’t stop running my fingers over the table top! My family thinks I’m nuts! 🙂
Gorgeous!! Definitely worth all the work and worry.
It’s just beautiful. Love love love a lime finish – so much easier and nicer looking than white-wash.
Thanks Karen! High praise from a master furniture finisher!!! 🙂
beautiful table and having the date on there ;extra bonus.
Great tutorial. Thank you
Wow, that’s a beautiful finish – well worth all the layering and buffing for sure 🙂 Your table looks fantastic!
You did a beautiful job on the table. I will need to try this technique. This is an excellent post. Thank you.
Hmmmmm….I have an sanded oak table in the entry way. Dare I?
I just found your table through Pinterest and I’m glad I did! I just stripped and sanded a vintage French dining table and do not know how I should refinish the top. With your great tutorial now I may have the courage to try my hand at liming! I’m a little scared though!
I say go for it! And don’t panic when you first start. I did but am glad I powered through!!! 🙂
Your table is gorgeous! I have two questions:
Is that really what those numbers are on the bottom of furniture?
More importantly, how do you think this finish would hold up on a dining table? I’ve refinished it once, but it’s looking tired again. ☺
Thanks!
I’m not 100% sure that’s what the numbers mean, but I do know this table is very, very old! Also, not sure how the finish would work on a table that you will be using with dishes and such. You would probably need to put a protective coat over the top if you plan to use for dining on. Hope that helps! 🙂
Love the finish!
I loved this table redo so much that, when a friend dropped a drum table off at my house, I had to emulate it! I made some style choices based on the paint that I had handy, and I think I let my dark wax sit a bit longer, so there are differences, but feel free to check it out at https://www.pinterest.com/pin/495184921509231465/
Thanks for sharing and the step-by-step tutorial! Your work is amazing!
— Kat
Gorgeous!!! Thanks so much for sharing and I’m so thrilled that I was able to help inspire your fabulous makeover! I’ve saved your pin to my Pinterest board too! 🙂 Linda
Hi Linda,
Your table is lovely. What paint and process did you use on the bottom half of your table? It is a lovely combination with the lime washed top.
Thank you so much! The link to the tutorial for how I refinished the base can be found at the end of the post. For ease, here’s the link: http://www.itallstartedwithpaint.com/drum-table-makeover-part-1-a-giveaway/
great job… want to lime my veneer too… The number on the back is not a year, but anyways great table ))
Your table turned out great! Its so pretty.
Hi, this table is beautiful!! I’ve been searching the internet to find ideas for getting this same look for the table top of my large antique cherry dining room table that I have stripped. I tried putting just polyurethane over it, but it brought out the red in the cherry too much so I stripped it again. Do you think this liming technique should work on cherry wood to give it this restoration hardware look as your table? Thanks so much for your help!!
It could work? I’m not sure not knowing what the table looks like. I think the most important factor is if there is wood grain on the table for the liming wax to grab on to and get embedded in. Another option you could try to whitewash it. Or just outright paint it.
Linda, fabulous job! Hope you don’t mind, but I am going to try to copy this exactly. To that end, three questions. Did you use a dark wax on white painted surface and do you think I could use white wax instead of liming? What did you use as a protective coat on table top?thanks in advance!
I did use dark wax on the white painted – but only selectively on areas where you would expect darkening. Don’t apply all over or it will dramatically change the color! You can see more in my Part 1 of this project here: http://www.itallstartedwithpaint.com/drum-table-makeover-part-1-a-giveaway/
Not sure about white wax but I’m thinking it’s probably the same as the liming wax (which I’m thinking is just wax with white paint?). Sorry not to be clearer here. My suggestion is to try it out on a small section first (maybe somewhere not visible?) to test it out.
I didn’t put any protective coat on top. The wax is the protective coat. Though I do use coasters so as not to stain the top with drink glass rings!
I love your table so much so I am trying to replicate it! Question is there no previous layer to the liming? I.e. stain of some sort? Have you found it to hold up with just the liming wax no other protection? Dying to try the technique. Also, have you tried the new pickling wash from folk art? I wonder if that would look similarly. Thanks Linda
I didn’t use a stain first, but you can if that’s the look you are trying to create. And, yes, the table is holding up well! I just make sure to use coasters. And no I haven’t tried the new pickling wash from Folk Art but will absolutely look for it! I have a pine armoire that is just too reddish. I was going to lime it, but it’s just so BIG! I fear the liming will take forever! Maybe that pickling wash would be easier? I’ll be exploring this year!
Wonderful … AND so very generous of you to share sweet girl
Thanks so much …. wonderful work and thank u so very much and generously sharing with all!
I would LOVE to do this project, but my tabletop is veneer. Does this work on veneer surfaces?
I’m not sure. Have you tried sanding the top first? I’m not 100% certain but I think my table top was a veneer too. I just sanded it down first before lime waxing.
Hi Linda, I see by the date of this post that I’m a little late to this party! I just ran across it on Pinterest and am wondering if the lime wax technique will work on a leather top table. I have an old family piece, like yours that I would love to bring back to life. I love the lime look and my table certainly can’t get much worse! Thanks, Karen
I don’t think it would work on leather. It’s really made to get into the cracks and grain of wood.
What kind of wood is your table made out of?
I honestly am not 100$ sure! I think it’s some kind of cherry wood on the base and the top had a veneer.
I’ve been obsessed with this table since I pinned it and just now found your tutorial! I cannot wait to do this to a little table I have!!
Good luck and I hope it turns out well! I truly love my little drum table transformation! 🙂
This turned out absolutely beautiful! What kind of wood was the table made of? Also I am wanting to do this same technique on my dining table, but I have heard that if you wax a tabletop that will be getting heat and a lot of use regularly, the wax can melt and cause weird spots and damage to the table top. Does this happen if you seal the top with a polyurethane over the wax at the end? Also would you suggest a specific polyurethane over another? Thanks so much!
I’m not really sure what the base wood is. I’m thinking the legs are mahogany maybe but the top was a veneer. I can see the concerns about the wax. I always, always use a coaster with my side table for just that reason. Poly would probably be the best finish. I would check with the folks at Home Depot or Ace or where ever you would buy the poly. I’ve never done it so don’t feel comfortable giving you a definitive answer.
I’ve been wanting to try liming wax and have a table in mind but I was nervous doing it. Thanks to your awesome tutorial I’m feeling more confident. Your drum table makeover is gorgeous! Pinned
I tried your technique on a pair of cherry end tables and the top came out blotchy. I read that you can remove the lime wax with mineral spirits, which I did, and tried again. I even sanded them lightly and used the wire brush. Looks worse. Any suggestions?! Help!!
I have a traditional cherry (reddish stain) dresser that I’d like to update. How do you think the liming wax would look??